Connect to a notebook using SSH
When creating a notebook, you can enable SSH access to securely connect remotely, transfer files, and perform tasks.
SSH access to notebooks is supported only for default images. For a list of default images, see Supported notebook images.
Configure SSH
-
When creating a notebook, enable Enable SSH Connection at the bottom.
infoIf you do not assign a volume to
/home/{user-name}, the user directory created for SSH access, its contents may be lost when you stop and restart the notebook.To keep your work safe, use a directory with a mounted volume or assign a volume to the user directory as shown in the image.
 Enable SSH Connection
 -
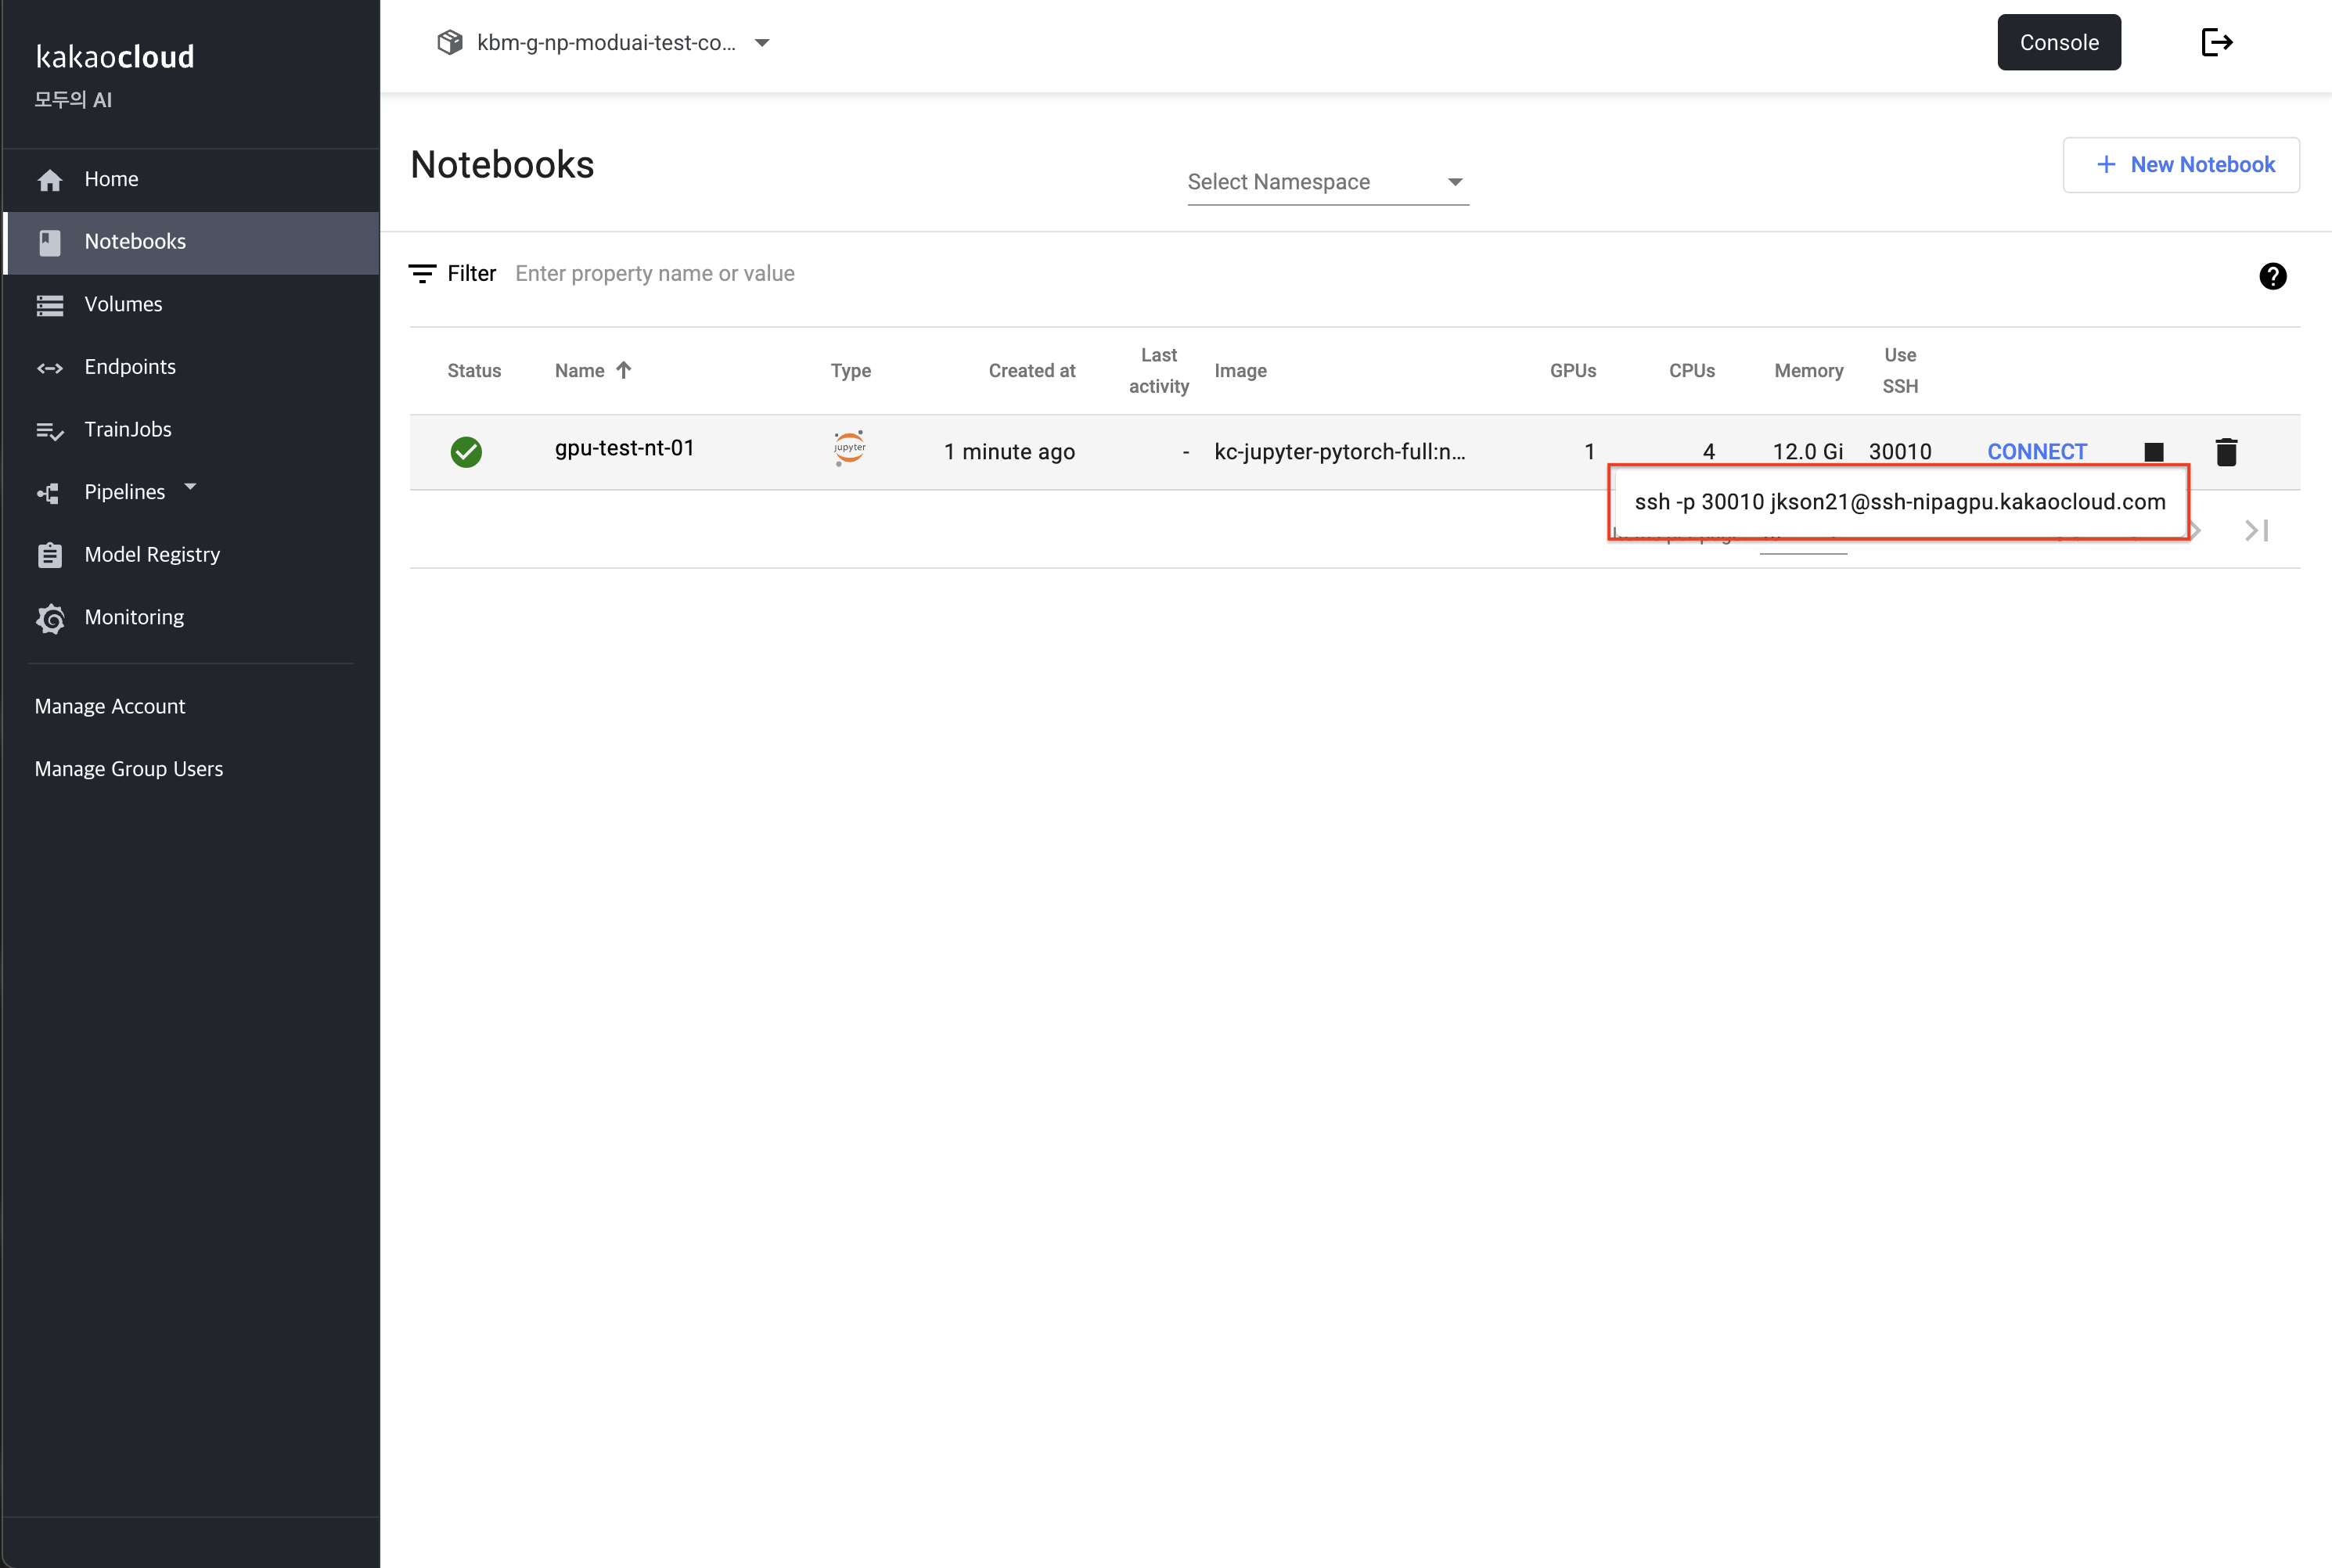
After the notebook is created, hover over Use SSH in the menu and note the random port displayed in the SSH command.
Check the random SSH port -
From the left menu of the dashboard, click Manage Account and check the SSH Password.
infoThe same SSH password is visible to all users in the same Namespace.
-
Connect using SSH from your local terminal.
info- When prompted with
Are you sure you want to continue connecting (yes/no/[fingerprint])?, enteryes. - The username for SSH access is the username included in the notebook creator's email address. To add a user, log in with the notebook creator's account and run the
addusercommand.
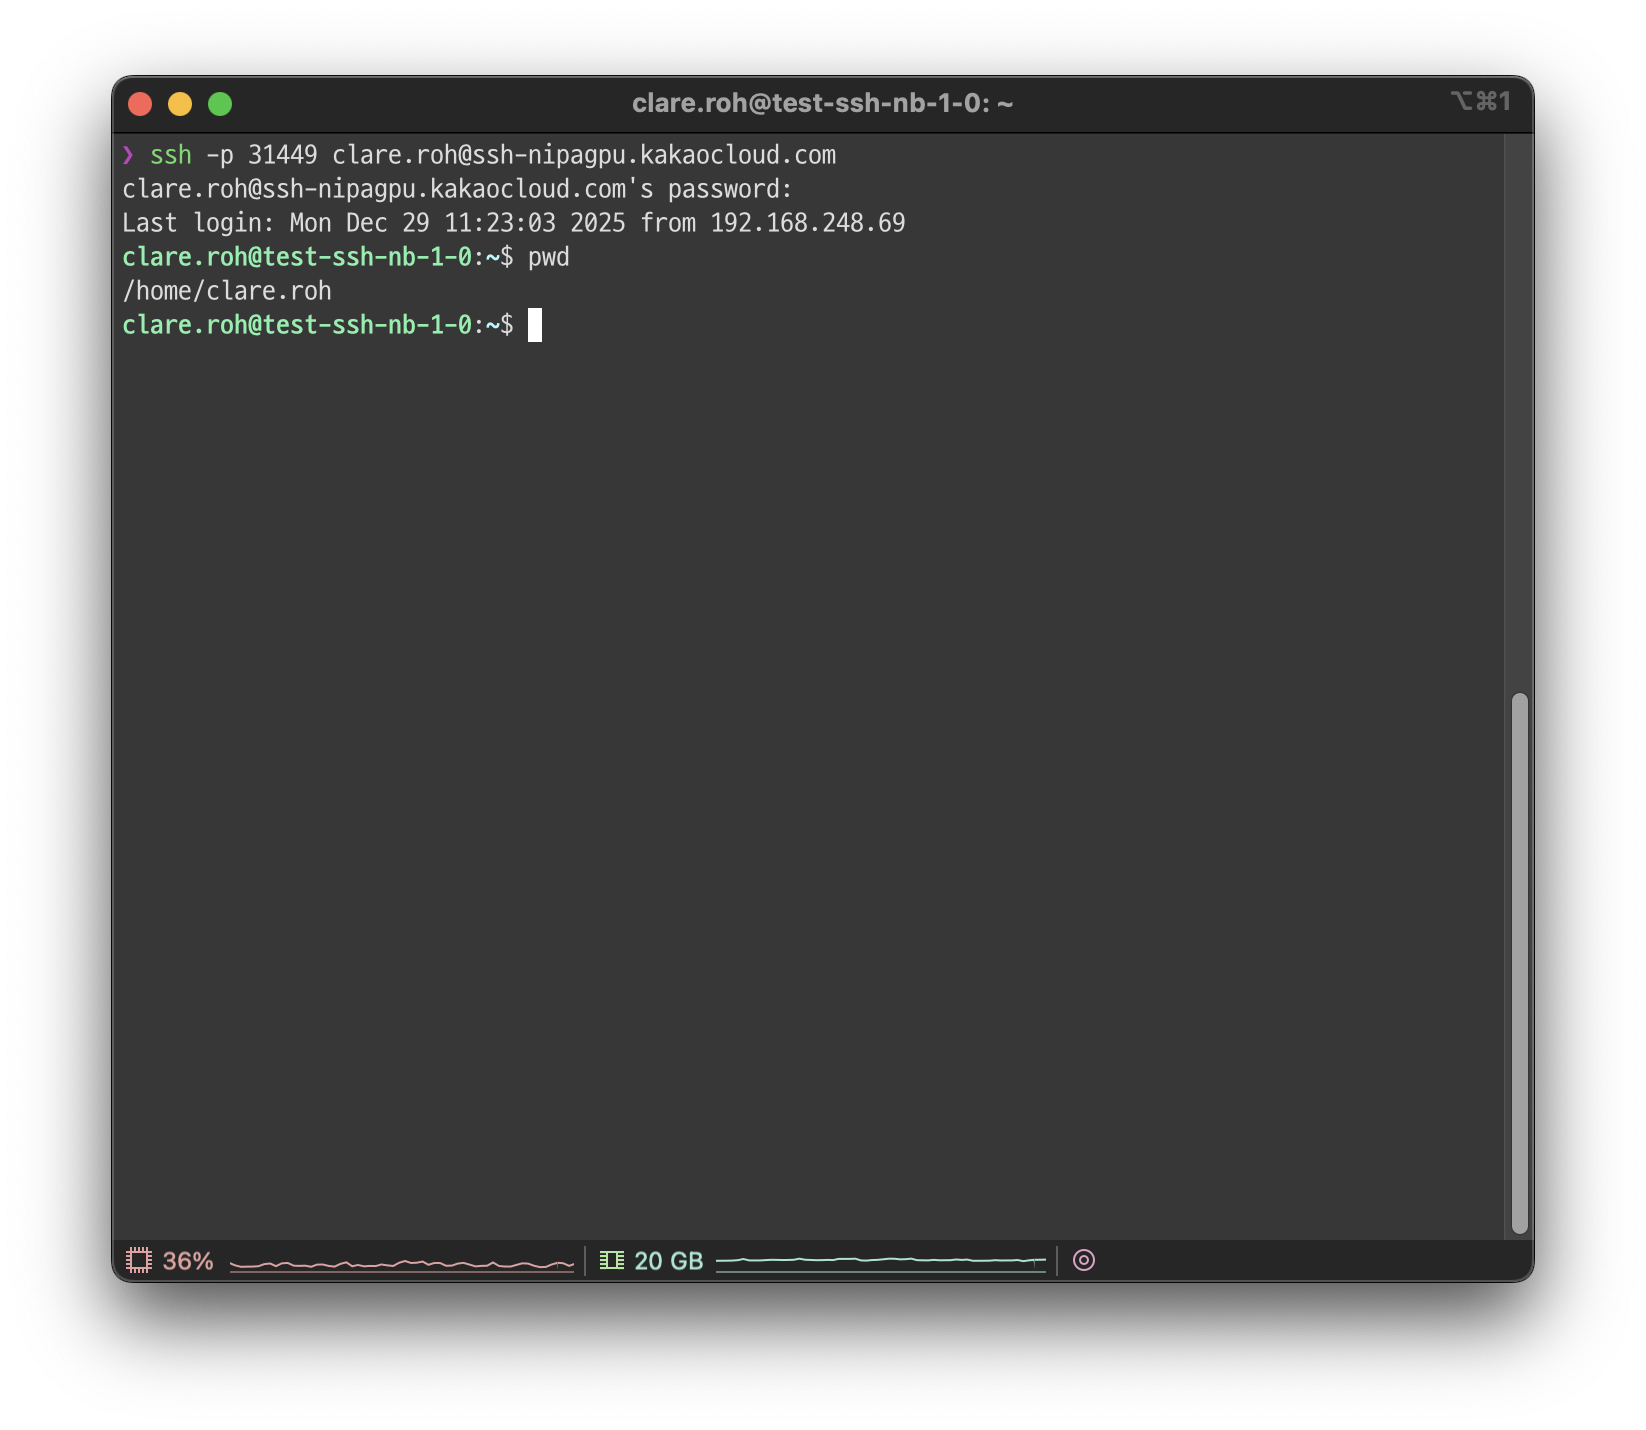 Connect using SSH
 - When prompted with
Verify SSH service status
Run the following command in the notebook terminal to verify that the SSH service is running properly.
- Running normally
- Not running
$ sudo service ssh status
 * sshd is running
$ sudo service ssh status
ssh: unrecognized service
Use SCP
-
Check the port and account information required for SCP.
infoTo use SCP, Enable SSH Connection must be enabled when you create the notebook.
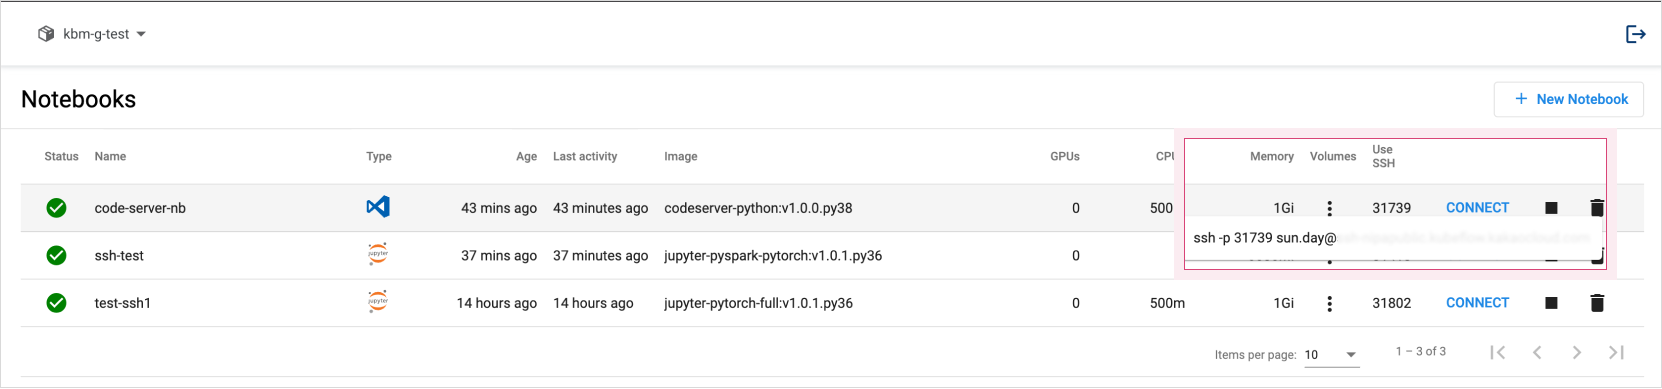 Check the random SSH port
 -
Run the SCP command in your local terminal.
info- Enter
scp -P {SSH command random port} {Source File PATH} {Username@Domain}:{Destination PATH}. - When prompted with
Are you sure you want to continue connecting (yes/no/[fingerprint])?, enteryes.
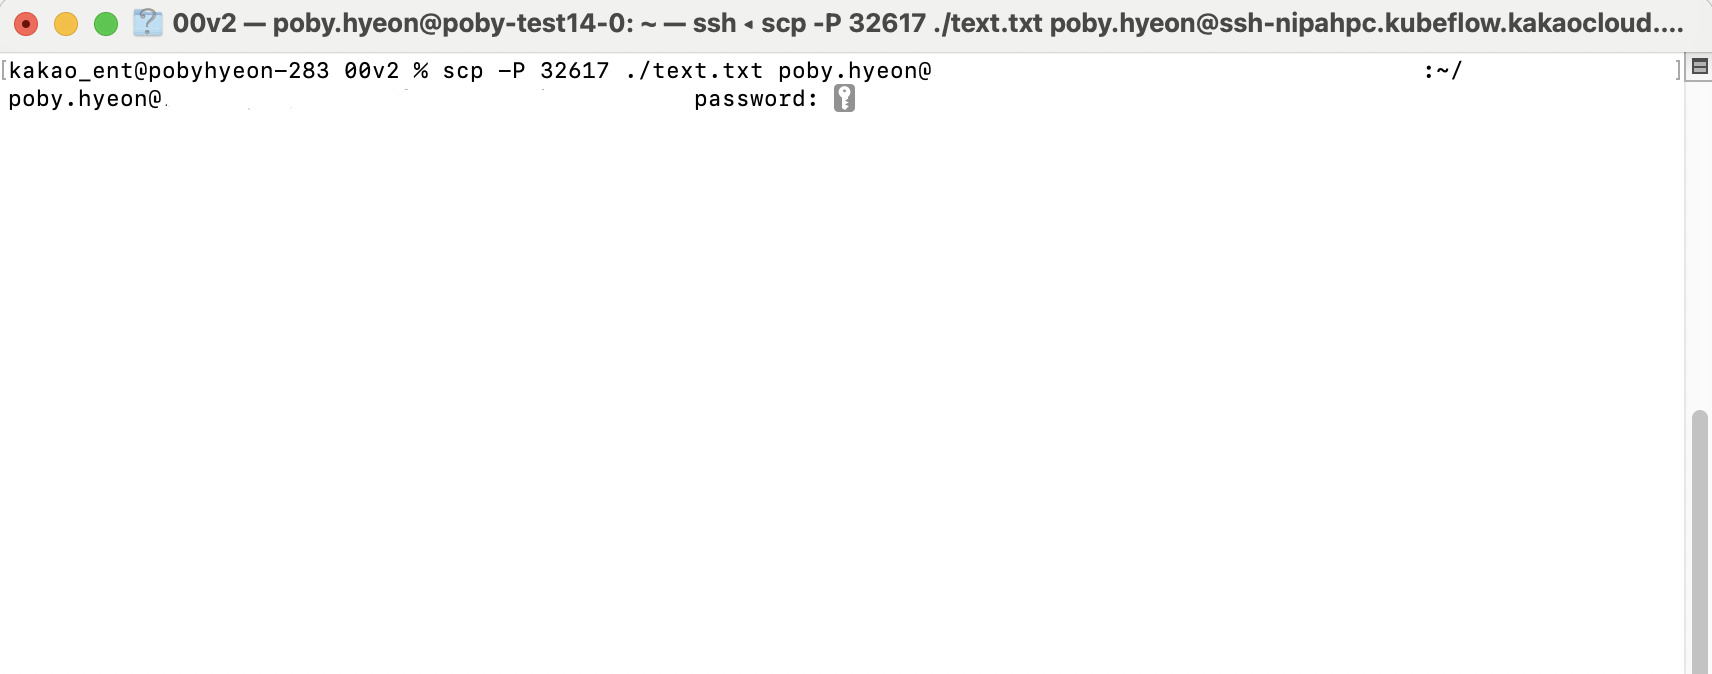 SCP command example
 - Enter
-
From the left menu of the dashboard, click Manage Account and check the SSH Password.
infoYou can find the SSH password under SSH Password in Manage Account.
-
In the Jupyter Notebook CLI, verify the file transferred by the SCP command from your local terminal.
info- If you specify the user home directory as shown in the example, the file is saved to
/home/{user-name}, which is created when you connect using SSH. - Specify
Destination PATHto transfer the file to a directory of your choice.
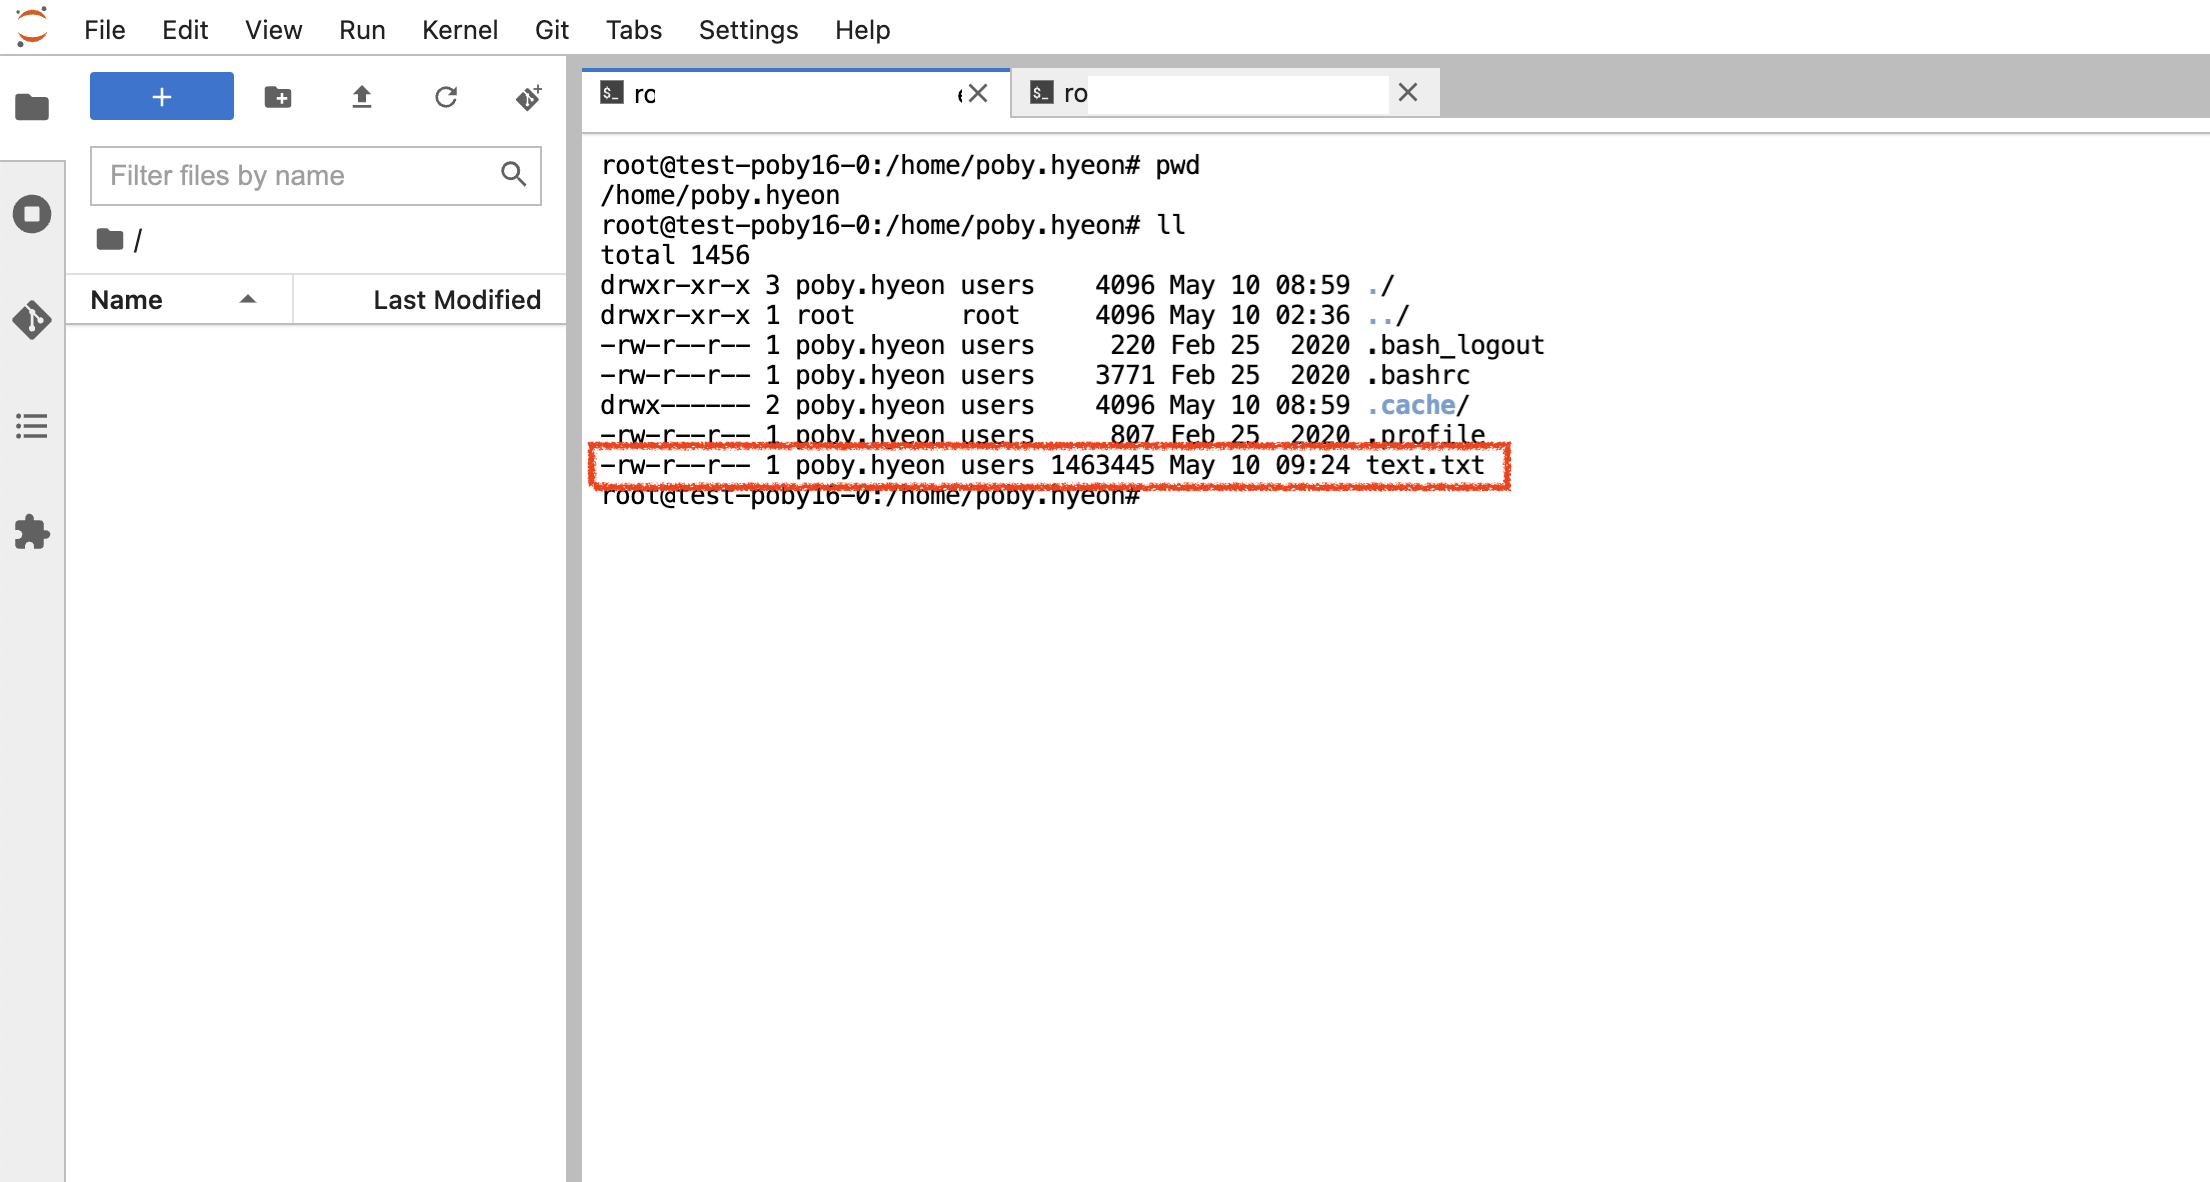 Verify the SCP result
 - If you specify the user home directory as shown in the example, the file is saved to