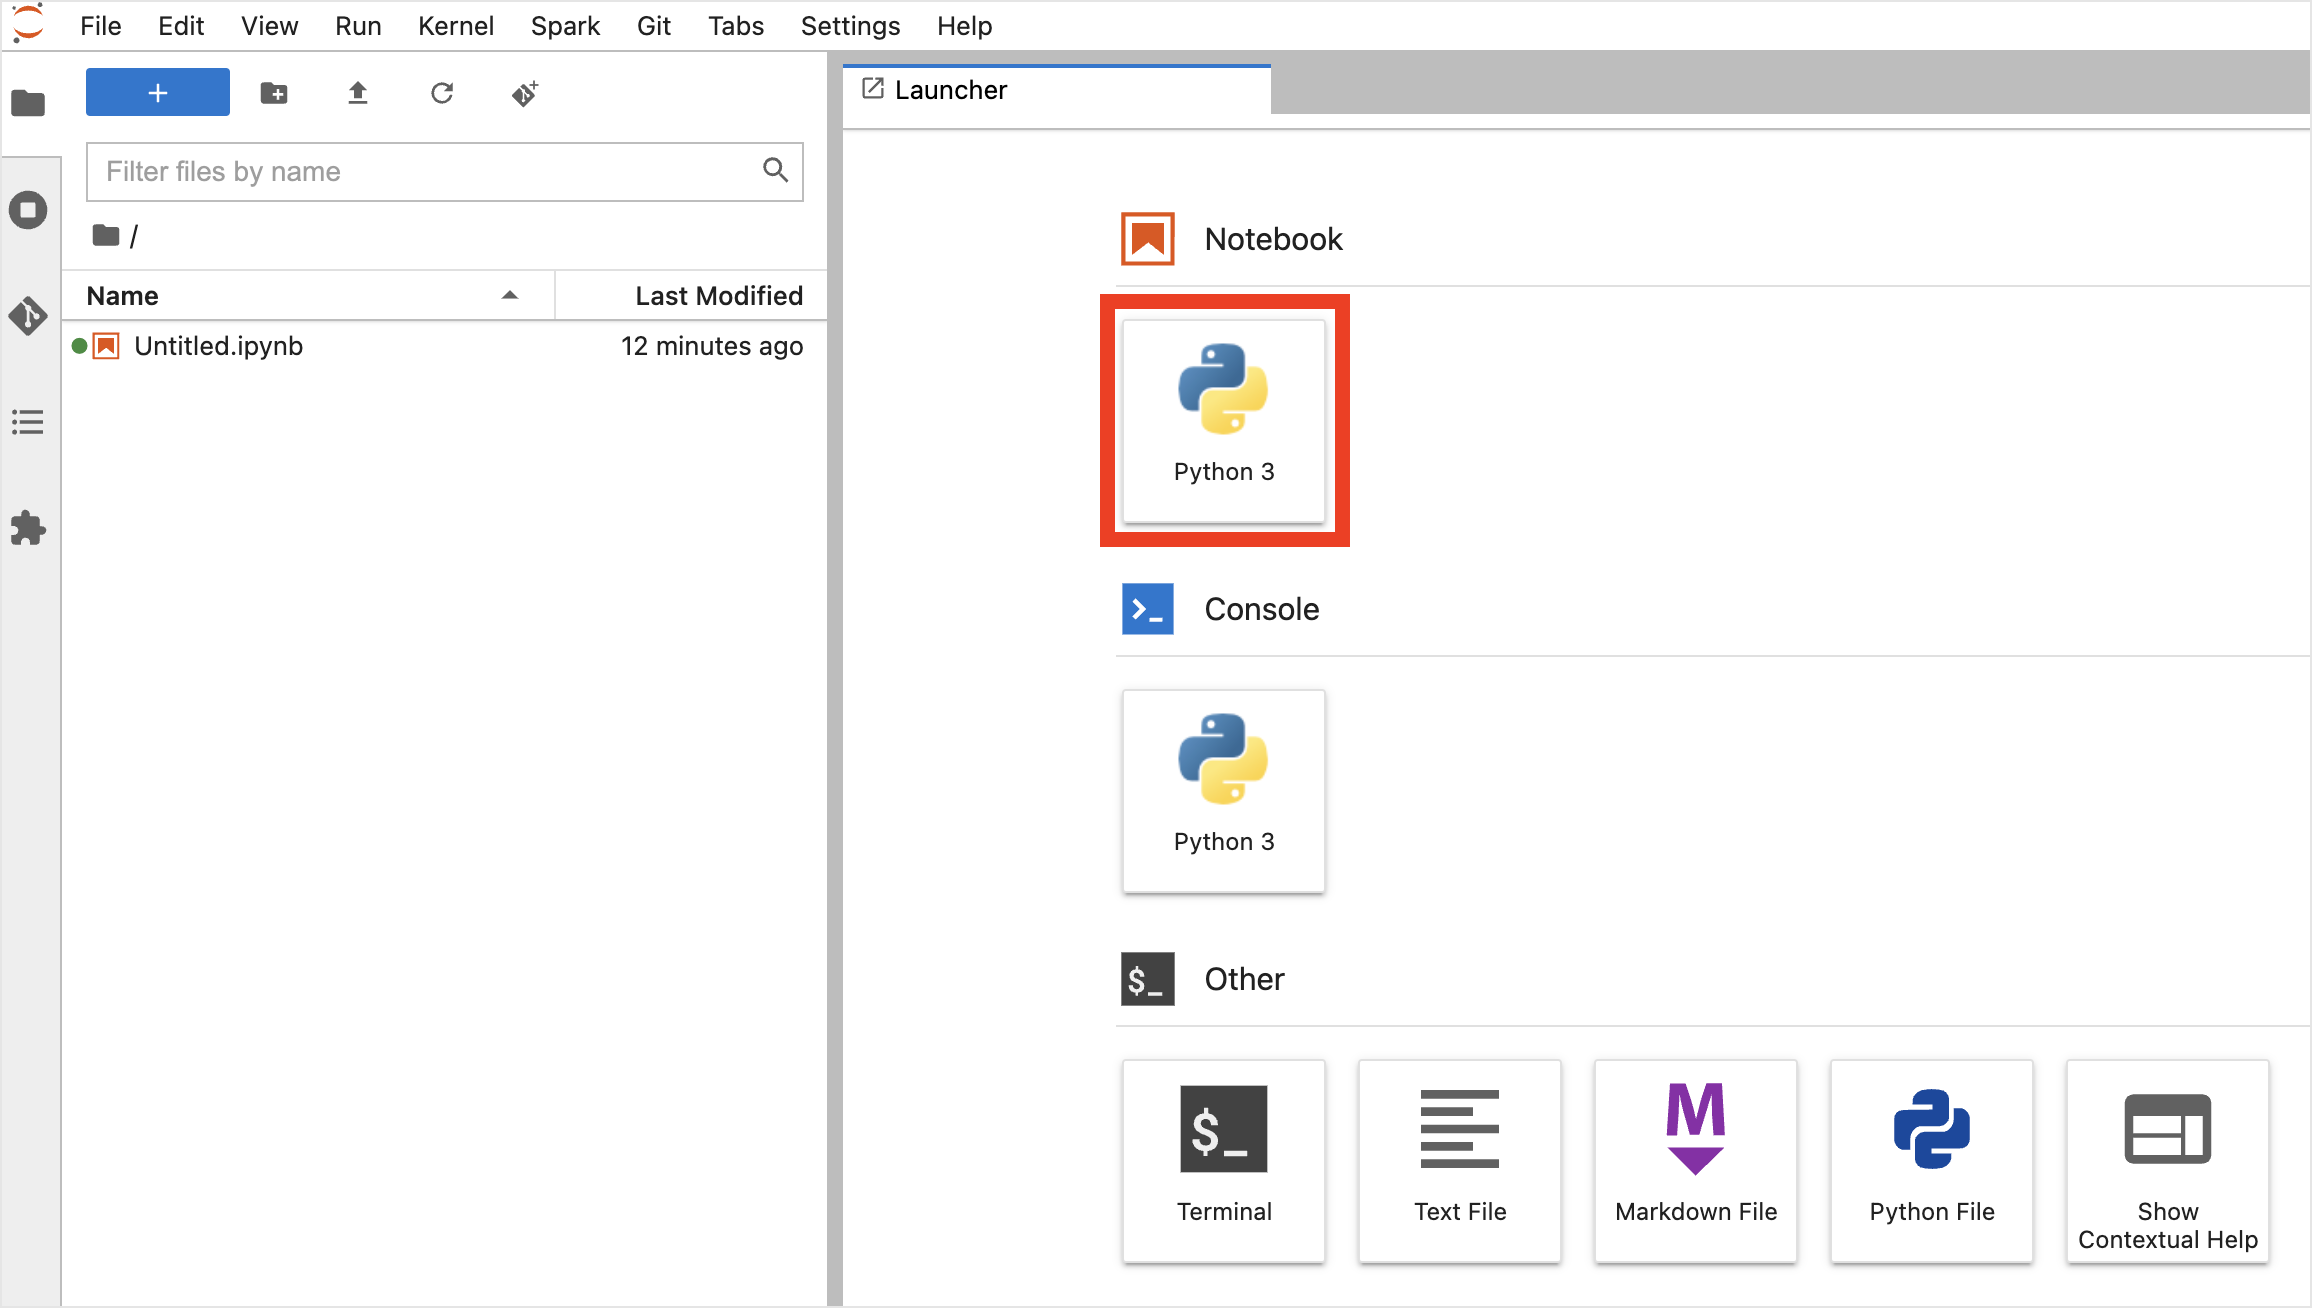
Set up Jupyter Notebook environment using Kubeflow
Learn how to perform data analysis and model training using Jupyter Notebook, and optimize machine learning workflows using various features.
Scenario overview
In this scenario, you will be guided through the process of accessing the dashboard and then creating a Jupyter Notebook instance. The main contents of this scenario are as follows.
- Perform data analysis and model training after creating a Jupyter Notebook
- Build machine learning workflows using various components and features
Step 1. Access dashboard
Access the dashboard. Users can manage various resources and configure the Jupyter Notebook environment through the dashboard.
Step 2. Create Jupyter Notebook
Through the dashboard, users can create a Jupyter Notebook instance. In this step, you select the notebook specifications and proceed with the required settings.
-
Click Notebooks in the left tab of the dashboard.
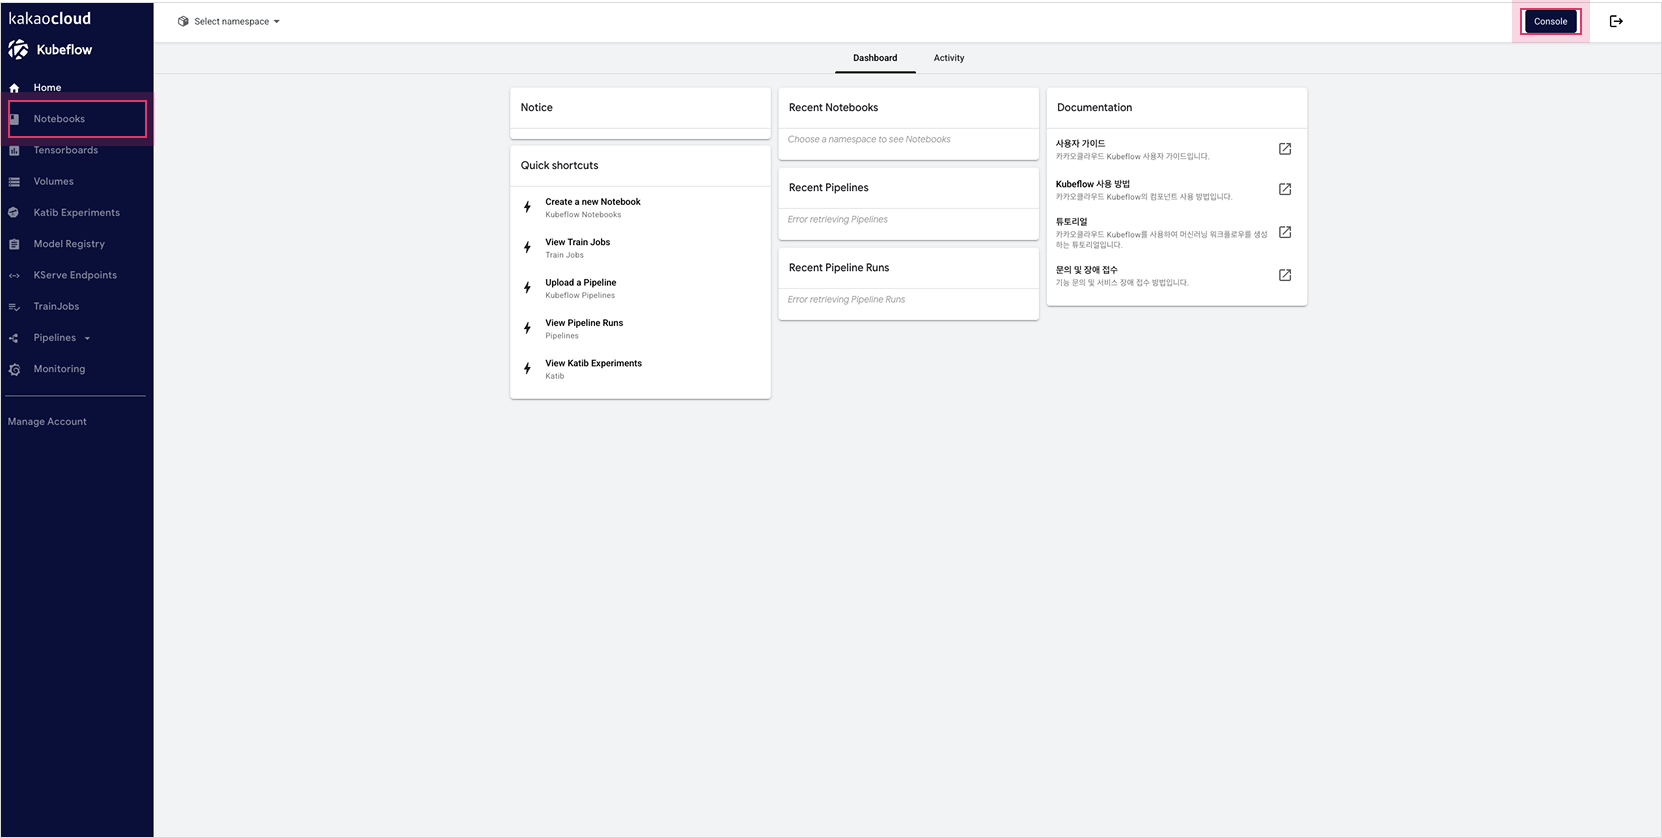
-
Move to the Notebooks page and click the [+ New Notebook] button located at the top right. Refer to the information below and create a new notebook.
- CPU-based notebook image
-
Refer to the following information to create a CPU-based notebook image.
Item Category Description Name Name Used to identify the notebook instance in the Kubeflow dashboard Namespace Kubernetes namespace where the notebook instance is created Docker Image Image Select the Docker image to use
- Check supported notebook imagesCPU / RAM Requested CPUs 2
- Number of CPU cores allocated to the notebook instanceRequested memory in Gi 8
- Memory resource unit (GiB) allocated to the notebook instanceTolerations Tolerations Group None
- Allow taints of specific nodes -
Enter the notebook information to be created. Refer to the table below for example values.
Item Value Name handson Image kc-kubeflow/jupyter-pytorch-cuda-full:v1.0.1.py36 Requested CPUs 2 Requested memory in GiB 8
- Click the [LAUNCH] button to create the notebook.
You can create a Jupyter Notebook using a Custom Image when selecting the Docker Image.
Step 3. Access Jupyter Notebook
Access the created Jupyter Notebook instance to proceed with an actual machine learning project.
-
Click the [CONNECT] button for the created notebook instance to access it.
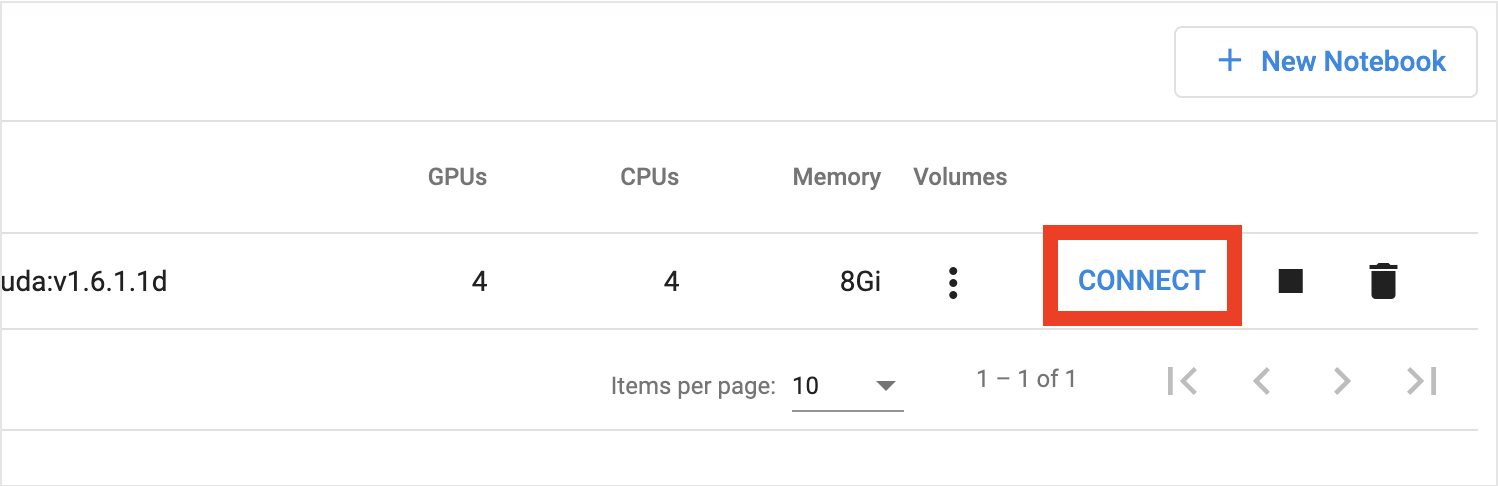
-
In the Notebook, select the Python3 kernel, enter a simple example code, and check the execution result.