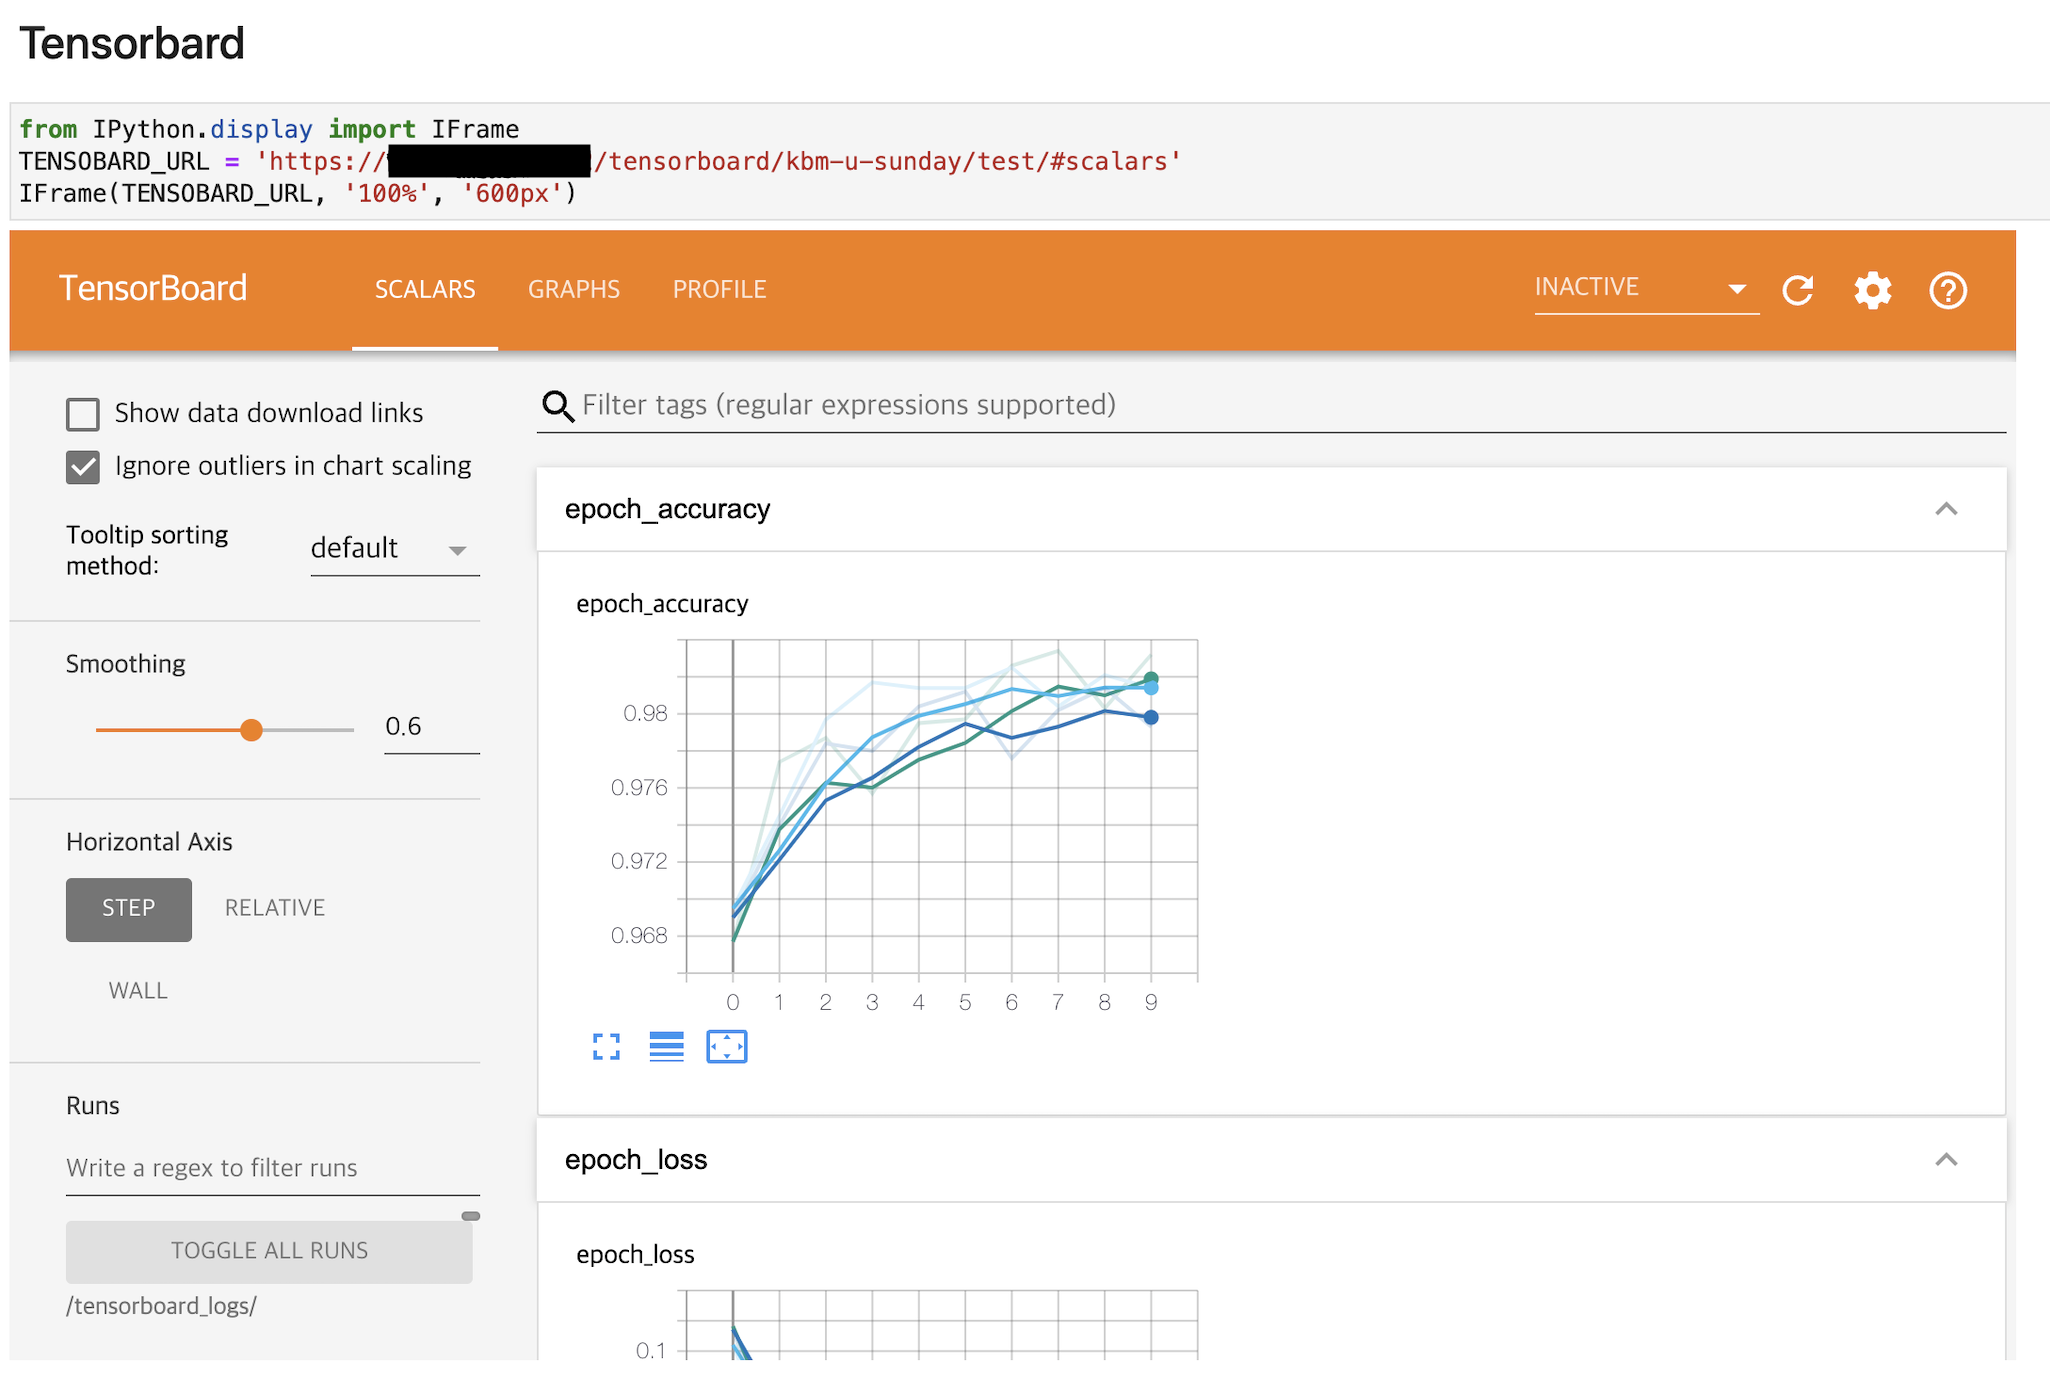
Use Kubeflow TensorBoard
This guide explains how to manage and visualize log data generated during machine learning experiments using the TensorBoard component.
Before getting started
TensorBoard is an essential tool for intuitively monitoring and analyzing the training process of machine learning models. By using TensorBoard, you can monitor the progress of machine learning experiments in real time and compare and analyze results from multiple experiments. In addition, you can understand key metrics for optimizing model performance and learn how to manage experiments using TensorBoard.
Scenario overview
In this tutorial, the entire process from installing TensorBoard to visualizing and analyzing actual training log data is introduced step by step.
The main contents of this scenario are as follows.
- Create and configure TensorBoard instance
- Learn how to monitor and visualize log data of a training model in real time
- Analyze model training process using TensorBoard
- Reference documentation
Supported tools
| Tool | Version | Description |
|---|---|---|
| TensorBoard | 2.1.0 | A visualization tool for machine learning experiments that provides metric tracking and visualization, as well as histogram tracking for weights and tensors. |
For more information about TensorBoard, see the TensorBoard documentation.
Prerequisites
This section explains the required resource preparation steps for using TensorBoard.
Create volume for log storage
Create a persistent volume (Persistent Volume) for TensorBoard to store training logs.
-
Access the Kubeflow dashboard and move to the Volumes tab.
-
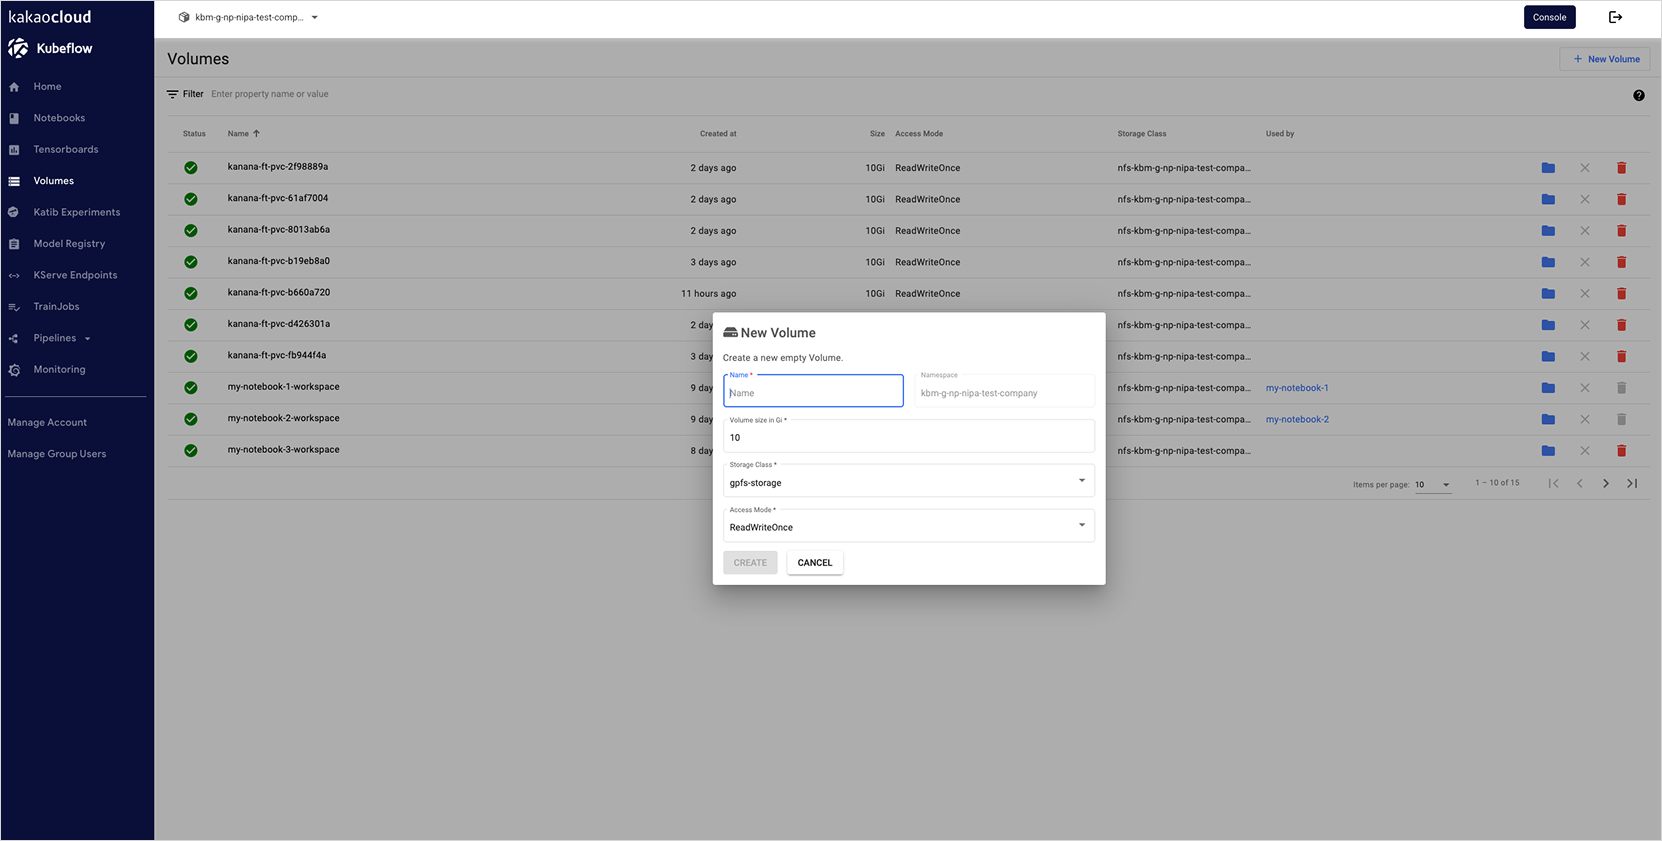
Click the [New Volume] button at the top to create a new volume.
-
Enter the required information on the New Volume screen and click the [Create] button to create the volume.
Getting started
The concrete practice steps for efficiently managing and visualizing machine learning experiment log data using TensorBoard are as follows.
Step 1. Create a TensorBoard instance
-
Select the Tensorboards tab and click the [New TensorBoard] button.
-
On the New TensorBoard page, enter the required information and click [Create] to create a TensorBoard instance.
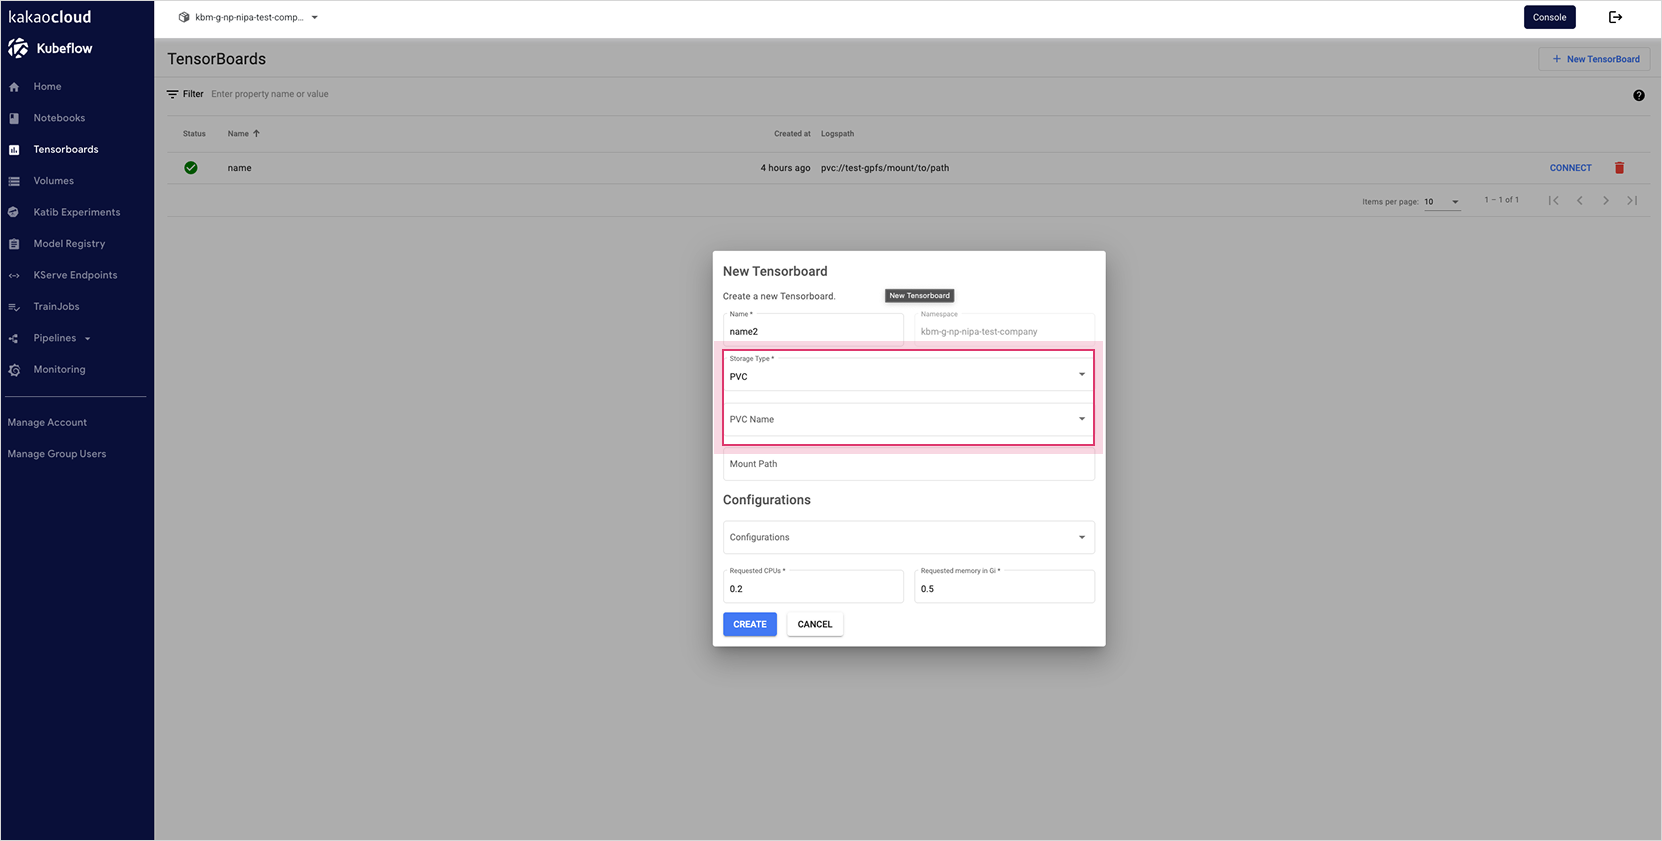
Item Value Storage type PVC PVC Name Name of the volume created in advance Mount Path Path in the selected volume where TensorBoard logs are stored -
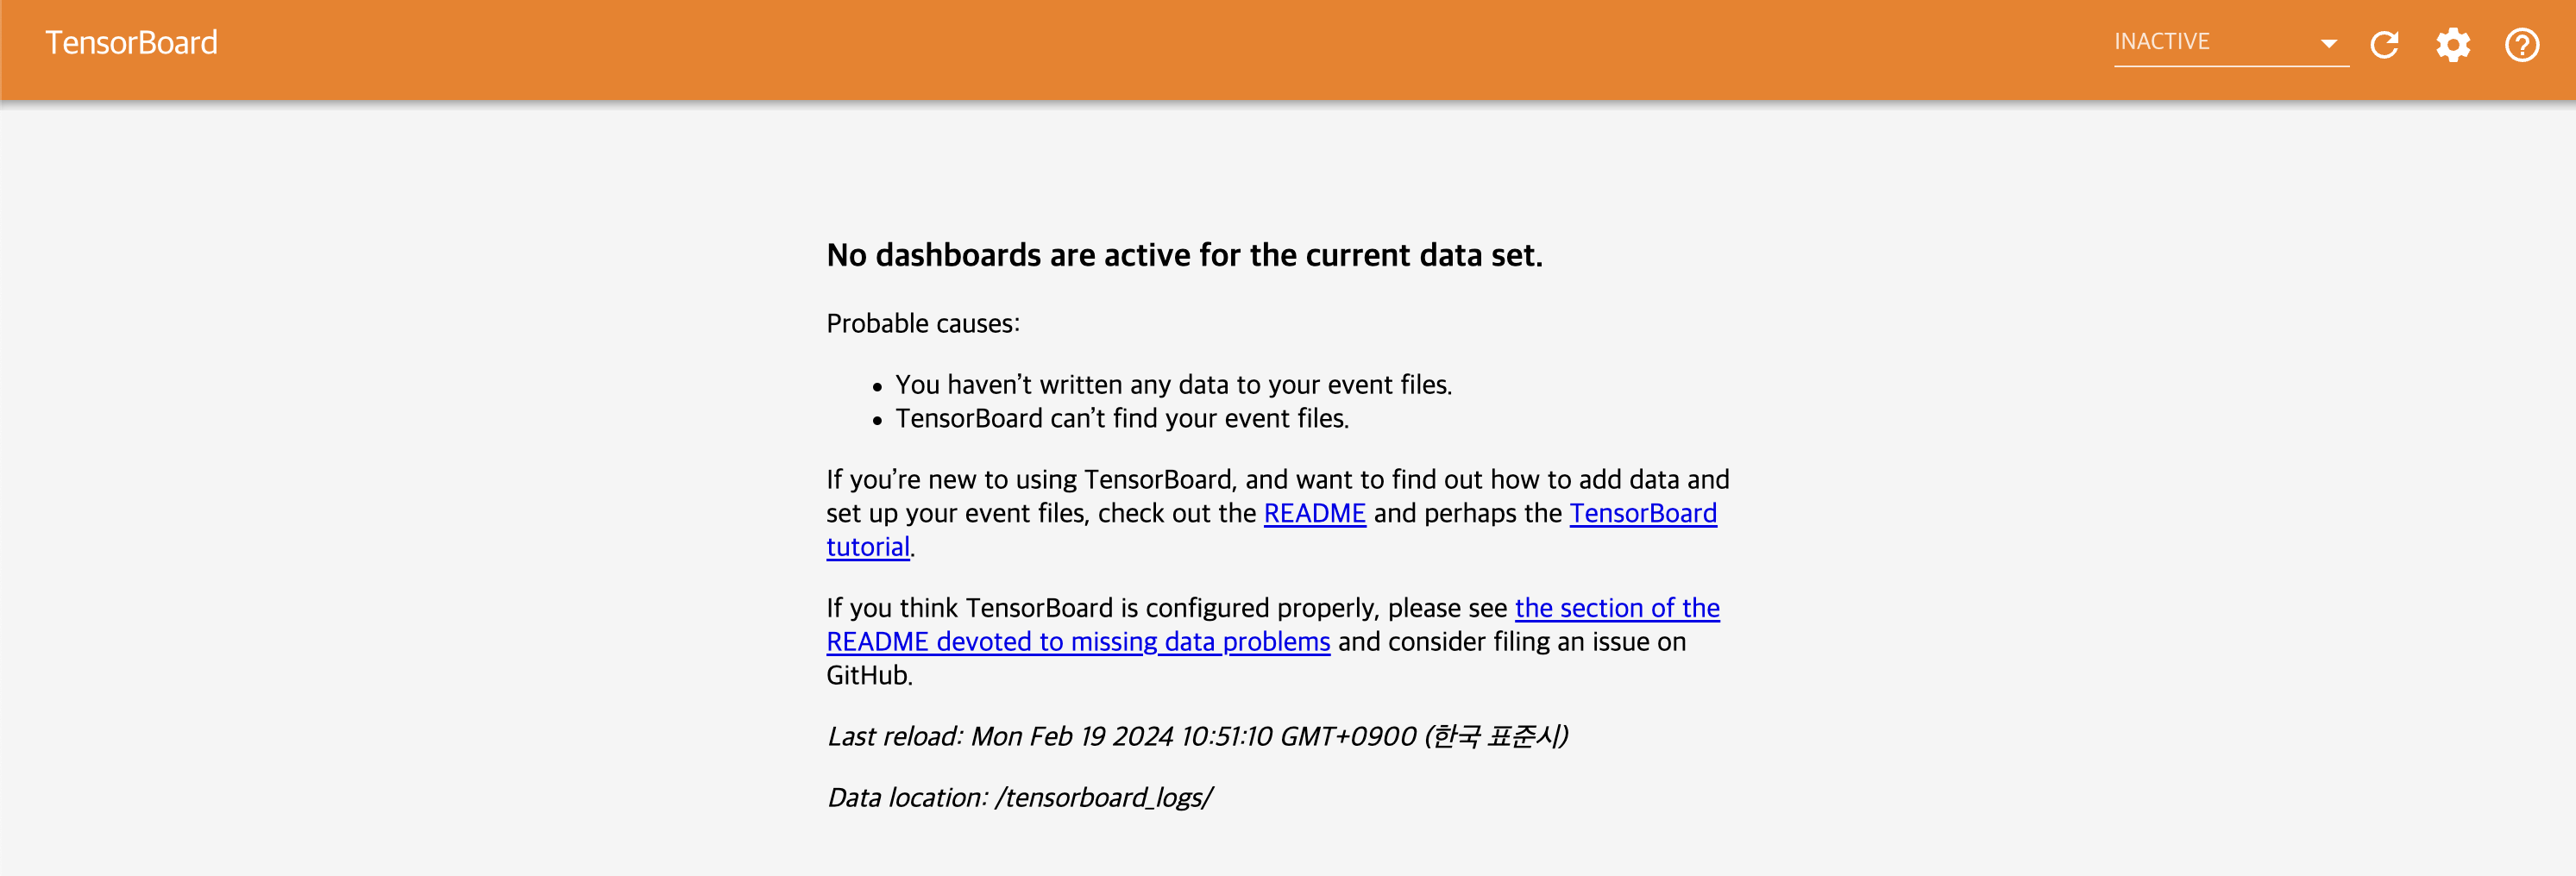
Click [CONNECT] to verify the TensorBoard instance.
Step 2. Create notebook instance for practice
This step explains how to create a notebook instance for practice in Kubeflow.
-
Select the Notebooks tab in the Kubeflow dashboard.
-
Click the [New Notebook] button at the top to create a notebook instance.
-
On the New notebook configuration screen, enter the following information.
- Docker Image: Select
kc-kubeflow/jupyter-tensorflow-cuda-full:v1.0.1.py36. - Workspace Volume: Click the trash icon to delete the default configured volume. Then select the [Attach existing volume] option and choose the previously created
tensorboard volume.
- Docker Image: Select
-
After completing the configuration, click the [LAUNCH] button to create the instance.
Step 3. Train a model and check the integrated results in TensorBoard
This step explains how to train a model and check the training results in TensorBoard.
-
Download the example project from the link below and upload it to the created notebook instance.
- Example download: Using Tensorboard.ipynb
-
In the notebook, change the
TENSORBOARD_URLvariable to the TensorBoard address created in Step 1.- TensorBoard address: URL of the TensorBoard page displayed after clicking [CONNECT]

- TensorBoard address: URL of the TensorBoard page displayed after clicking [CONNECT]
-
Run the notebook code to train the model and view the updated training process in TensorBoard through the IFrame.