Create and manage images
An image is a template that includes the operating system, applications, and configuration settings required to run a virtual machine.
You can start an instance by selecting the required operating system and application as an image according to your purpose.
View image list and basic information
You can view the list of images in use and information about each image.
- Go to KakaoCloud Console > Compute > Beyond Compute Service > Virtual Machine.
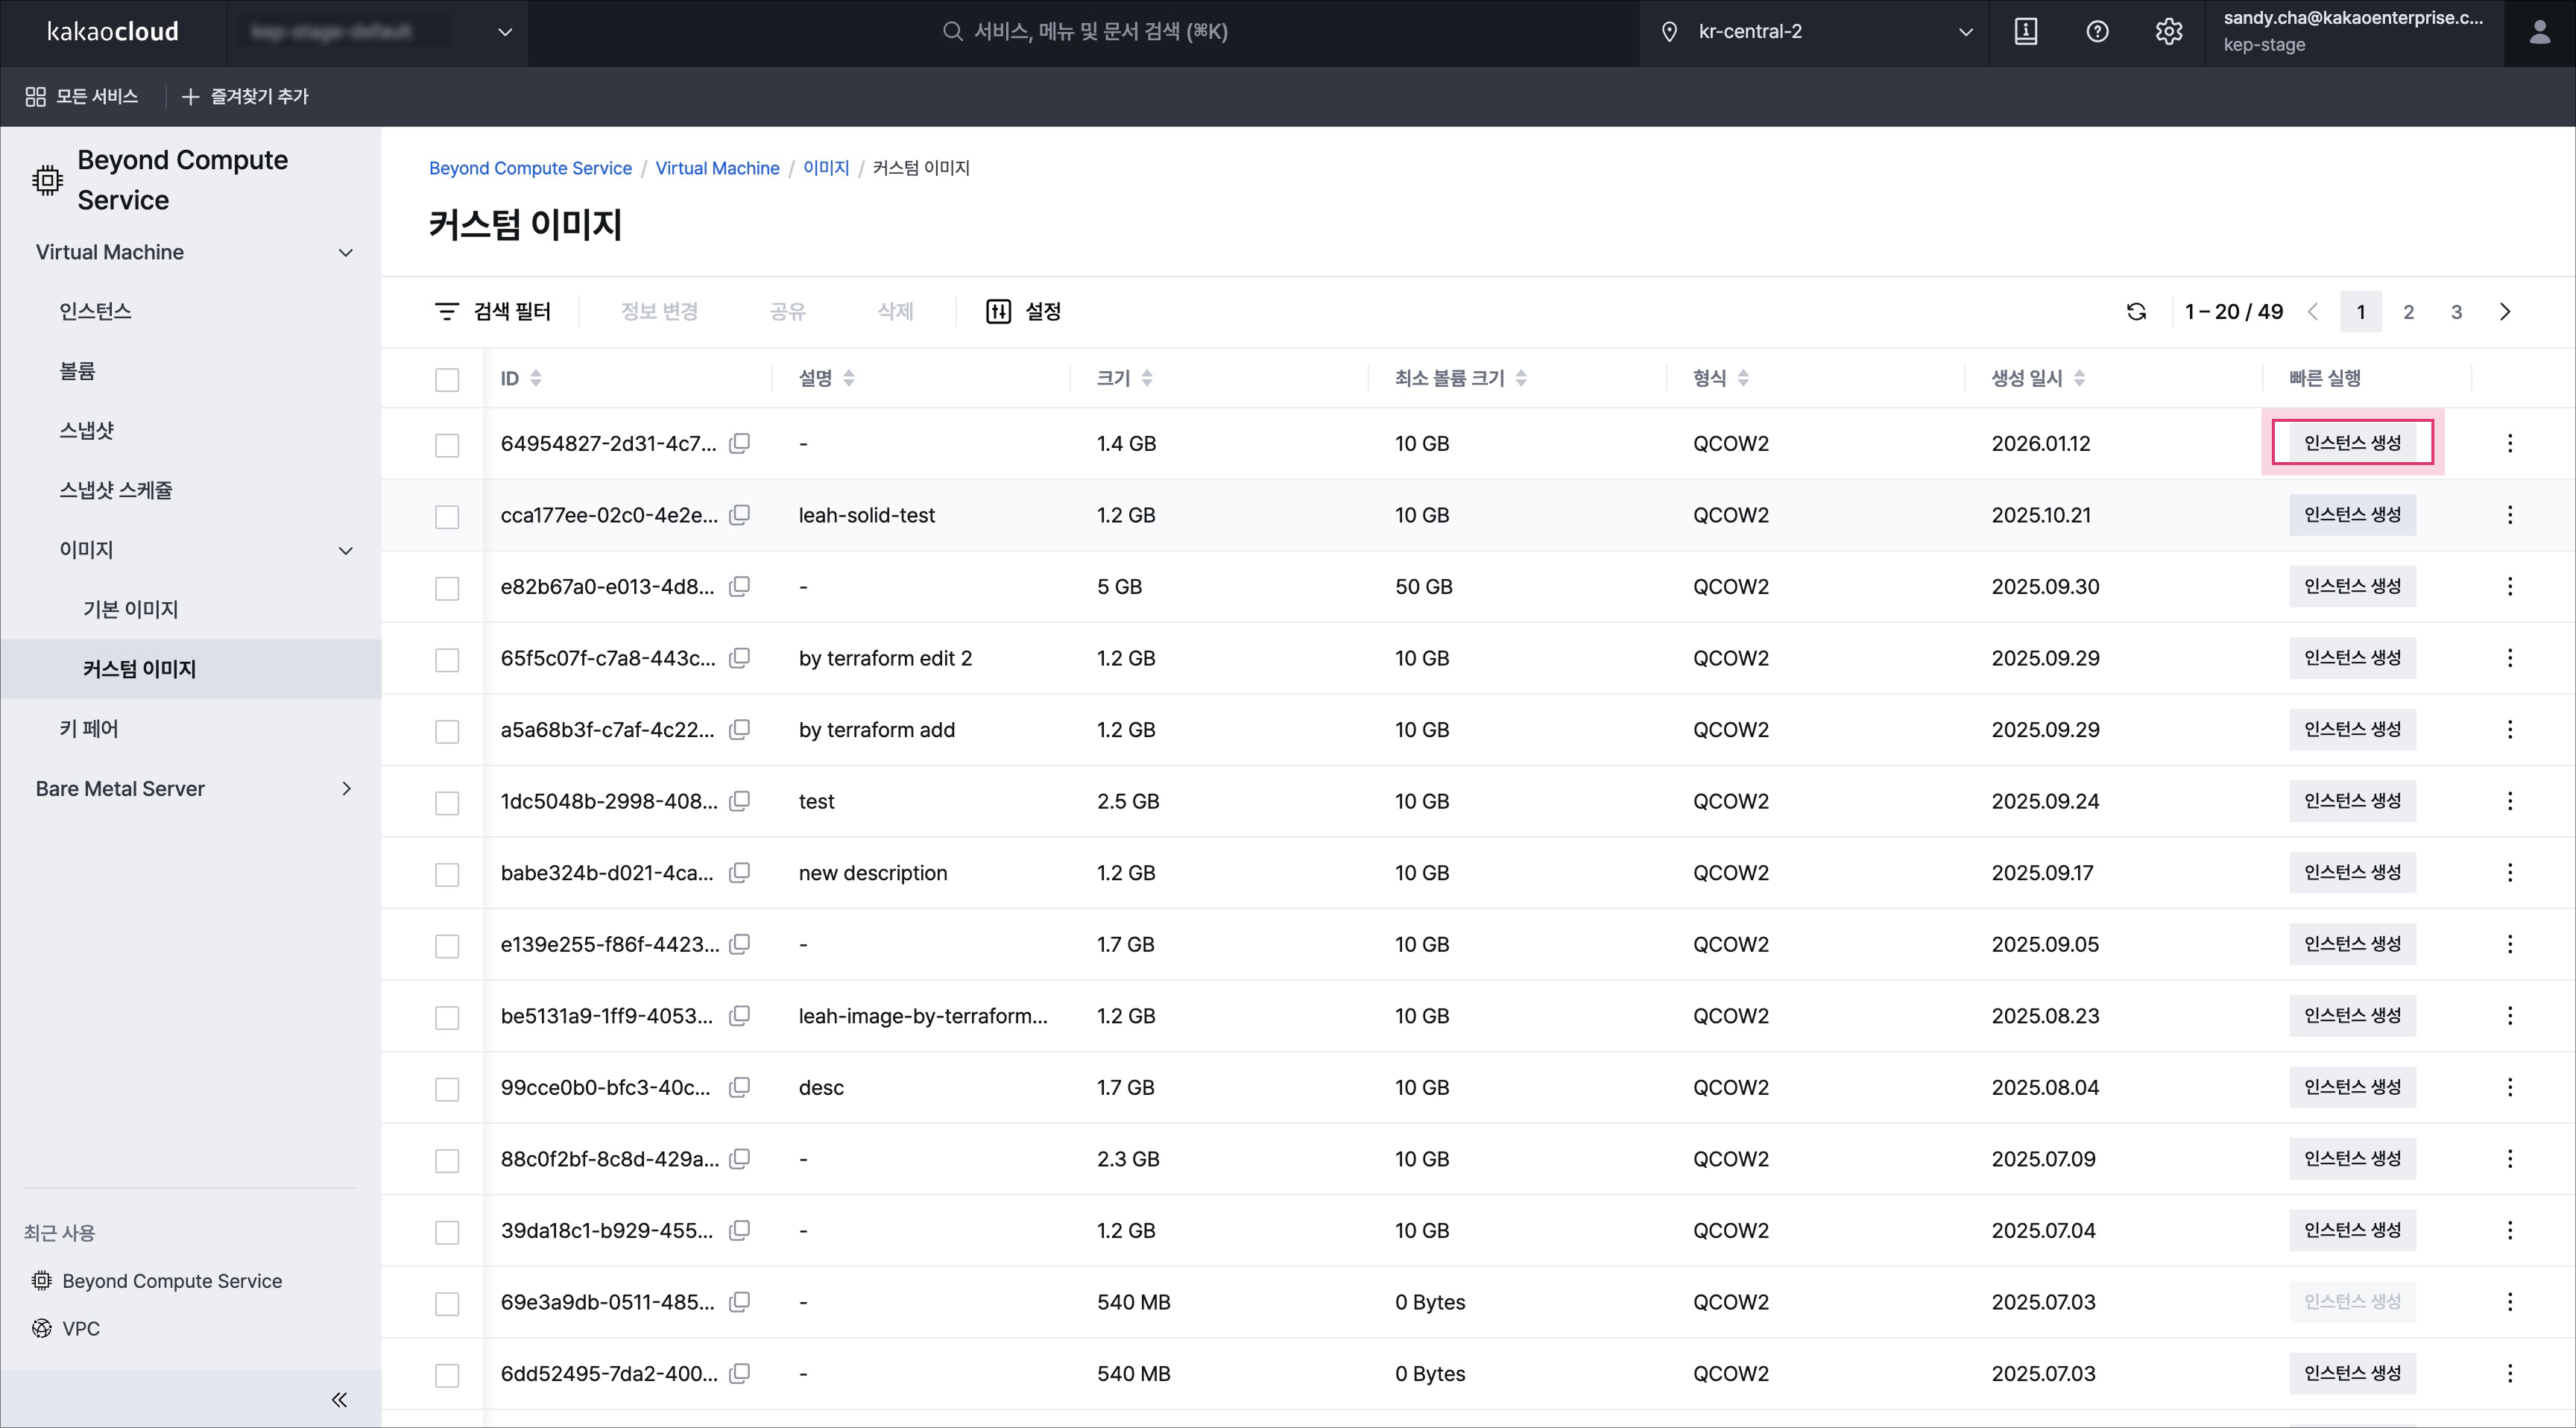
- In the Images menu, select Base Images or Custom Images.
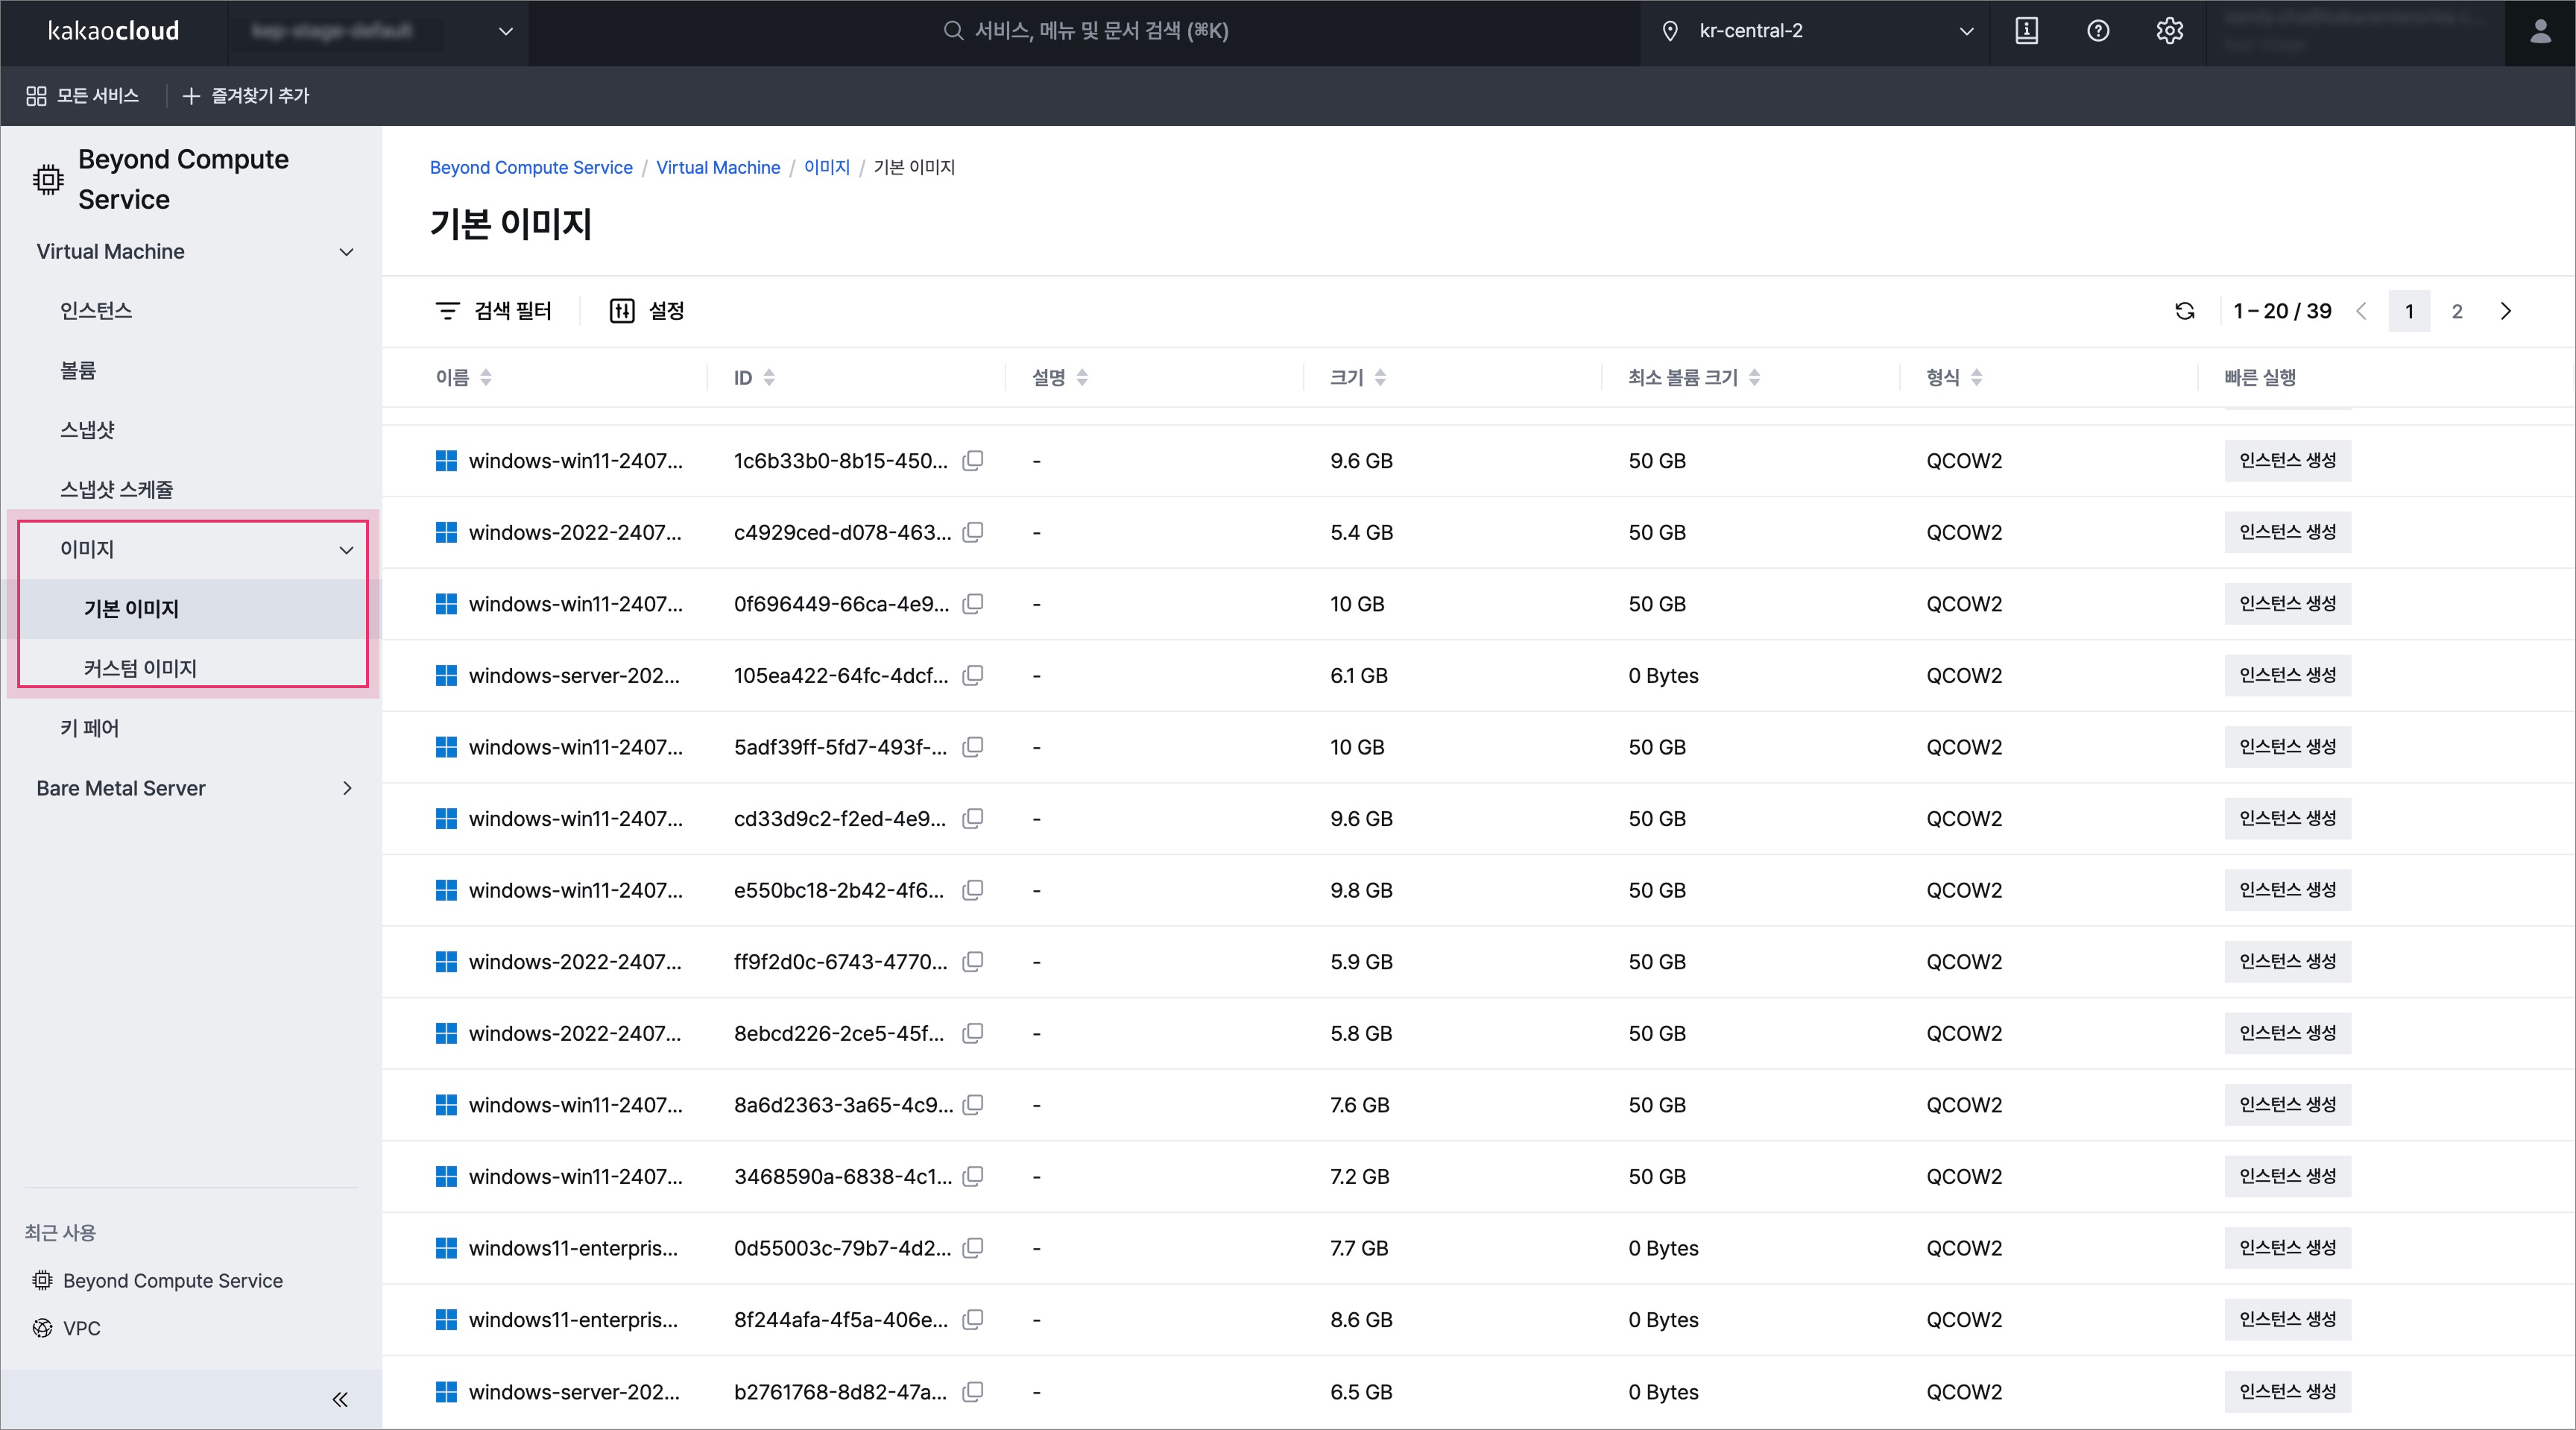 View image list
 - Check the information in each menu.
- Base Images
- Custom Images
| Field | Description |
|---|---|
| Name | Name of the image provided by KakaoCloud by default |
| ID | Unique UUID used to identify the image |
| Description | Description of the image |
| Size | Image size (GB) |
| Minimum volume size | Minimum size (GB) that must be allocated to the root volume when creating an instance with this image |
| Format | Image format |
| Quick launch | Create an instance using the image |
| Field | Description |
|---|---|
| Name | Name of the custom image created by the user from an instance |
| ID | Unique UUID used to identify the image |
| Status | Image status - See Image status |
| Description | Description of the image |
| Size | Image size (GB) |
| Minimum volume size | Minimum size (GB) that must be allocated to the root volume when creating an instance with this image |
| Format | Image format |
| Quick launch | Create an instance using the image |
| More | Actions for the custom image - Change information, share, or delete |
Among the provided default images, images based on the Windows operating system are not eligible for free credits.
Create custom image
You can create an image from the current state of an instance. This custom image can then be used when creating an instance.
- Only the root volume where the operating system is installed can be created as an image. To back up additional volumes, use the Snapshot feature.
- If you create a custom image through
Create imagefrom the created VM instance, the operation may fail depending on the size of the attached root volume. When creating a custom image, a target volume size of 1 TB or less attached to the instance is recommended.
- Go to KakaoCloud Console > Compute > Beyond Compute Service > Virtual Machine.
- In the Instances menu, select [⋮] button > Create image.
- In the pop-up window, enter the information, then click the [Create] button.
Create instance with custom image
You can create an instance using the information saved in a custom image.
- Go to KakaoCloud Console > Compute > Beyond Compute Service > Virtual Machine.
- In the Images menu, select Custom Images.
- Select Create instance on the right side of the image list.
- Enter the required information, then click the [Create] button.
Modify custom image
You can modify the information of a custom image.
For images shared from another project, only the creator of the image can modify it.
- Go to KakaoCloud Console > Compute > Beyond Compute Service > Virtual Machine.
- In the Images menu, select Custom Images.
- Select [⋮] button of the image to modify > Change information.
- In the pop-up window, modify the information, then click the [Save] button.
Share custom image
You can share an image created by the user with another project that the user belongs to.
- Only the user who first created the image can share or unshare the image.
- Members of the project that received the shared image will see the [Shared] icon next to the shared image.
-
Go to KakaoCloud Console > Compute > Beyond Compute Service > Virtual Machine.
-
In the Images menu, select Custom Images.
-
Select [⋮] button of the image to share > Share.
-
In the pop-up window, select the project to share with, then click the [Share] button.
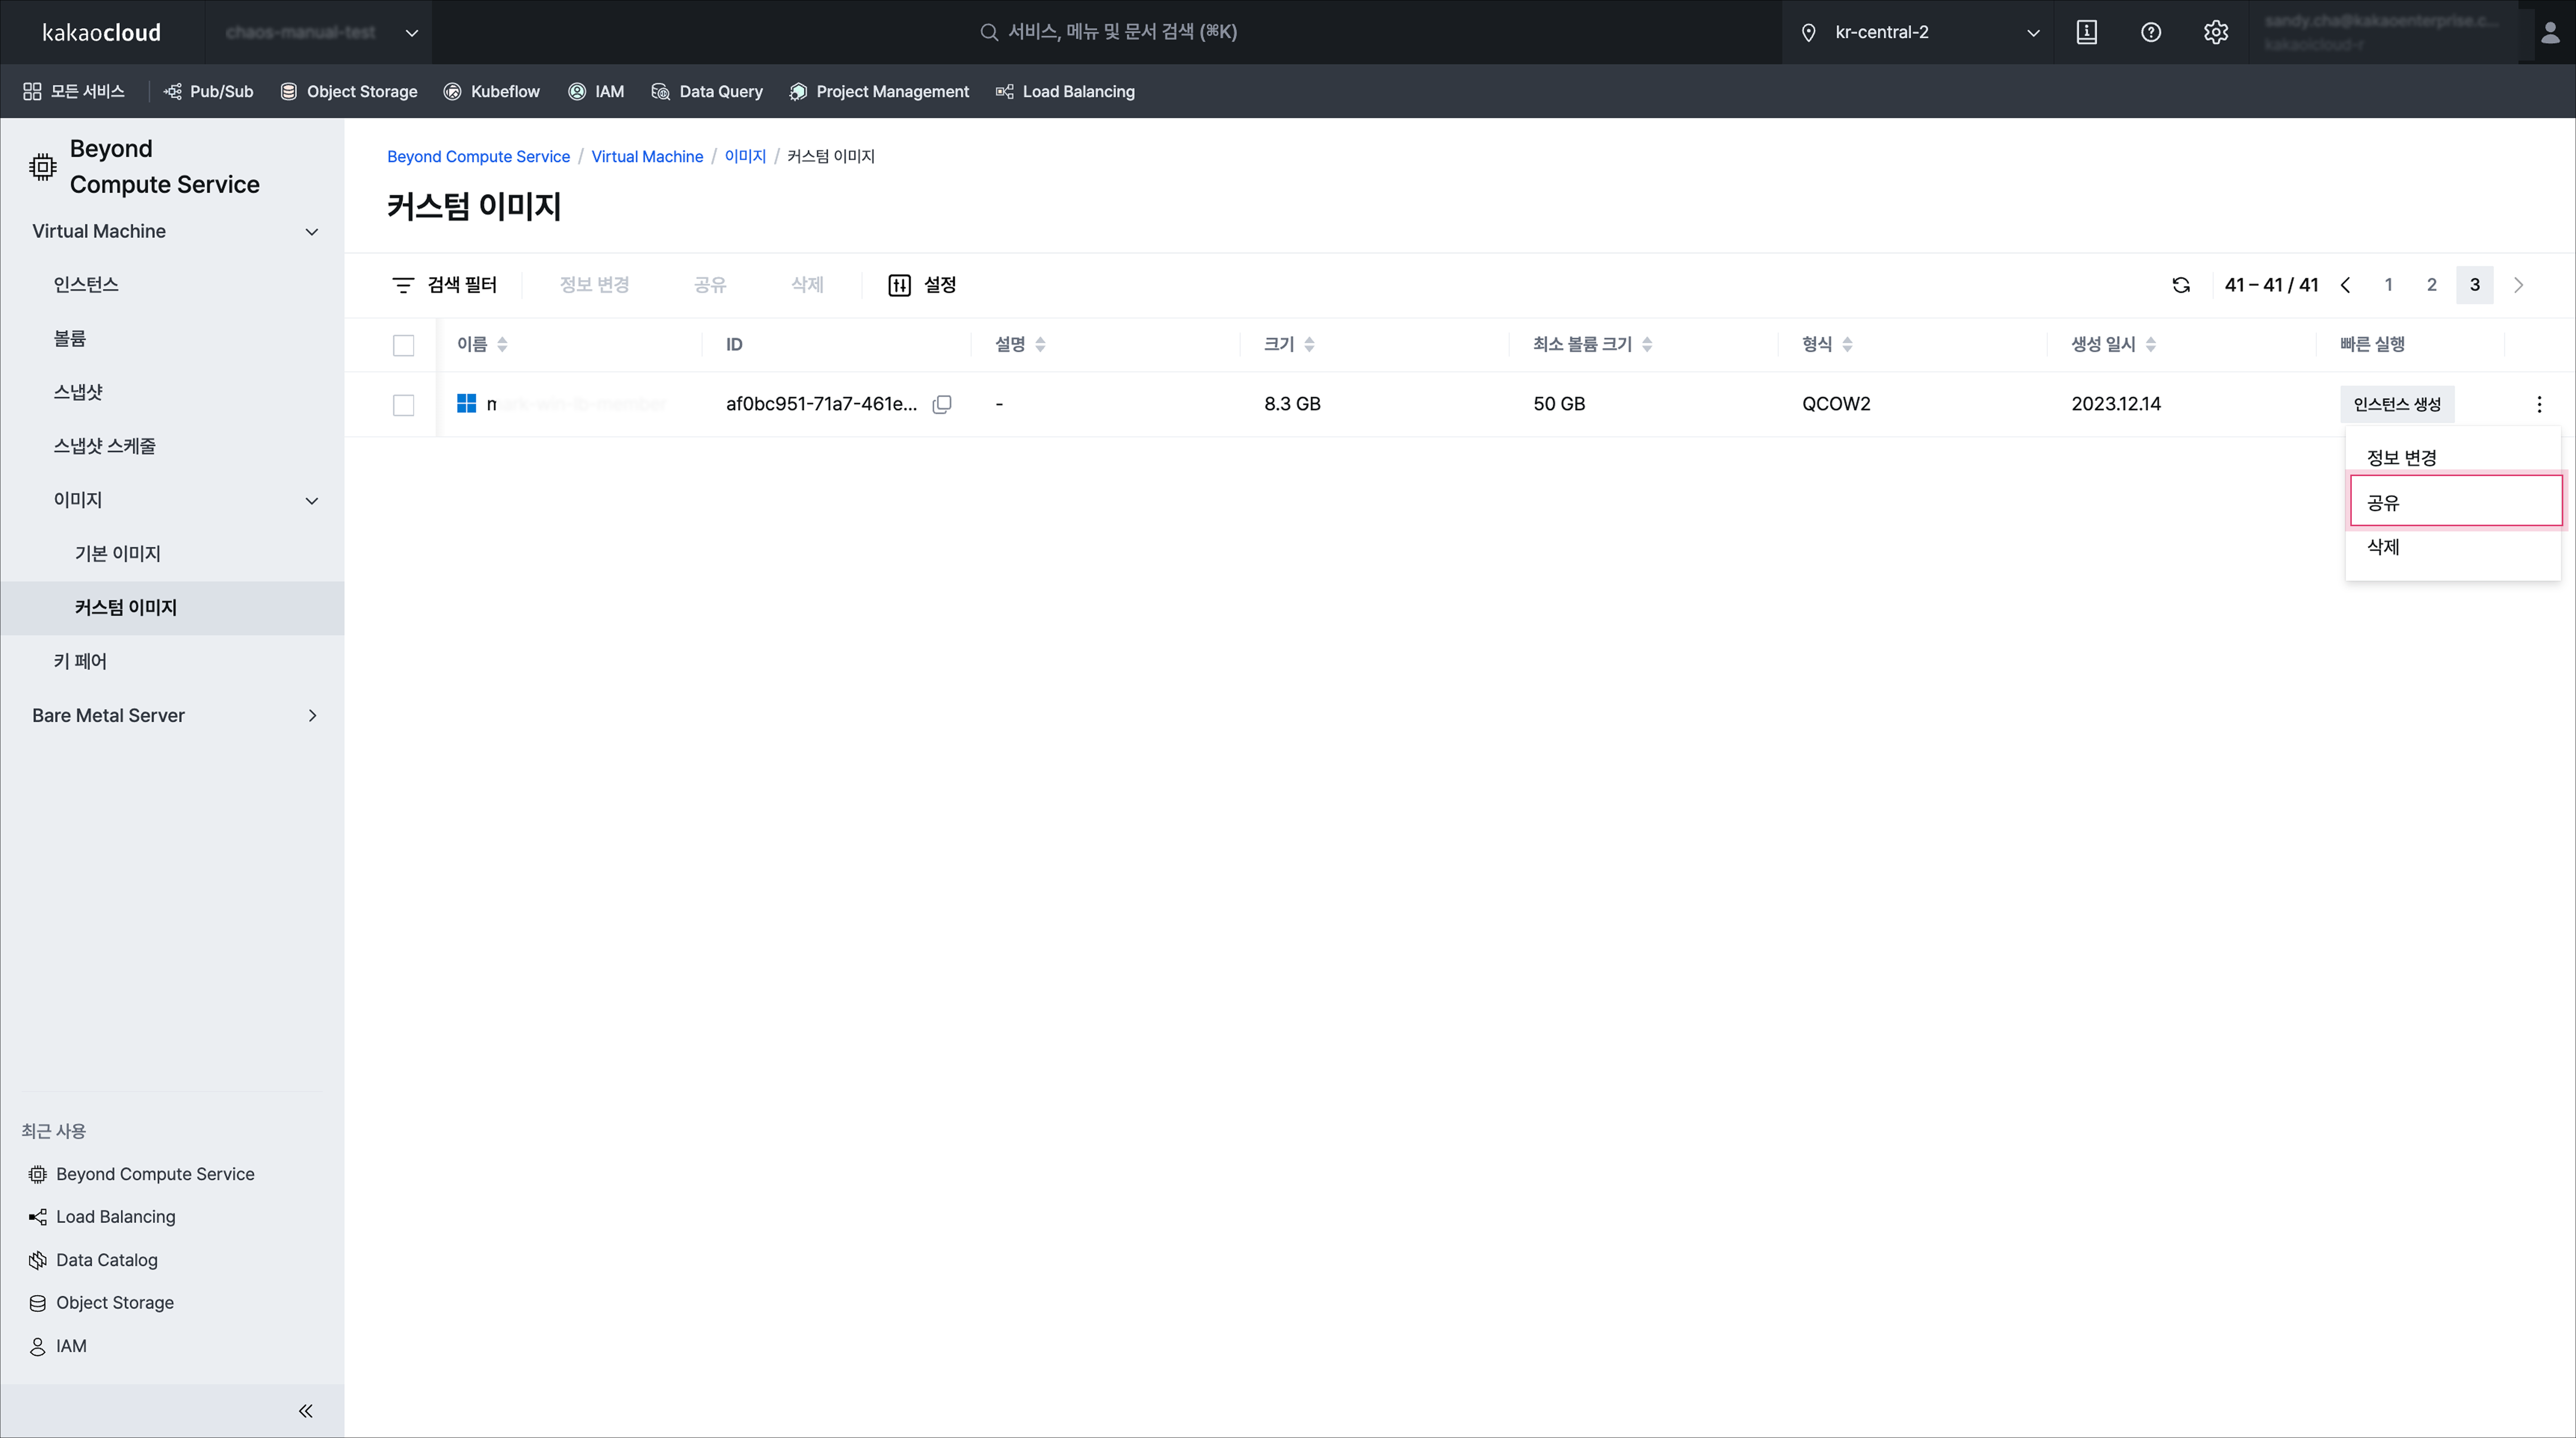 Share image
Delete custom image
You can delete one or more images that are no longer in use.
- Only
custom imagescreated by you can be deleted. - For images shared from another project, only the creator of the image can delete them.
- Go to KakaoCloud Console > Compute > Beyond Compute Service > Virtual Machine.
- In the Images menu, select Custom Images.
- Select one or more images to delete, and then select Delete at the top.
- In the pop-up window, enter the confirmation text, then click the [Delete] button.
Change root volume partition table format
For instances based on certain operating systems, the default partition table format of the root volume disk is the MBR (Master Boot Record) partitioning scheme. The MBR partitioning scheme supports only up to four partitions and works only on disks up to 2.0 TB, whereas the GPT partitioning scheme has no such limitations on partition count or volume size.
KakaoCloud provides the cloud images of each operating system as-is without configuration changes. You can change the root volume partition table format of instances based on CentOS, CentOS Stream, and Rocky Linux OS currently provided by KakaoCloud from MBR to GPT (GUID Partition Table).
The partition table format and file system type by operating system provided by KakaoCloud are as follows.
| OS name | Version | Root volume partition table format |
|---|---|---|
| Ubuntu | 20.04 | GPT |
| Ubuntu | 22.04 | GPT |
| Ubuntu | 24.04 | GPT |
| CentOS Stream | 9 | MBR |
| Rocky Linux | 8.10 | MBR |
| Rocky Linux | 9.4 | MBR |
| Alma Linux | 8.10 | GPT |
| Alma Linux | 9.4 | GPT |
| Windows | 2019 | MBR |
| Windows | 2022 | MBR |
Procedure
The following describes how to change the disk partition table format of a CentOS instance from MBR to GPT.
This procedure is based on the CentOS Stream 8 image currently provided by KakaoCloud.
If you change the partition table format of a volume already in use, pay attention to data preservation and back up the data before making the change.
-
Check the current disk information with the
lsblkcommand.lsblk command[root@centos ~]$ sudo fdisk -l
Disk /dev/vda: 10.7 GB, 10737418240 bytes, 20971520 sectors
Units = sectors of 1 * 512 = 512 bytes
Sector size (logical/physical): 512 bytes / 512 bytes
I/O size (minimum/optimal): 512 bytes / 512 bytes
Disk label type: dos
Disk identifier: 0x0009b542
Device Boot Start End Blocks Id System
/dev/vda1 * 2048 20971486 10484719+ 83 Linux -
Check the current partition table information of the disk with the
gdiskcommand.gdisk command[root@centos ~]$ sudo gdisk -l /dev/vda
GPT fdisk (gdisk) version 0.8.10
Partition table scan:
MBR: MBR only
BSD: not present
APM: not present
GPT: not present
***************************************************************
Found invalid GPT and valid MBR; converting MBR to GPT format
in memory.
***************************************************************
Disk /dev/vda: 20971520 sectors, 10.0 GiB
Logical sector size: 512 bytes
Disk identifier (GUID): 79C4C601-BF62-45E4-97F8-AB21F158EED7
Partition table holds up to 128 entries
First usable sector is 34, last usable sector is 20971486
Partitions will be aligned on 2048-sector boundaries
Total free space is 2014 sectors (1007.0 KiB)
Number Start (sector) End (sector) Size Code Name
1 2048 20971486 10.0 GiB 8300 Linux filesystem -
Change the partition table from
MBRtoGPTwith thegdiskcommand.- Because GPT requires a boot partition, create that partition.
- Set the boot partition to
first sector 34andlast sector 2047, and select the partition code asef02.
-
Install grub on the new boot partition.
Install grub#Recognize new partition
[root@centos ~]$ sudo partprobe
#Install GRUB
[root@centos ~]$ sudo grub2-install /dev/vda
Installing for i386-pc platform.
Installation finished. No error reported. -
Run the reboot command to apply the changes.
Reboot command[root@centos ~]$ sudo reboot -
Check whether the disk partition table format has been changed correctly with the
lsblkcommand.Check format change[root@centos ~]$ sudo fdisk -l
WARNING: fdisk GPT support is currently new, and therefore in an experimental phase. Use at your own discretion.
Disk /dev/vda: 3221.2 GB, 3221225472000 bytes, 6291456000 sectors
Units = sectors of 1 * 512 = 512 bytes
Sector size (logical/physical): 512 bytes / 512 bytes
I/O size (minimum/optimal): 512 bytes / 512 bytes
Disk label type: gpt
Disk identifier: D9C42684-E18C-4B8F-9388-C2F2CDC093ED
# Start End Size Type Name
1 2048 6291455965 3T Linux filesyste Linux filesystem
2 34 2047 1007K BIOS boot BIOS boot partition