Mount
You can mount a File Storage instance to Virtual Machine instances and the volumes of Kubernetes Engine.
Mount on Virtual Machine instance
Here's how to mount it on a Virtual Machine instance:
Connect to Virtual Machine instance
-
Select the Virtual Machine menu in KakaoCloud console.
-
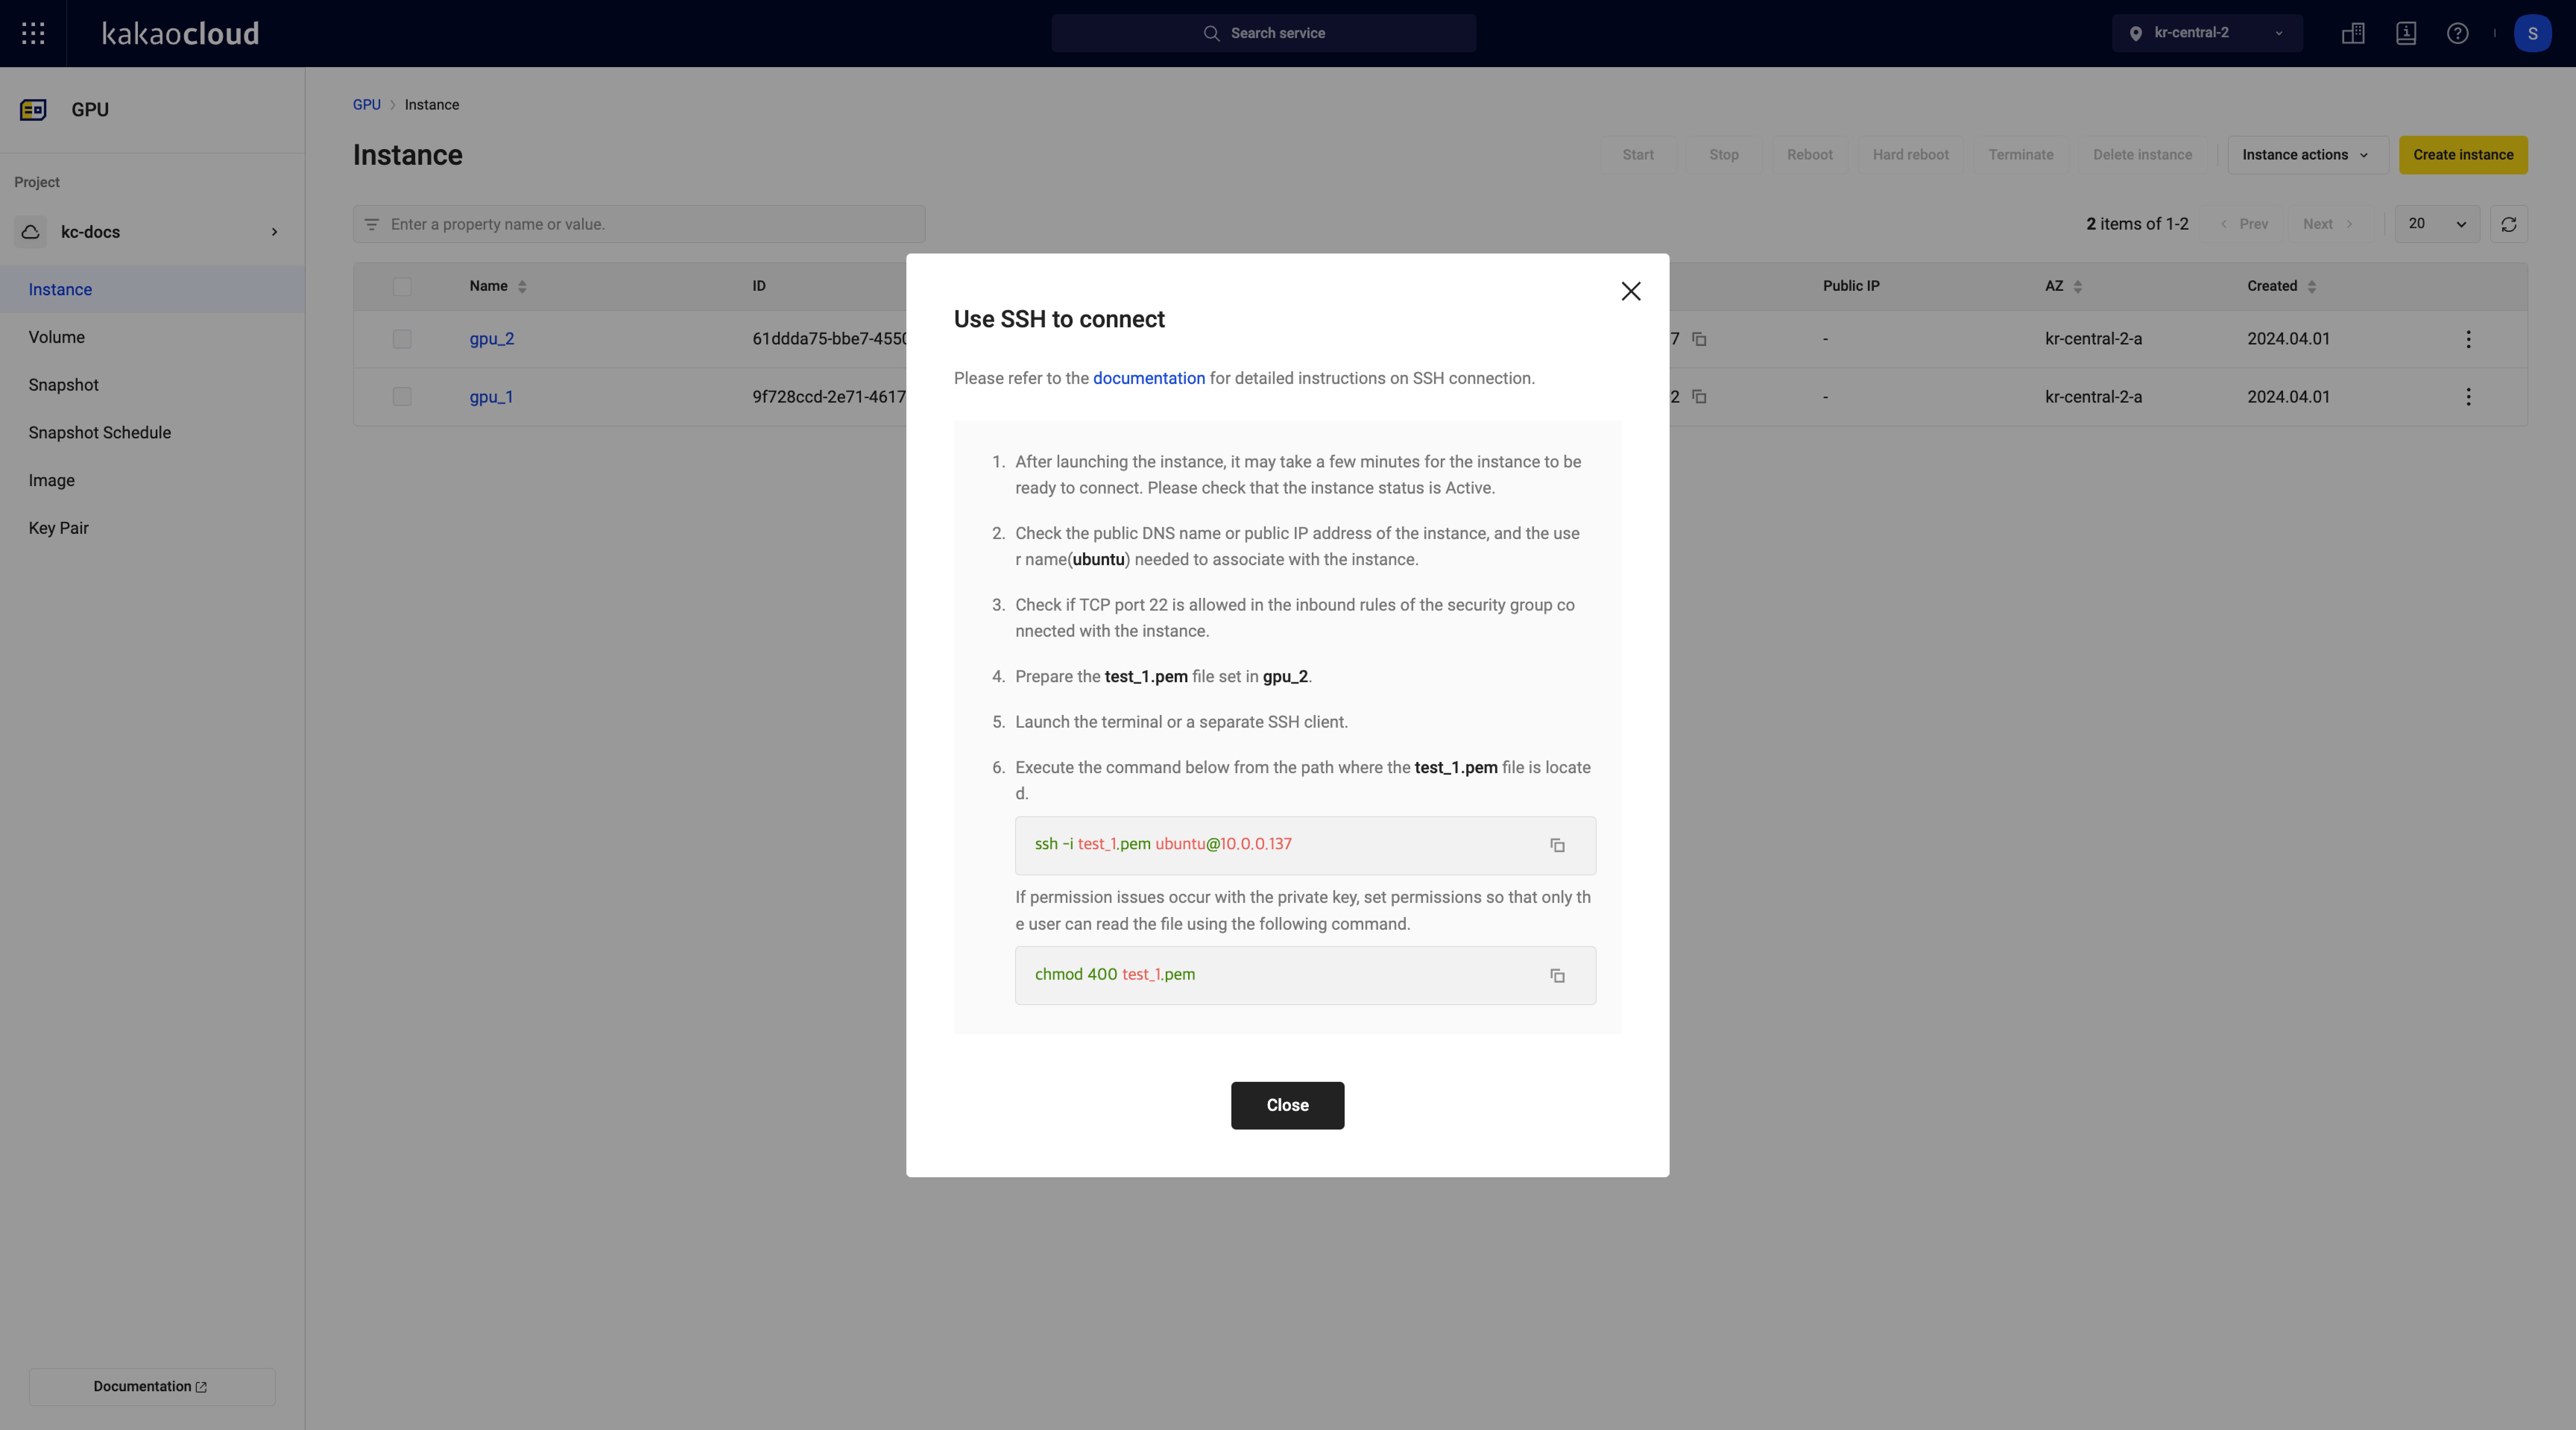
In the Instance menu, select the [More] icon to mount > Use SSH to connect.
-
In the pop-up window, select the [Copy] icon to copy the command.
 SSH connection
 -
Connect to the instance using the command. For detailed instructions on connecting to an instance using SSH, please refer to Virtual Machine > Create and connect instance.
Install NFS package
-
After checking the OS of the instance, install the NFS package using the following command.
- CentOS command
- Ubuntu command
CentOSsudo yum install -y nfs-utilsUbuntusudo apt-get install nfs-commonIf the NFS package is not installed, the error below occurs. If an error occurs, please refer to Install NFS Package to install the package.
Error when NFS package is not installedsudo: unable to resolve host for[Virtual Machine instance name]
mount: /home/deploy/nfs-mount: bad option; for several filesystems (e.g. nfs, cifs) you might need a /sbin/mount.<type> helper program. -
Verify that the installation was completed successfully.
Mount NFS
-
Connect to Virtual Machine instance and create an NFS mount directory.
NFS Mount Directorymkdir {create mount directory name} -
Enter the command to check whether the mount directory is created.
Command to check whether mount directory is createdls -la -
Confirm that the nfs-mount directory has been created as follows.
Confirm directory creationdrwxr-xr-x 2 deploy deploy 4096 Dec 13 06:17 nfs-mount -
Enter the mount information (mount point) that can be found in the instance details and the mount directory you created along with the mount command.
Mount commandsudo mount -t nfs {File Storage instance private IP}:/{file share name} {mount directory you created} -
Enter the command to check whether it is mounted.
Mount confirmation commandmount -
Verify that the mount completed successfully as follows:
Confirm mount11.111.11.111:/share_storage on /home/deploy/nfs-mount type nfs4 (rw,relatime,vers=4.2,rsize=1048576,wsize=1048576,namlen=255,hard,proto=tcp,timeo=600,retrans= 2,sec=sys,clientaddr=10.183.51.186,local_lock=none,addr=11.111.11.111)
Unmount NFS
The NFS mount disconnect command is as follows:
umount {mount directory you created}
Mount on Kubernetes Engine
Here's how to mount a File Storage instance in Kubernetes Engine:
Allow NFS access
-
Enter the command to check the IP of the Kubernetes Engine Worker Node.
Checking Worker Node IPkubectl --kubeconfig={kube_config} get nodes -o wide -
Check the IP of the Worker Node as shown below.
 Check Worker Node IP
 -
Add the Worker Node’s IP using File Storage by navigating to File Storage > Instance > Network tab > Configure access control.
Create PV
-
Create a yaml file for creating PV (Persistent Volume).
Create yaml fileapiVersion: v1
kind: PersistentVolume
metadata:
name: pv-nfs-share-storage
spec:
capacity:
storage: 1Gi
accessModes:
-ReadWriteMany
nfs:
server: enter IP
path: /{file share name}
storageClassName: "nfs-share-storage" -
Apply the created PV yaml file to Kubernetes Engine.
Apply PV yaml file to Kubernetes Enginekubectl --kubeconfig={kube_config} apply -f nfs-pv.yaml -
Check whether it applies.
Command to confirm application of PV yaml file to Kubernetes Enginekubectl --kubeconfig={kube_config} get pv -
You can check that it has been applied as follows.
 Check whether PV is applied
Create PVC
-
Create a Persistent Volume Claim (PVC) yaml file containing the persistent volume.
Create PVC yaml fileapiVersion: v1
kind: PersistentVolumeClaim
metadata:
name: pvc-nfs-share-storage
spec:
storageClassName: "nfs-share-storage"
accessModes:
-ReadWriteMany
resources:
requests:
storage: 1Gi -
Apply the PVC yaml file to Kubernetes Engine.
Apply PVC yaml file to Kubernetes Enginekubectl --kubeconfig={kube_config} apply -f nfs-pvc.yaml -
Enter the command to check application.
Command to confirm application of PVC yaml file to Kubernetes Enginekubectl --kubeconfig={kube_config} get pvc -
You can check that it has been applied as follows.
 Check whether PV is applied
Create deployment
-
Create a deployment yaml file to mount a Persistent Volume Claim on a Pod deployed on Kubernetes Engine.
Create Deployment yaml fileapiVersion: apps/v1
kind: Deployment
metadata:
name: {Deployment name}
spec:
selector:
matchLabels:
app: {Label name}
replicas: 2
template:
metadata:
labels:
app: {Label name}
spec:
containers:
- name: master
image: {user container URL}
ports:
- containerPort: 77
volumeMounts:
- mountPath: /data/share-storage
name: pvc-volume
volumes:
- name: pvc-volume
persistentVolumeClaim:
claimName: pvc-nfs-share-storage -
Apply the deployment yaml file to Kubernetes Engine.
Apply Deployment yaml file to Kubernetes Enginekubectl --kubeconfig={kube_config} apply -f deployment.yaml -
Enter the command to check application.
Command to confirm application of Deployment yaml file to Kubernetes Enginekubectl --kubeconfig={kube_config} get deployments -
Confirm that the following has been applied:
Confirm Deployment yaml file applied to Kubernetes EngineNAME READY UP-TO-DATE AVAILABLE AGE
nginx-demo 2/2 2 2 1d -
Enter the command to check the pod created by deployment.
Pod confirmation commandkubectl --kubeconfig={kube_config} get pods -
Check the created pod.
Check PodNAME READY STATUS RESTARTS AGE
nginx-demo - 1/1 Running 0 1d
nginx-demo - 1/1 Running 0 1d
Check whether it is mounted
-
Connect to the created pod.
Pod connectionkubectl --kubeconfig={kube_config} exec -it pod name /bin/bash -
Enter the mount confirmation command.
Mount confirmation command$ mount -
Confirm it is mounted.
Confirm mountip:/share_storage on /data/share-storage type nfs4 (rw,relatime,vers=4.2,rsize=524288,wsize=524288,namlen=255,hard,proto=tcp,timeo=600,retrans=2,sec= sys,clientaddr=ip,local_lock=none,addr=ip)