Configure Jupyter Notebook environment on GPU
This document covers setting up Jupyter Notebook using KakaoCloud's GPU.
- Estimated time required: 20 minutes
- Recommended OS: MacOS, Ubuntu
- Prerequisites
- Reference documents
About this scenario
This scenario covers the process of installing and configuring Jupyter Notebook using KakaoCloud's GPU service. Jupyter Notebook is a web-based open-source tool that enables integrated tasks such as data analysis, machine learning model training, and visualization using Python. When combined with a GPU environment, it allows for fast and efficient execution of complex data processing and large-scale computations.
The main topics include:
- Configure the NVIDIA GPU environment and installing drivers
- Install and configure Jupyter Notebook
- Install libraries required for data analysis and machine learning tasks
Before you start
Create a VPC and a security group as prework.
Create VPC and subnet
Refer to the Create VPC and Create subnet documentation to create a new VPC and Subnet.
Create security group
Refer to the Create security group document to create a security group. Configure the inbound rules of the security group as follows to allow access to the 8080 port of the GPU instance.
| CIDR | Protocol | Port | Description(Optional) |
|---|---|---|---|
{Your Public IP}/32 | TCP | 8080 | Jupyter Notebook |
Select the button below to check your current public IP.
Getting started
The detailed tasks for building Jupyter Notebook are as follows.
Step 1. Set up NVIDIA GPU environment
Refer to the Initialize NVIDIA GPU environment document to create a GPU instance on KakaoCloud. Install and configure the required NVIDIA drivers, CUDA, and cuDNN libraries. These are the foundational settings for configuring the Jupyter Notebook environment.
Step 2. Install Python and Anaconda
Install Python 3.8 and Anaconda to set up the programming language and package management tools for the Jupyter Notebook environment.
-
Use the following commands to install Python 3.8 and verify the installed version.
# Install Python 3.8
apt-get update -y
apt-get install python3.8 -y
python3 --version -
Use Anaconda to install and manage the Jupyter Notebook environment. First, download the Anaconda installation file.
wget https://repo.anaconda.com/archive/Anaconda3-2022.05-Linux-x86_64.sh -
Run the downloaded file to install Anaconda on your VM.
sh Anaconda3-2022.05-Linux-x86_64.sh -
Press Enter to continue with the installation.
# In order to continue the installation process, please review the license
# agreement.
# Please, press ENTER to continue
# >>> ## Press 'Enter' ## -
Agree to the EULA and other licenses to proceed with the Anaconda installation. After reviewing the screen content, press the
qkey to move to the next step.# ==================================================
# End User License Agreement - Anaconda Distribution
# ==================================================
#
# Copyright 2015-2022, Anaconda, Inc.
# ...
# --More--
# >>> ## Press 'q' ## -
If you accept the EULA license, type
yes.# Do you accept the license terms? [yes|no]
# [no] >>> ## Type 'yes' ## -
Press Enter to start the installation.
# - Press ENTER to confirm the location
# - Press CTRL-C to abort the installation
# - Or specify a different location below
#
# [/root/anaconda3] >>> ## Press 'Enter' ## -
Once the installation is complete, set the environment variables as shown below. Verify the installation by using the
condacommand.# After installation, you will be asked whether to initialize Anaconda3
Do you wish the installer to initialize Anaconda3
by running conda init? [yes|no]
[no] >>> ## Type 'yes' ### Reload the terminal environment
source ~/.bashrcexport PATH=~/anaconda3/bin:$PATH
# Verify installation
conda help
Step 3. Install and run Jupyter Notebook
Complete the installation of Jupyter Notebook, including password setup, port and IP configuration. Then, install the essential libraries required for data analysis and machine learning tasks.
-
Install Jupyter Notebook and generate the configuration file.
conda install jupyter-notebook
jupyter-notebook --generate-config -
Use the
printfcommand to encrypt the password that will be used to access Jupyter Notebook.printf "from notebook.auth import security\nsecurity.passwd()\n" | ipython
# Enter password: ${Enter your desired password}
# Verify password: ${Re-enter your password}For example, if you set the password to "test," an encrypted password string will be displayed after Out[2]:. Copy and save this value separately.
In [2]: Enter password: test
Verify password: test
Out[2]: 'argon2:$argon2id$v=19$m=10240,t=10,p=8$oBt2YGaflk+sL3Lq60urcg$4Vc/yVxAR1x43bzlEDNy/Viu+U0kfOBDXbnsIdquEeI'ENCRYPTED_PWIn the example above, this refers to the encrypted string shown after
Out[2]:.
Copy this value and paste it into thec.NotebookApp.passwordfield in the configuration file. -
Edit the Jupyter Notebook configuration file to specify the access IP and port. This can be done using the
sedcommand below.sed -i "s/$(cat ~/.jupyter/jupyter_notebook_config.py \
| grep c.NotebookApp.ip)/c.NotebookApp.ip = '0.0.0.0'/g" \
~/.jupyter/jupyter_notebook_config.py
sed -i "s/$(cat ~/.jupyter/jupyter_notebook_config.py \
| grep "c.NotebookApp.port =")/c.NotebookApp.port = 8080/g" \
~/.jupyter/jupyter_notebook_config.py -
Use the previously copied and saved encrypted string to set the password in the Jupyter Notebook configuration file.
# Open the config file with the vi editor for manual configuration (recommended over using automatic sed command)
vi ~/.jupyter/jupyter_notebook_config.py

# Uncomment the line below and paste your encrypted password
c.NotebookApp.password = 'your_encrypted_password' -
Verify that the encrypted password was entered correctly.
# Verify that the previously set string is displayed.
cat ~/.jupyter/jupyter_notebook_config.py | grep "c.NotebookApp.password ="

# Example result
c.NotebookApp.password = 'argon2:$argon2id$...' -
After completing the configuration, run Jupyter Notebook on port
8080.mkdir -p ~/jupyter
nohup jupyter notebook --allow-root > ~/jupyter/jupyter.out 2>&1 & echo $! > ~/jupyter/jupyter.pid
# Check if jupyter notebook is running.
sleep 3
curl http://localhost:8080/login -
Install the necessary libraries.
pip3 install numpy
pip3 install pandas
pip3 install matplotlib
pip3 install seaborn
pip3 install scikit-learn
pip3 install tensorflow==2.5.0 --use-deprecated=legacy-resolver
pip3 install torch==1.12.1+cu113 torchvision==0.13.1+cu113 torchaudio==0.12.1 \
--extra-index-url https://download.pytorch.org/whl/cu113infoTensorFlow 2.5 is compatible with cuDNN version 8.x.
In environments with cuDNN 9.x, the GPU may not be recognized properly.
Make sure to install version 8 from the NVIDIA cuDNN Archive. -
Download the example files.
git clone -b jupyter-notebook https://github.com/kakaoenterprise/kc-handson-config.git
mv ./kc-handson-config/hands-on-test.ipynb ./hands-on-test.ipynb
Step 4. Access to Jupyter Notebook
-
Verify that the Jupyter Notebook process is running, then access it in your browser at
${GPU_PUBLIC_IP}:8080/login. -
Enter the password you set to log in.
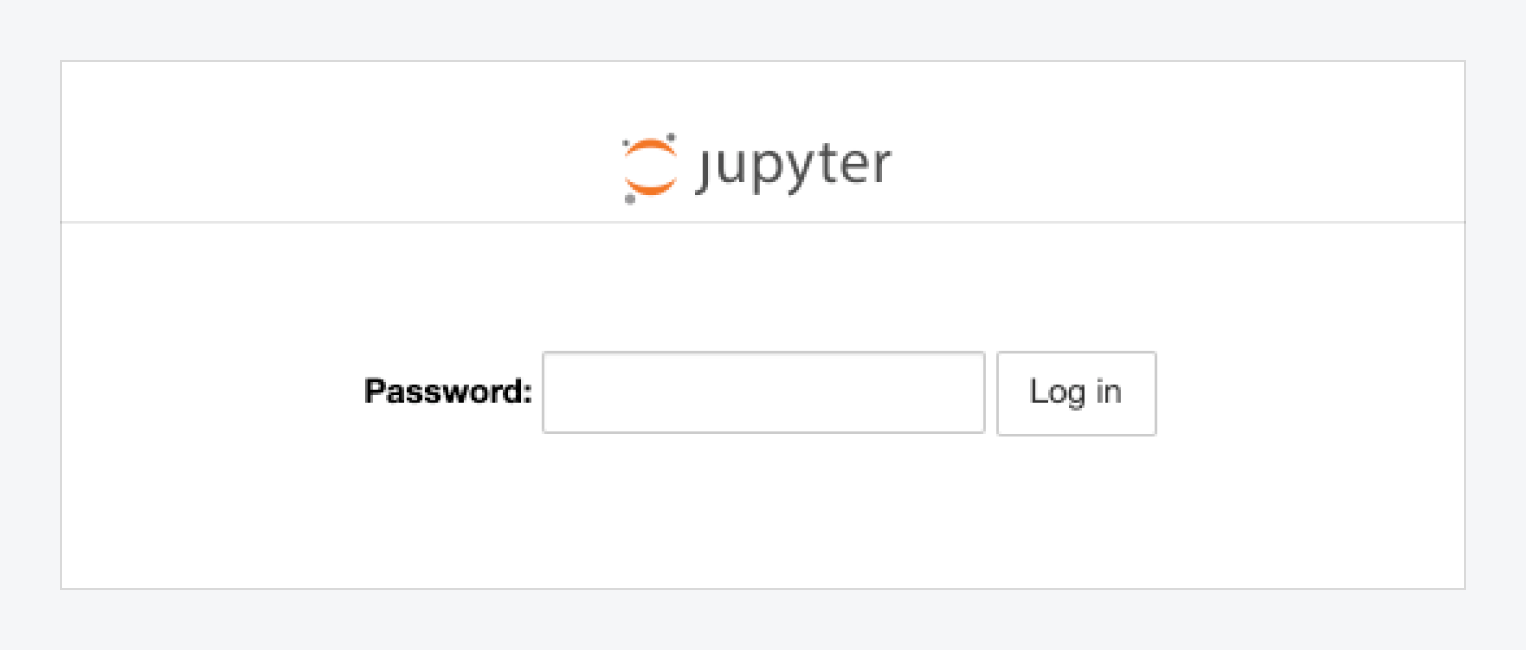
-
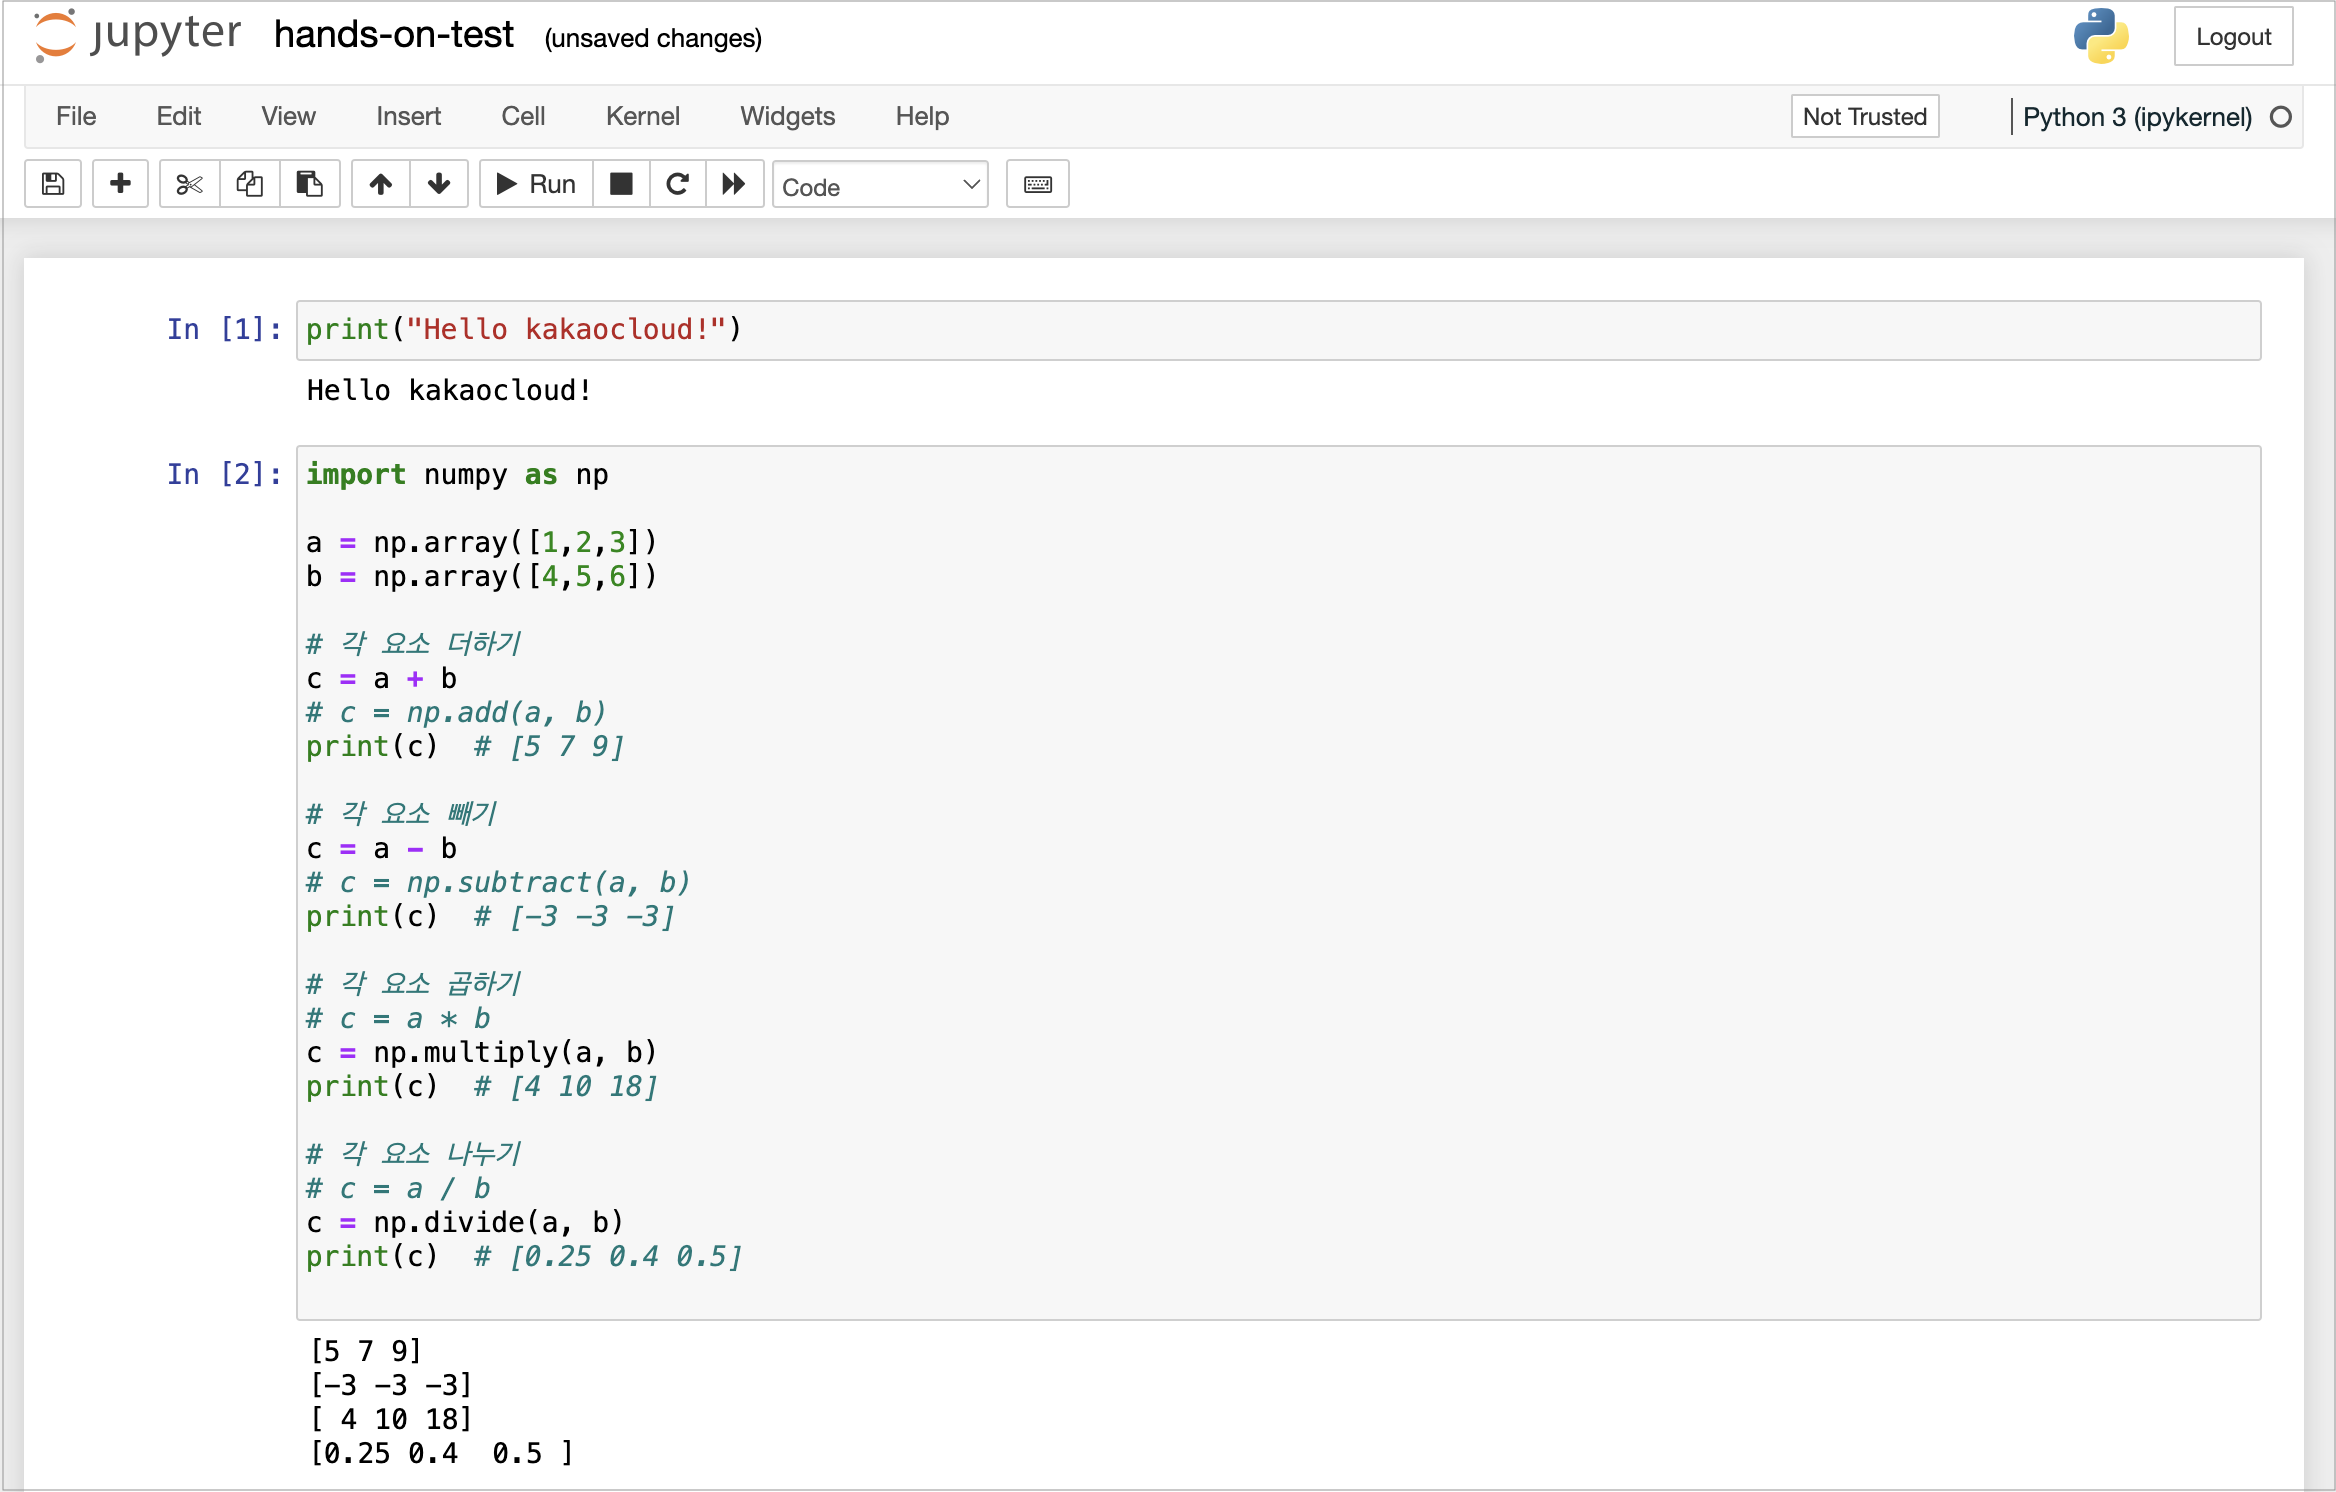
After entering the password, you will be directed to the Jupyter Notebook working directory page. Access the downloaded
handson-on-test.ipynbfile.
-
Run the example code to verify that it prints “Hello kakaocloud!”.