Initialize NVIDIA GPU environment
This guide explains the process of setting up an NVIDIA GPU environment, including installing drivers and libraries, creating an instance using a base image, and adding GPU drivers.
- Estimated time required: 30 minutes
- Recommended OS: MacOS, Ubuntu
- Prerequisites
About this scenario
This scenario explains how to install and configure NVIDIA drivers, CUDA, and cuDNN libraries in the KakaoCloud environment for machine learning or deep learning tasks using NVIDIA GPU. Users can create instances with the default Ubuntu 20.04 NVIDIA image or a specific NVIDIA/CUDA version and install the required drivers and libraries.
The main topics include:
- Set up a GPU environment easily using the NVIDIA driver pre-installed image
- Install specific driver and library versions when a specific NVIDIA/CUDA version is required, using the default Ubuntu image
- Access the GPU instance via SSH using its public IP and installing drivers and libraries
- Verify the setup after installing CUDA and cuDNN libraries
Before you start
As a prework, create a VPC and security group.
Create VPC and subnet
Refer to the Create VPC and Create subnet documentation to create a new VPC and Subnet.
Create security group
Refer to the Create security group documentation to create a security group. Add the following inbound policy:
Select the button below to check your current public IP.
| CIDR | Protocol | Port | Role |
|---|---|---|---|
{Your Public IP}/32 | TCP | 22 | ssh |
Getting started
The NVIDIA GPU environment setup explains two methods: using the NVIDIA driver pre-installed image and using a general Ubuntu image.
Type 1. Use NVIDIA driver pre-installed image
To create a GPU instance using KakaoCloud's default image, Ubuntu 20.04 (NVIDIA VERSION), follow these steps. This image includes NVIDIA driver version 470.199.02 and CUDA version 11.4, eliminating the need for separate NVIDIA driver or CUDA installations.
If you use an image other than Ubuntu 20.04 (NVIDIA VERSION), refer to the Use general Ubuntu image document.
Step 1. Create GPU instance
-
Go to KakaoCloud console > GPU.
-
In the Instance tab, select the [Create instance] button.
-
Under Create instance, configure the VM instance as follows, then select the [Create] button.
Field Setting Basic information - Name: Set as desired
- Count: 1Image Select Ubuntu 20.04 - 5.4.0-173 (NVIDIA) under the Base tab Instance type p2i.6xlarge Volume Root Volume: 50GB or more Key pair Private key
.pemformat, create new or use an existing keyNetwork - VPC: Select the VPC created in the prework
- Subnet: Select the subnet created in the prework
- Security Group: Select the Security Group created above
Step 2. Associate public IP
Associate a public IP with the GPU instance.
- Go to KakaoCloud console > Beyond Compute Service > GPU.
- Select the [More] icon > Associate public IP.
- In the popup, select Create new public IP and assign it automatically, then select [OK].
- Verify the public IP in the Public IP column.
Step 3. Install cuDNN
Install NVIDIA cuDNN (NVIDIA CUDA Deep Neural Network library), a GPU-accelerated library for deep neural networks.
-
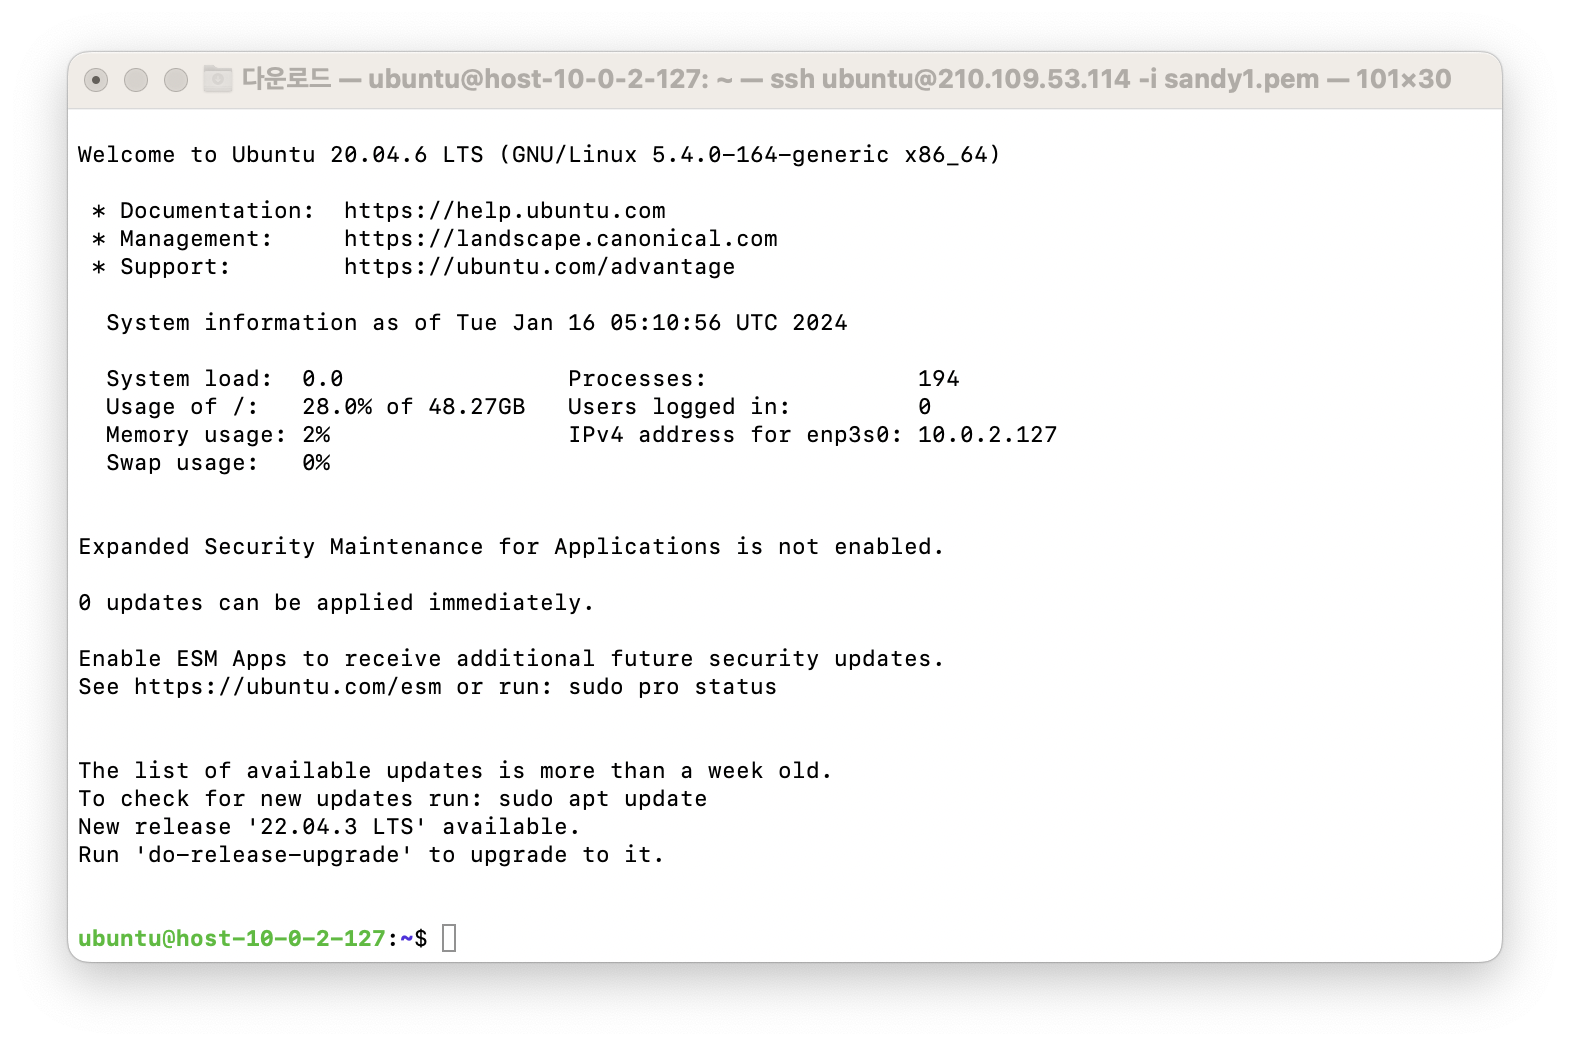
To run the cuDNN file, access the instance via SSH.
ssh ubuntu@${HOST_PUBLIC_IP} -i ${PRIVATE_KEY_FILE}.pem

#Example) ssh ubuntu@210.100.00.000 -i test.pem
Parameter Type Required Description HOST_PUBLIC_IP String Yes Public IP address of the GPU instance PRIVATE_KEY_FILE String Yes Private key file  SSH connected
 -
Refer to the cuDNN Installation Guide provided by NVIDIA to install cuDNN and CUDA. The guide includes instructions and commands for installing cuDNN on Ubuntu 20.04.
-
Verify the installation of cuDNN using the following command:
cat /usr/include/x86_64-linux-gnu/cudnn_version*.h | grep CUDNN_MAJOR

# define CUDNN_MAJOR 8
cuDNN installed
Type 2. Use general Ubuntu image
If a specific NVIDIA or CUDA version is required, other than the provided versions, you can use the general Ubuntu image to install the desired NVIDIA or CUDA version.
Step 1. Create GPU instance
-
Complete the prework.
-
Go to KakaoCloud console > GPU.
-
Select the [Create instance] button.
-
Configure the VM instance as follows, then select the [Create] button.
Field Setting Basic information - Name: Set as desired
- Count: 1Image Select Ubuntu 20.04 - 5.4.0-173 under the Base tab Instance type p2i.6xlarge Volume Root Volume: 50GB or more Key Pair Private key
.pemformat, create new or use an existing keyNetwork - VPC: Select the VPC created in the prework
- Subnet: Select the Subnet created in the prework
- Security Group: Select the Security Group created above
Step 2. Associate public IP
Associate a public IP with the GPU instance.
- In the KakaoCloud console, select Beyond Compute Service > GPU.
- Select the [More] icon > Associate public IP.
- In the popup, select Create new public IP and assign it automatically, then select [OK].
- Verify the public IP in the Public IP column.
Step 3. Access to GPU instance and verify environment
-
Go to the directory where your private key file is located.
-
Use SSH to connect to the public IP created above and verify that the instance is functioning correctly.
ssh ubuntu@${HOST_PUBLIC_IP} -i ${PRIVATE_KEY_FILE}.pemParameter Type Required Description HOST_PUBLIC_IP String Yes Host public IP address PRIVATE_KEY_FILE String Yes Private key file -
Verify the image information and NVIDIA device details of the GPU instance.
cat /etc/*release
lspci | grep -i NVIDIA
Step 4. Install NVIDIA driver
Verify and install the necessary drivers and libraries to set up the GPU environment.
Recommended driver and library versions
| GPU Type | NVIDIA Version | CUDA Version | cuDNN Version |
|---|---|---|---|
| NVIDIA A100 | 450.80.02 or higher | CUDA Toolkit 11.4 or higher | 8.1 or higher |
If you are following this guide on a different environment or require a specific version, you can download the necessary version from the CUDA Toolkit Archive.
-
Update the package list.
sudo apt-get update
sudo apt-get -y upgrade
패키지 리스트 업데이트 완료
 -
Depending on your environment, an NVIDIA driver might already be installed, which can cause issues. To prevent this, remove any existing drivers using the following command:
sudo apt-get -y remove nvidia* && sudo apt autoremove -y
sudo apt-get install build-essential linux-headers-generic -
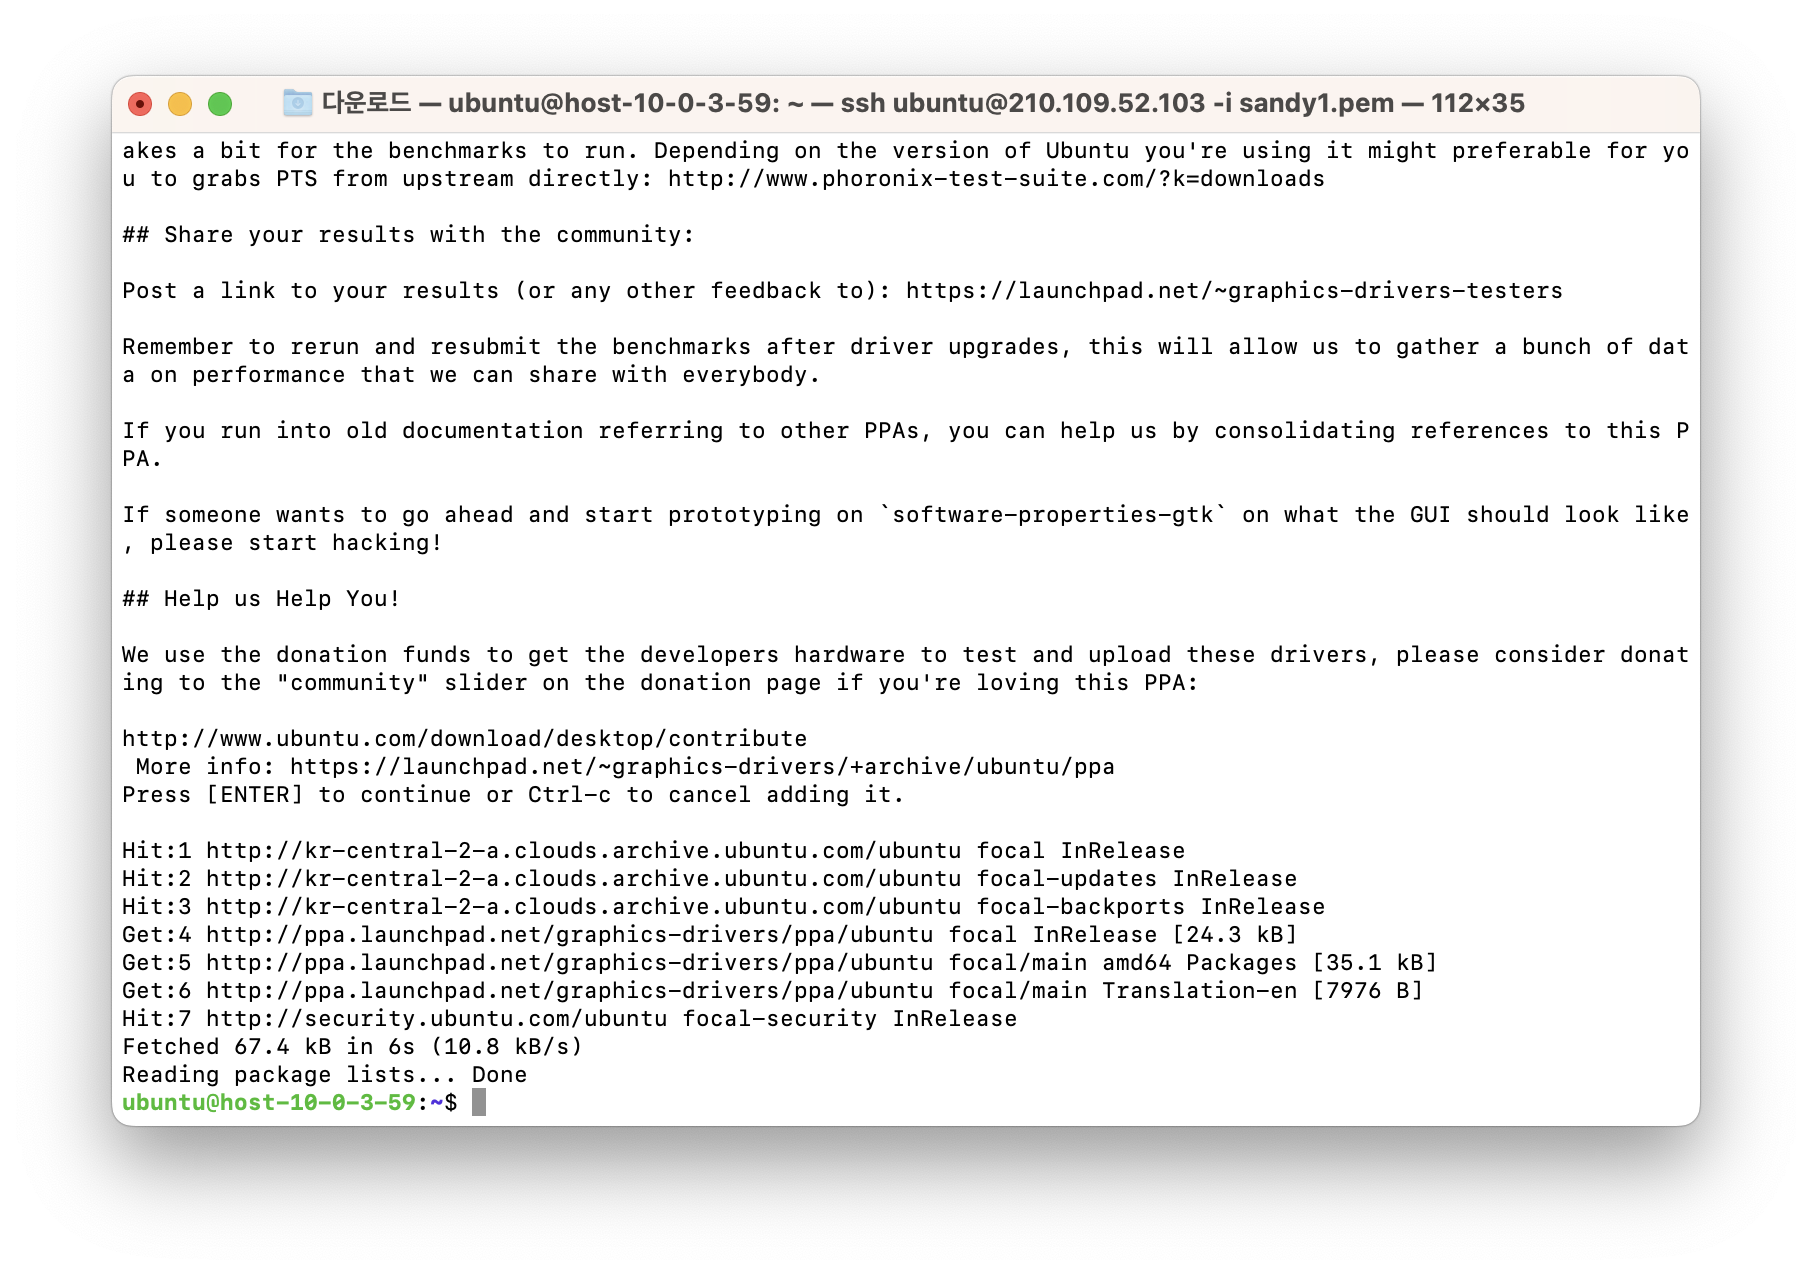
Add the graphics driver repository to the package sources.
sudo add-apt-repository ppa:graphics-drivers/ppa # If a prompt appears with additional information, press 'Enter' to proceed.

sudo apt-get update -
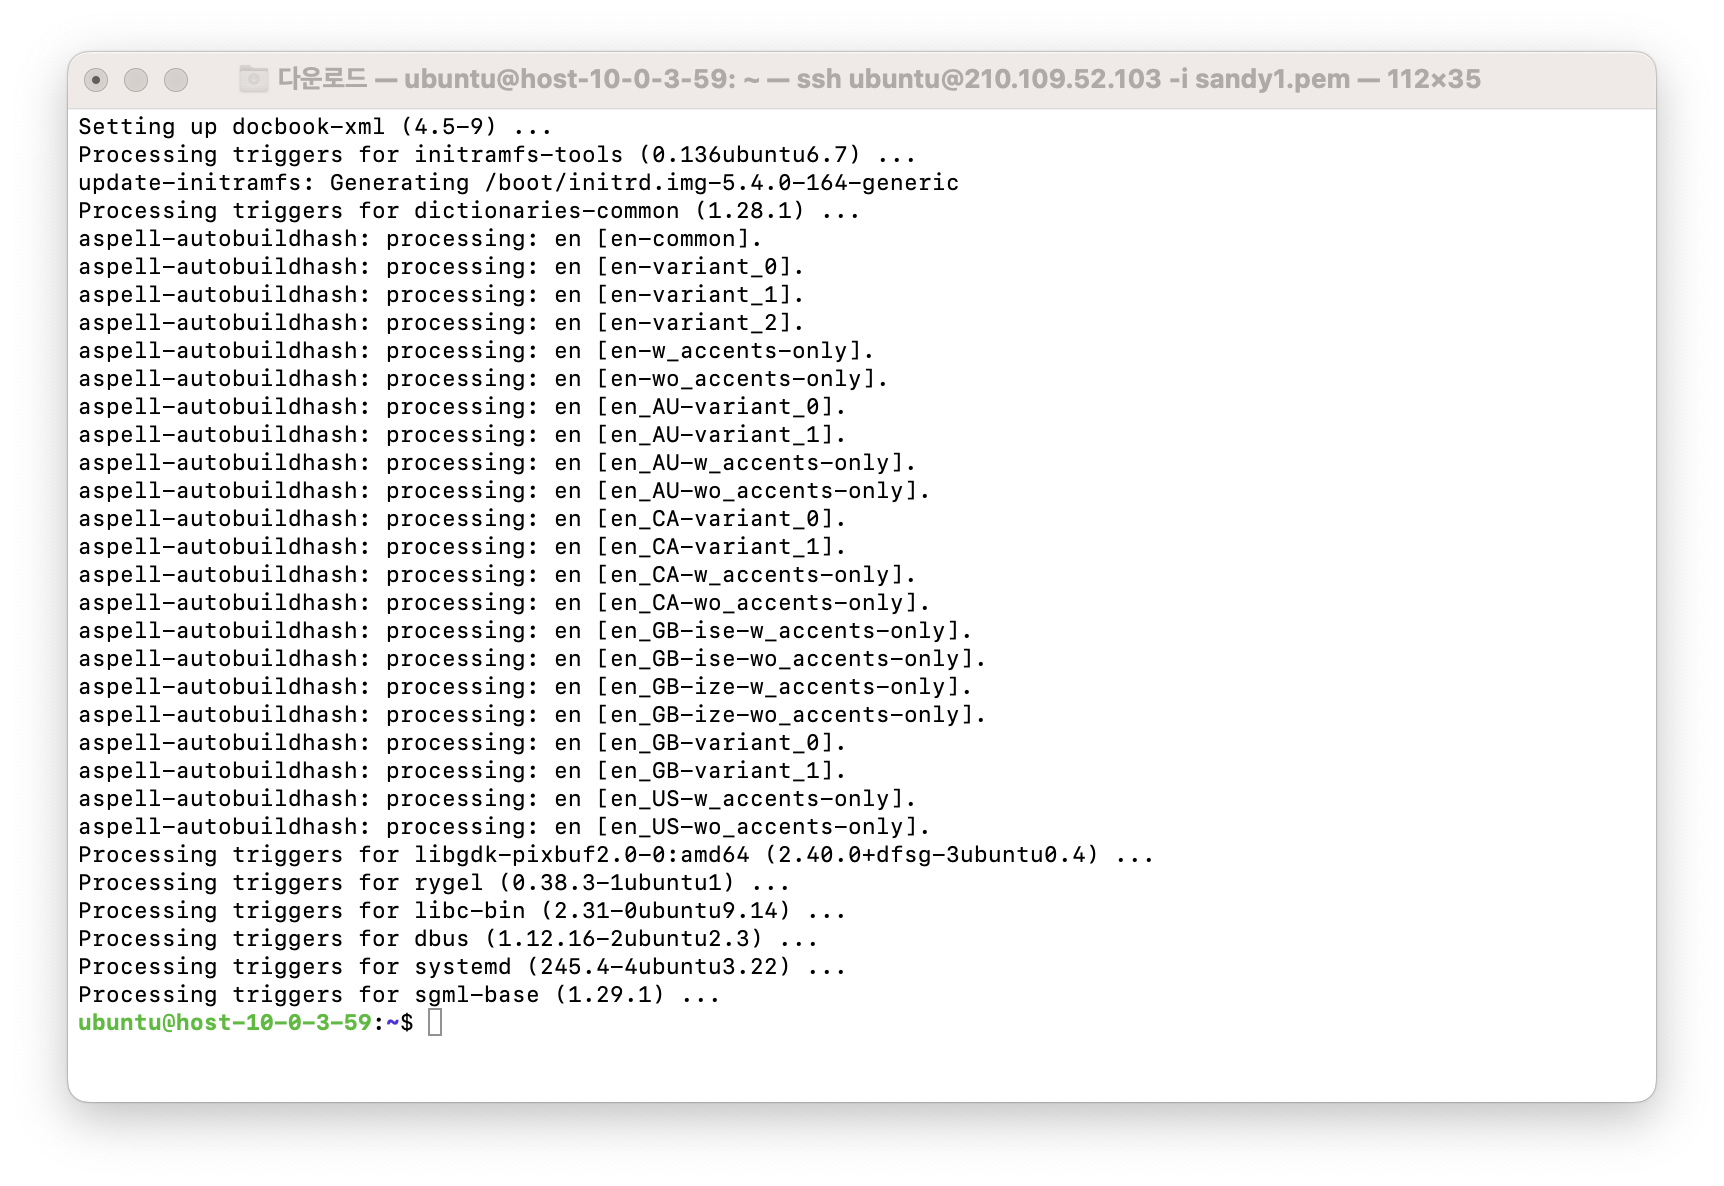
Install the
nvidia-driver-470, one of the drivers that supports Ubuntu 20.04 LTS:sudo apt install -y nvidia-driver-470 nvidia-driver-470 installed
 -
Reboot the instance to apply the installed driver. After a few moments, you can reconnect.
sudo reboot -
After the instance reboots, reconnect using SSH to the previously generated Public IP and verify that everything is functioning correctly.
ssh ubuntu@${HOST_PUBLIC_IP} -i ${PRIVATE_KEY_FILE}.pemParameter Type Required Description HOST_PUBLIC_IP String Yes Host public IP address PRIVATE_KEY_FILE String Yes Private key file -
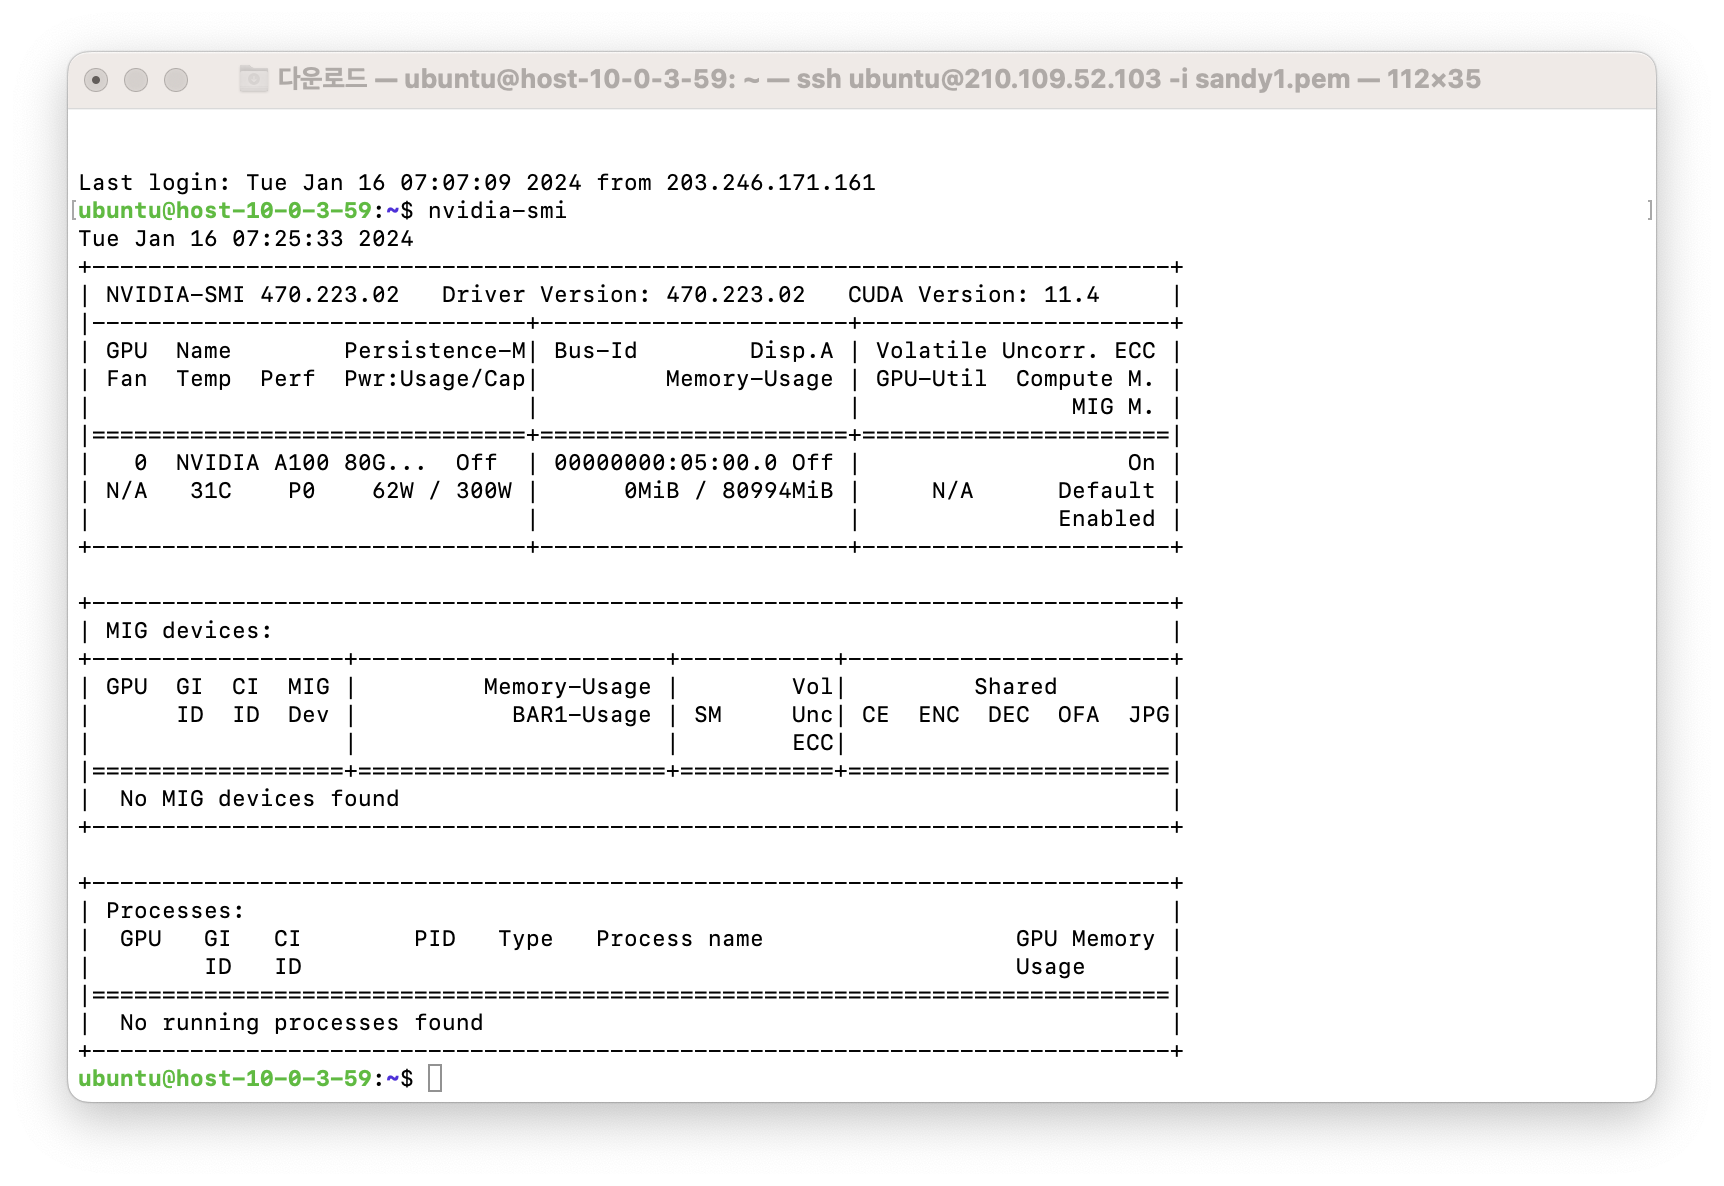
Verify the installation results by entering the following command.
nvidia-smi
# Installation success:
# Thu Nov  3 02:21:13 2022
# +-----------------------------------------------------------------------------+
# | NVIDIA-SMI 470.141.03   Driver Version: 470.141.03   CUDA Version: 11.4     |
# |-------------------------------+----------------------+----------------------+
# | ...
Installation success
Step 5. Install NVIDIA CUDA toolkit
The NVIDIA CUDA Toolkit is a development platform for creating GPU-accelerated applications. It includes GPU-accelerated libraries, debugging and optimization tools, a compiler, and the CUDA runtime for deploying applications. For more details, refer to the NVIDIA official website.
Check CUDA installation
Run the nvcc -V command to verify the installed CUDA Toolkit. If installed correctly, CUDA drivers will be recognized, and you can skip the CUDA installation step and proceed to the cuDNN installation step.
nvcc -V

# nvcc: NVIDIA (R) Cuda compiler driver
# Copyright (c) 2005-2021 NVIDIA Corporation
# ...
Step 6. Install CUDA
-
Download the CUDA installation package.
wget https://developer.download.nvidia.com/compute/cuda/11.4.0/local_installers/cuda_11.4.0_470.42.01_linux.run -
Run the downloaded CUDA installation file.
sudo sh cuda_11.4.0_470.42.01_linux.run -
During installation, if you see a message like the one below, select [continue].
┌──────────────────────────────────────────────────────────────────────────────┐
│ Existing package manager installation of the driver found. It is strongly    │
│ recommended that you remove this before continuing.                          │
│ Abort            │
│ > Continue
... -
Next, you will be prompted to accept the EULA license. You must agree to proceed with the installation. Enter
acceptwhen prompted.┌──────────────────────────────────────────────────────────────────────────────┐
│ End User License Agreement │
│ -------------------------- │
│ │
│ The CUDA Toolkit ...
...
│──────────────────────────────────────────────────────────────────────────────│
│ Do you accept the above EULA? (accept/decline/quit): │
│ accept │
└──────────────────────────────────────────────────────────────────────────────┘ -
Uncheck any drivers that are already installed. After verifying, select [Install] to proceed with the installation.
┌──────────────────────────────────────────────────────────────────────────────┐
│ CUDA Installer                                                               │
│ - [] Driver                                                                  │
│      [] 470.42.01                                                            │
│ + [X] CUDA Toolkit 11.4                                                      │
│   [X] CUDA Samples 11.4                                                      │
│   [X] CUDA Demo Suite 11.4                                                   │
│   [X] CUDA service 11.4                                                │
│   Options                                                                    │
│   > Install
... -
After the installation is complete, add the environment variables related to the CUDA Toolkit.
export PATH=$PATH:/usr/local/cuda/bin
export LD_LIBRARY_PATH=$LD_LIBRARY_PATH:/usr/local/cuda/lib64
export CUDADIR=/usr/local/cuda -
Run the
nvcc -Vcommand to verify the installed CUDA Toolkit.nvcc -V
# Success:
# nvcc: NVIDIA (R) Cuda compiler driver
# Copyright (c) 2005-2021 NVIDIA Corporation
# ...
Step 7. Install cuDNN
Install NVIDIA cuDNN (NVIDIA CUDA Deep Neural Network library), a GPU-accelerated library for deep neural networks. For more details, refer to the NVIDIA official website.
-
Visit the NVIDIA cuDNN page, log in, and select the [Download cuDNN library] button to download the appropriate version. For this tutorial, we will use the Local Installer for Linux x86_64 (Tar) version compatible with CUDA 11.x, and use the file as-is in its compressed form.
-
Navigate to the directory containing your private key file, then run the following command to transfer the cuDNN file installed on your local environment to the instance.
sudo scp -i ${PRIVATE_KEY_FILE}.pem ${CUDNN_INSTALL_FILE} ubuntu@${HOST_PUBLIC_IP}:~/

# example) sudo scp -i ~/Downloads/test.pem ~/Downloads/cudnn-linux-x86_64-8.9.7.29_cuda11-archive.tar.xz ubuntu@210.100.00.000:~/
Parameter Type Required Description PRIVATE_KEY_FILE String Yes Path to the private key file CUDNN_INSTALL_FILE String Yes Path to the cuDNN installation file HOST_PUBLIC_IP String Yes Public IP address of the GPU instance -
SSH into the instance to execute the cuDNN file.
ssh ubuntu@${HOST_PUBLIC_IP} -i ${PRIVATE_KEY_FILE}.pem

#예제) ssh ubuntu@210.100.00.000 -i test.pem
Parameter Type Required Description HOST_PUBLIC_IP String Yes Public IP address of the GPU instance PRIVATE_KEY_FILE String Yes Private key file  SSH connected
 -
Refer to the cuDNN Installation Guide provided by NVIDIA to install cuDNN and CUDA.