Migrate data from PostgreSQL to KakaoCloud MySQL
This guide explains how to migrate data from PostgreSQL to KakaoCloud MySQL.
- Estimated Time: 30 minutes
- Recommended OS: MacOS, Ubuntu
- Prerequisites
About scenario
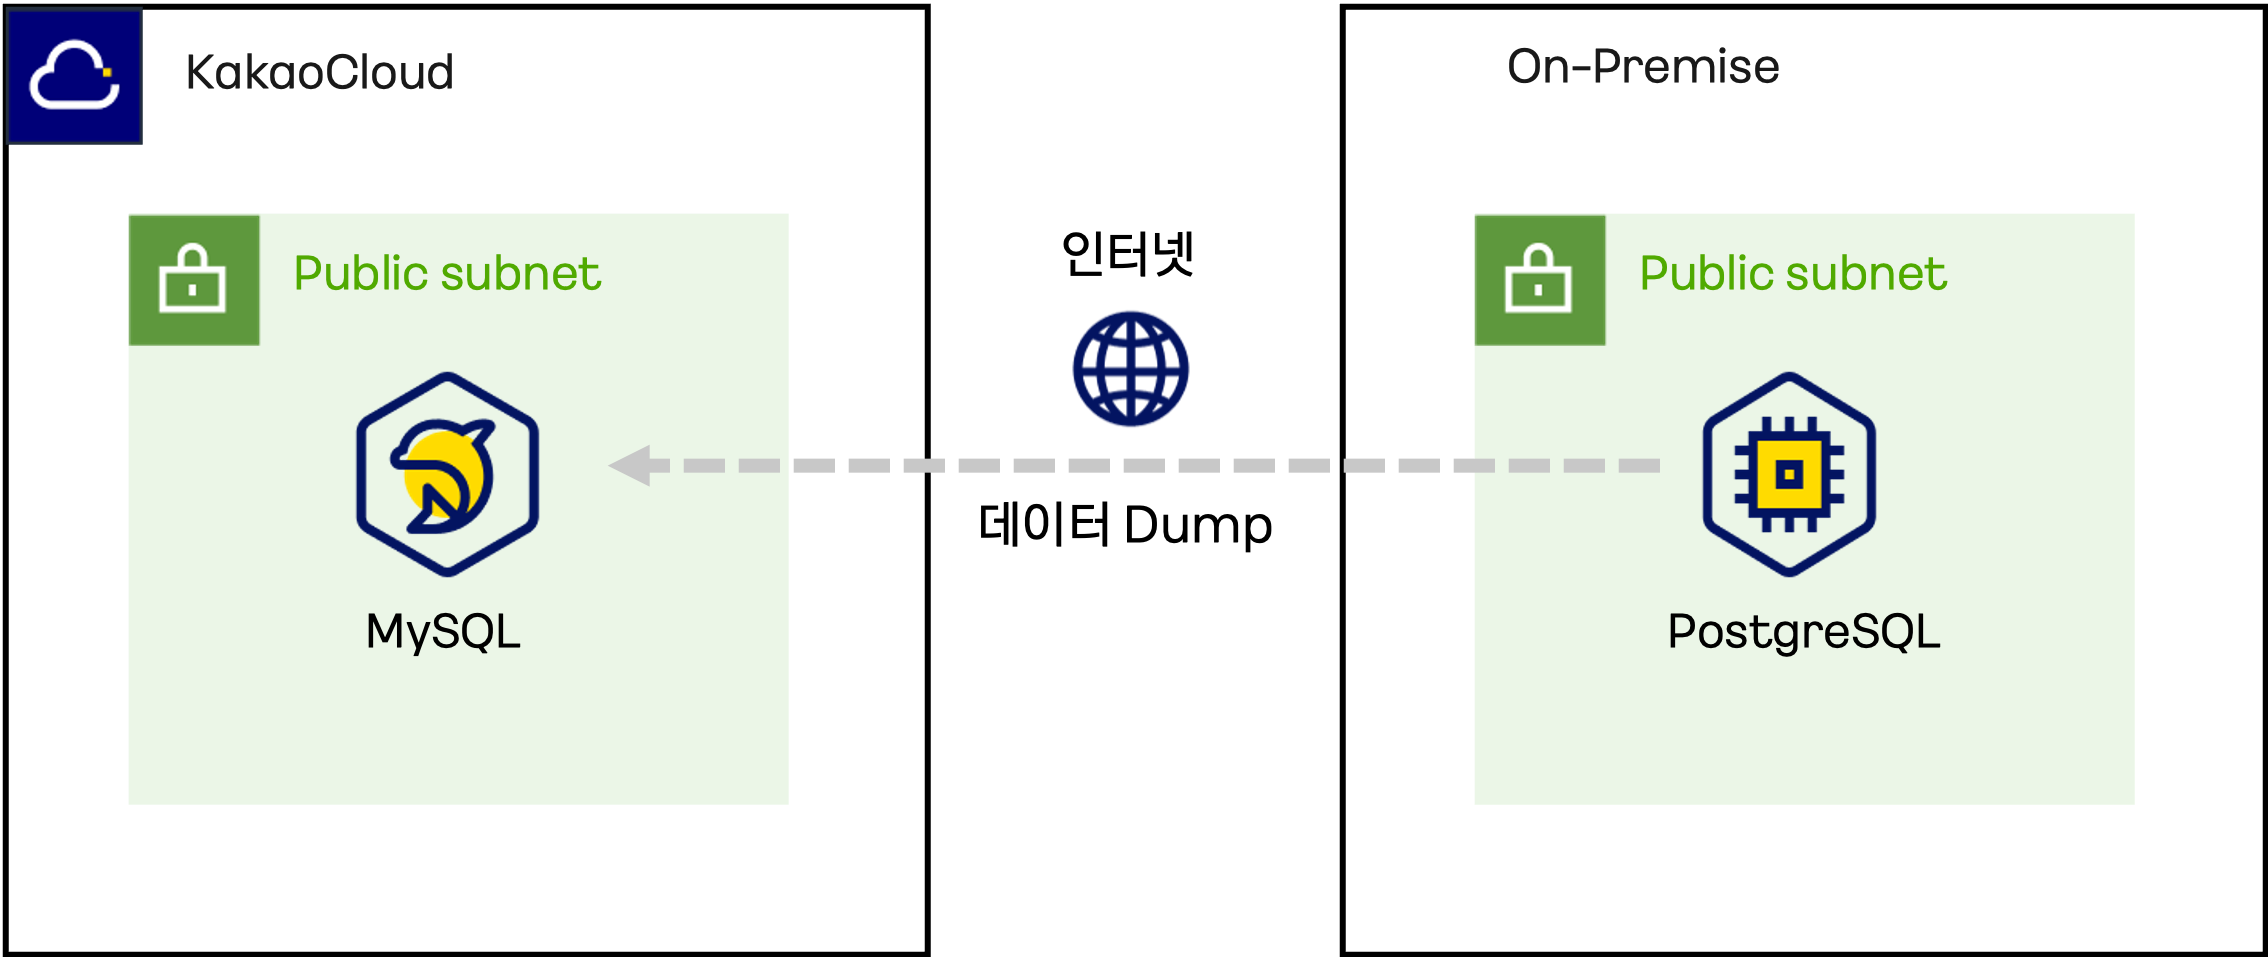
In this scenario, we’ll walk through how to migrate data from PostgreSQL to KakaoCloud MySQL. Key steps include:
- Setting up the migration environment: Configure security groups and create a bastion host to prepare for data migration.
- Creating a MySQL database: Provision a managed MySQL instance in KakaoCloud console.
- Transforming PostgreSQL data: Generate a PostgreSQL dump using
pg_dumpand convert it to MySQL format using the pg2mysql converter tool. - Importing and verifying MySQL data: Import the transformed data into the MySQL instance and confirm data integrity.
pg2mysql Converter Tool is an open-source software based on PHP. For more details, please refer to the official webpage.
Before you start
1. Network environment setup
Before setting up data migration and replication on KakaoCloud, configure the network environment by creating a VPC and public subnet based on the following values:
-
Go to KakaoCloud console > Networking > VPC.
-
Select the [+ Create VPC] button and configure the VPC and subnet as shown below:
Category Item Setting/Input Value VPC Information VPC Name tutorial VPC IP CIDR Block 10.0.0.0/16 Availability Zone Number of Availability Zones 1 First AZ kr-central-2-a Subnet Settings Number of Public Subnets per AZ 1 Public Subnet CIDR Block 10.0.0.0/20 -
Verify the topology displayed at the bottom and select [Create] if it is correct.
- The status of the subnet will change in the following order:
Pending Create>Pending Update>Active. Ensure the status isActivebefore proceeding.
- The status of the subnet will change in the following order:
2. Configure security group
Configuring security groups is essential for securing data transfer and allowing required traffic.
Security Group: tutorial-bastion-sg
-
Go to KakaoCloud console > VPC > Security Group and create a security group based on the table below:
Name Description (optional) tutorial-bastion-sg Security policy for the bastion host -
Select [+ Add] to set the following inbound rules, and then select [Apply].
Inbound Policy Item Setting bastion inbound policy 1 Protocol TCPSource IP {Your Public IP}/32Port Number 5432 bastion inbound policy 2 Protocol TCPSource IP {Your Public IP}/32Port Number 22
3. Set up bastion host
The bastion host serves as a gateway for securely accessing cloud instances remotely for data migration and MySQL access.
-
Go to KakaoCloud console > Beyond Compute Service > Virtual Machine.
-
Refer to the table below to create a VM instance that will serve as the bastion host.
Category Item Setting/Input Value Notes Basic Info Name tutorial-migration Count 1 Image Ubuntu 20.04 Instance Type m2a.large Volume Root Volume 20 GB Key Pair {USER_KEYPAIR}Ensure the key pair is securely stored. Network VPC tutorial Subnet main (10.0.0.0/20) Security Group tutorial-bastion-sg
4. Create MySQL database instance
Create a MySQL instance to serve as the target for data migration. KakaoCloud’s MySQL is a fully managed database service that provides secure access within a logically isolated network.
-
Go to KakaoCloud console > Data Store > MySQL.
-
Under the Instance Group tab, select [Create Instance Group] and configure the instance group based on the following table:
Category Item Setting/Input Value Notes Basic Settings Instance Group Name tutorial-mysql Description Optional MySQL Settings Engine Version Use specified version MySQL User Name admin MySQL Password root1234 Instance Availability Single (Primary Instance) Instance Type m2a.large Storage Storage Type/Size 100 Log Storage Log Storage Type/Size 100 Network VPC tutorial Subnet main (10.0.0.0/20) Automatic Backup Automatic Backup Option Disabled
Migration steps
Step 1. Configure instance for migration
-
In Virtual Machine > Instance tab, select the pre-created MySQL database instance
tutorial-migrationand select [Assign Public IP] to assign a public IP.- The assigned Public IP can be checked under the Network tab.
-
Open a terminal in your local environment, navigate to the folder where the key pair file was downloaded (typically,
~/Downloads), and run the following command to SSH into the instance:chmod 400 {PRIVATE_KEY}.pem # Grant read permissions
ssh -i {PRIVATE_KEY}.pem ubuntu@{tutorial-migraton-public-ip}Item Description {private_key}Name of the private key file {tutorial-migration-public-ip}This can be found by selecting the tutorial-migrationinstance from the Virtual Machine > Instance menu, then checking the Network tab
-
Configure the migration instance using the following commands.
# Configure Migration Instance
sudo apt-get update -y

sudo apt-get install php -y

wget https://www.easyredmine.com/ER/media/knowledge-base/pg2mysql-1.9.zip

unzip pg2mysql-1.9.zip
Step 2. Creating a PostgreSQL data dump
A pg_dump (PostgreSQL Dump) is a utility and command used for backing up or migrating database data.
-
Run the following command to create a PostgreSQL dump.
pg_dump -U postgres -h 127.0.0.1 -p 5432 {DATABASE_NAME} -n public --format=p > {PG_DUMP_FILE_NAME}.sql -
Convert the PostgreSQL dump to a MySQL dump.
php pg2mysql_cli.php {PG_DUMP_FILE_NAME}.sql {MYSQL_DUMP_FILE_NAME}.sql innodb -
Modify the converted MySQL file as shown below.
Example: MYSQL DUMP File AS-IS# Converted with pg2mysql-1.9
# Converted on Thu, 25 Jul 2024 05:11:47 +0000
# Lightbox Technologies Inc. http://www.lightbox.ca
SET SQL_MODE="NO_AUTO_VALUE_ON_ZERO";
SET time_zone="+00:00";
CREATE TABLE public.users (
id int(11) NOT NULL,
name varchar(50),
email varchar(50)
) ENGINE=innodb;
INSERT INTO `public.users` (`id`, `name`, `email`) VALUES
('1','Alice','alice@example.com'),
('2','Bob','bob@example.com'),
('3','Charlie','charlie@example.com');
ALTER TABLE public.users
ADD CONSTRAINT users_pkey PRIMARY KEY (id);Example: MYSQL DUMP File TO-BE# Converted with pg2mysql-1.9
# Converted on Thu, 25 Jul 2024 05:11:47 +0000
# Lightbox Technologies Inc. http://www.lightbox.ca
SET SQL_MODE="NO_AUTO_VALUE_ON_ZERO";
SET time_zone="+00:00";
-- Create the database
CREATE database {DATABASE_NAME};
-- Select the database
USE {DATABASE_NAME};
CREATE TABLE users (
id int(11) NOT NULL,
name varchar(50),
email varchar(50)
) ENGINE=innodb;
INSERT INTO users (id, name, email) VALUES
('1', 'Alice', 'alice@example.com'),
('2', 'Bob', 'bob@example.com'),
('3', 'Charlie', 'charlie@example.com');
ALTER TABLE users
ADD CONSTRAINT users_pkey PRIMARY KEY (id);infoSince KakaoCloud MySQL does not have a database for data import, CREATE is required.
Step 3. Import data into KakaoCloud MySQL instance
Import the MySQL dump file into your KakaoCloud MySQL instance.
mysql -u {USER} -h {MYSQL_ENDPOINT} -p {DATABASE_NAME} < {MYSQL_DUMP_FILE_NAME}.sql
Step 4. Verify data consistency
Verify the data consistency of the imported database in KakaoCloud MySQL.
mysql> use {DATABASE_NAME};
Database changed

mysql> select * from {TABLE_NAME};