Offload web server using CDN
Offload static data delivery for Virtual Machine-based web applications using CDN services.
- Estimated time: 60 minutes
- Recommended OS: MacOS, Ubuntu
- Reference documentation
Before you start
To proceed with this tutorial, ensure you have verified your access key and VM access key pair.
Step 1. Configure bastion host
Deploy a Virtual Machine-based web application using Load Balancer and MySQL. To enable external access, configure a bastion host.
-
In KakaoCloud console > Beyond Compute Service > Virtual Machine, create a bastion instance using the table below:
Instance name handson-bastion Count 1 Instance type m2a.large Image Ubuntu 20.04 Volume size 10 Subnet public Public IP Connected -
In Beyond Networking Service > VPC, select Security and configure security groups and inbound rules for bastion access:
Inbound rule Protocol Source Port number bastion inbound policy 1 TCP 0.0.0.0/0 10000-10010 bastion inbound policy 2 TCP 0.0.0.0/0 81 bastion ssh policy TCP 0.0.0.0/0 22 -
Associate a public IP with the bastion host, then access it via SSH from your local terminal:
Access bastion hostssh -i ${PRIVATE_KEY}.pem ubuntu@${BASTION_PUBLIC_IP} -
Configure the bastion host using
nginx-proxy-managerby running the following commands:Provision bastion hostsudo curl -o /tmp/init-bastion.sh https://raw.githubusercontent.com/kakaoenterprise/kc-handson-config/vm-3tier/init-bastion.sh
bash /tmp/init-bastion.sh -
The
nginx-proxy-manageris now running. Open your local browser and enter the following address to access the management page:http://${BASTION_PUBLIC_IP}:81/login
# ID: admin@example.com
# Password: changeme
Step 2. Create managed MySQL database
KakaoCloud MySQL is a fully managed database service provided in a VPC (Virtual Private Cloud) environment. It allows easy provisioning of MySQL instances from the console without complex installation processes, and ensures secure operation within a logically isolated network.
In KakaoCloud console > Data Store > MySQL, select [Create instance group] and follow the MySQL instance group creation guide.
Database creation details
| Type | MySQL |
|---|---|
| Instance Group Name | handson-mysql |
| MySQL User Name | admin |
| MySQL Password | root1234 |
| Quantity | 1 |
| Flavor | m2a.large |
| Volume | 100 |
Step 3. Configure application server
-
Create Virtual Machine instances using the following table:
Instance name handson-app Count 2 Instance type m2a.large Image Ubuntu 20.04 Volume size 20 Subnet public -
In the VPC menu, select Security and configure the inbound rules to allow external access via the bastion instance.
Inbound rule Protocol Source Port number app ssh policy TCP BASTION_PRIVATE_IP/32 22 app ping policy ICMP VPC_CIDR - app inbound policy TCP VPC_CIDR 8080 -
In the
nginx-proxy-managermanagement page, navigate to Dashboard > Streams and register the private IPs of application hosts with ports10000-10001. -
Access the application hosts via SSH through the bastion instance:
Access application host# app-1
ssh -i ${PRIVATE_KEY}.pem ubuntu@${BASTION_PUBLIC_IP} -p 10000
# app-2
ssh -i ${PRIVATE_KEY}.pem ubuntu@${BASTION_PUBLIC_IP} -p 10001 -
Clone the example project and navigate to the project folder:
Navigate to example project foldergit clone https://github.com/kakaoenterprise/kic-library-react
cd kic-library-react -
Install the necessary packages for building and running the example project:
Install required packagesbash install-requirements.sh -
Enter the environment variables required to run the application. Use the
vimcommand to open the environment variable configuration file, and refer to the example below to set the variables:
vim app-env.sh
# app-env.sh
# export PROFILE='dev'
# export MYSQL_HOST='${MYSQL_PRIMARY_ENDPOINT}'
# export DB_USERNAME='admin'
# export DB_PASSWORD='root1234'
-
Build the example project after entering the environment variables:
Build the projectbash app-build.sh -
Run the example application and then exit the
sshsession:Exit sessionbash start-app.sh
Step 4. Set up an application server load balancer
-
Go to KakaoCloud console > Beyond Networking Service > Load Balancing > Load Balancer and select the [Create load balancer] button.
-
Enter the name and description of the load balancer, and configure the VPC and subnet.
-
Proceed with the basic settings:
Load balancer name handson VPC ${PUBLIC}Subnet ${PUBLIC} -
Configure connection settings, listener, and target groups:
Listener protocol HTTPS Listener port 443 Target group protocol HTTP Target group algorithm Round Robin -
Proceed with SSL configuration:
- Register your SSL certificate with the load balancer.
-
Perform health check settings:
Type HTTP HTTP method GET HTTP version 1.1 HTTP status code 200Check path /api/v1.0/management/category/all Check interval 10 seconds Timeout 5 seconds Healthy threshold 3 consecutive successes Unhealthy threshold 3 consecutive failures -
Configure connection resources :
Target instance Port handson-app-1 8080 handson-app-2 8080
Step 5. Set up object storage
-
In KakaoCloud console > Object Storage, select the [Create bucket] button to create a bucket.
Bucket name hands-on Type hot Encryption No -
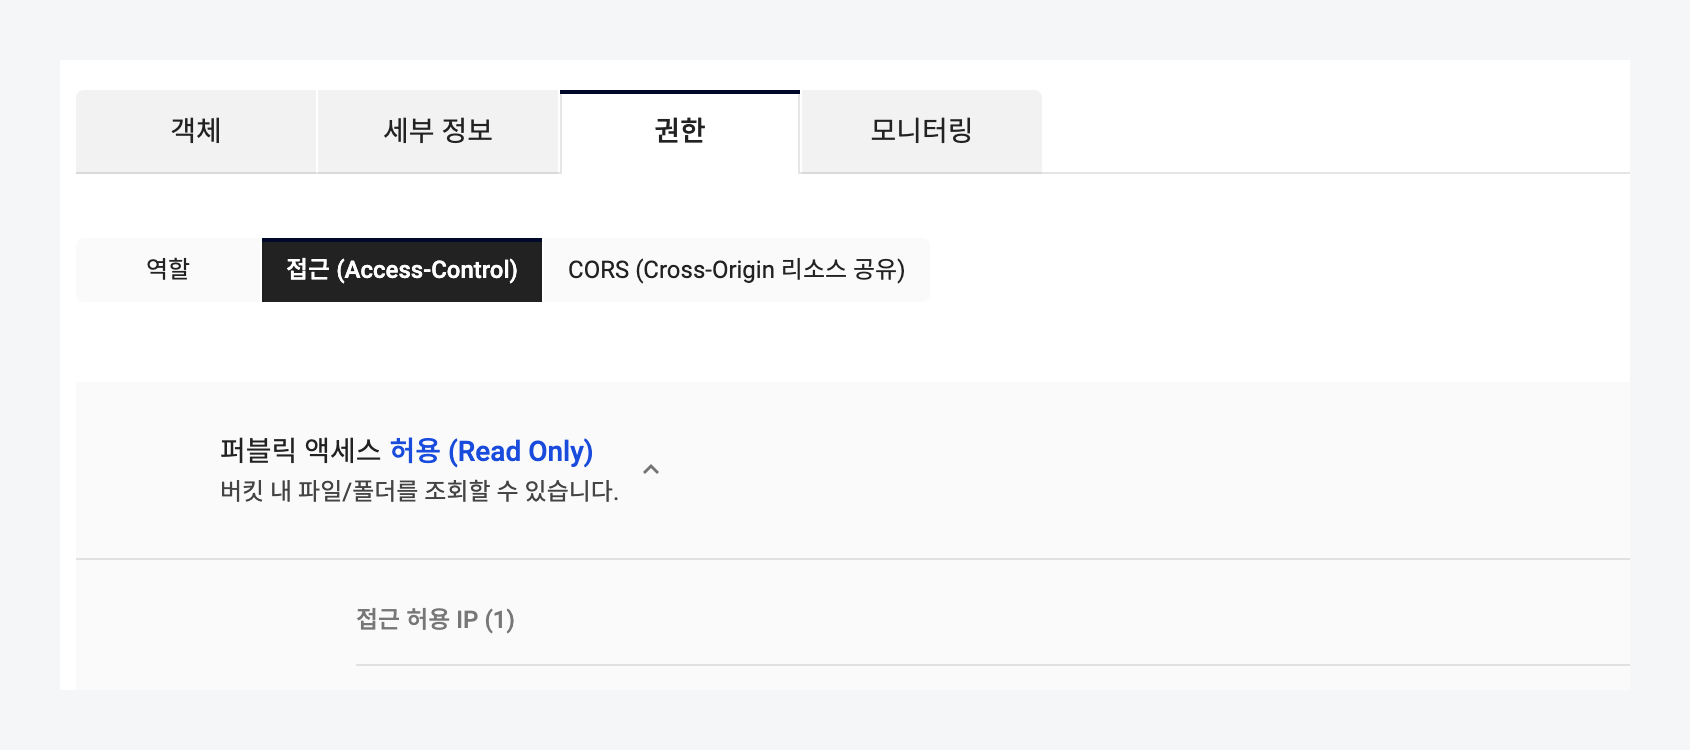
After creating the bucket, configure Public Access Allowed permissions to enable external access.
Step 6. Upload the example project
-
Set your working directory to your local download folder. Then, clone the example project and navigate to the appropriate directory:
Download and navigate to the example projectcd ~/Downloads
git clone https://github.com/kakaoenterprise/kic-library-react
cd kic-library-react/client -
This example is built using the React web development framework. Install the required packages for building:
Install required packages# mac(homebrew)
brew install nodejs
# ubuntu 20.04
wget -c https://nodejs.org/dist/v18.13.0/node-v18.13.0-linux-x64.tar.gz && tar xzv -f node-v18.13.0-linux-x64.tar.gz
sudo cp -r ./node-v18.13.0-linux-x64/* /usr -
Configure environment variables. Use the
vimcommand to open the configuration file and set the variables. Update the BASE_URL value to point to the public domain address of the application server load balancer using thehttpsprotocol:vim ~/Downloads/kic-library-react/client/src/config.js
# config.js
# const BASE_URL = "https://${APP_LB_PUBLIC_DOMAIN_NAME}"
# ... -
After completing the configuration, navigate to the project directory and build the example React project:
Build the example React projectcd ~/Downloads/kic-library-react/client
bash ~/Downloads/kic-library-react/client/web-build.sh -
Verify the build results:
Verify build resultsls ~/Downloads/kic-library-react/client/build -
Upload the contents of the build folder to the created
Object Storage. Go to the bucket details page and use [Upload file] > [Add folder] to upload the${home}/Downloads/kic-library-react/client/buildfolder.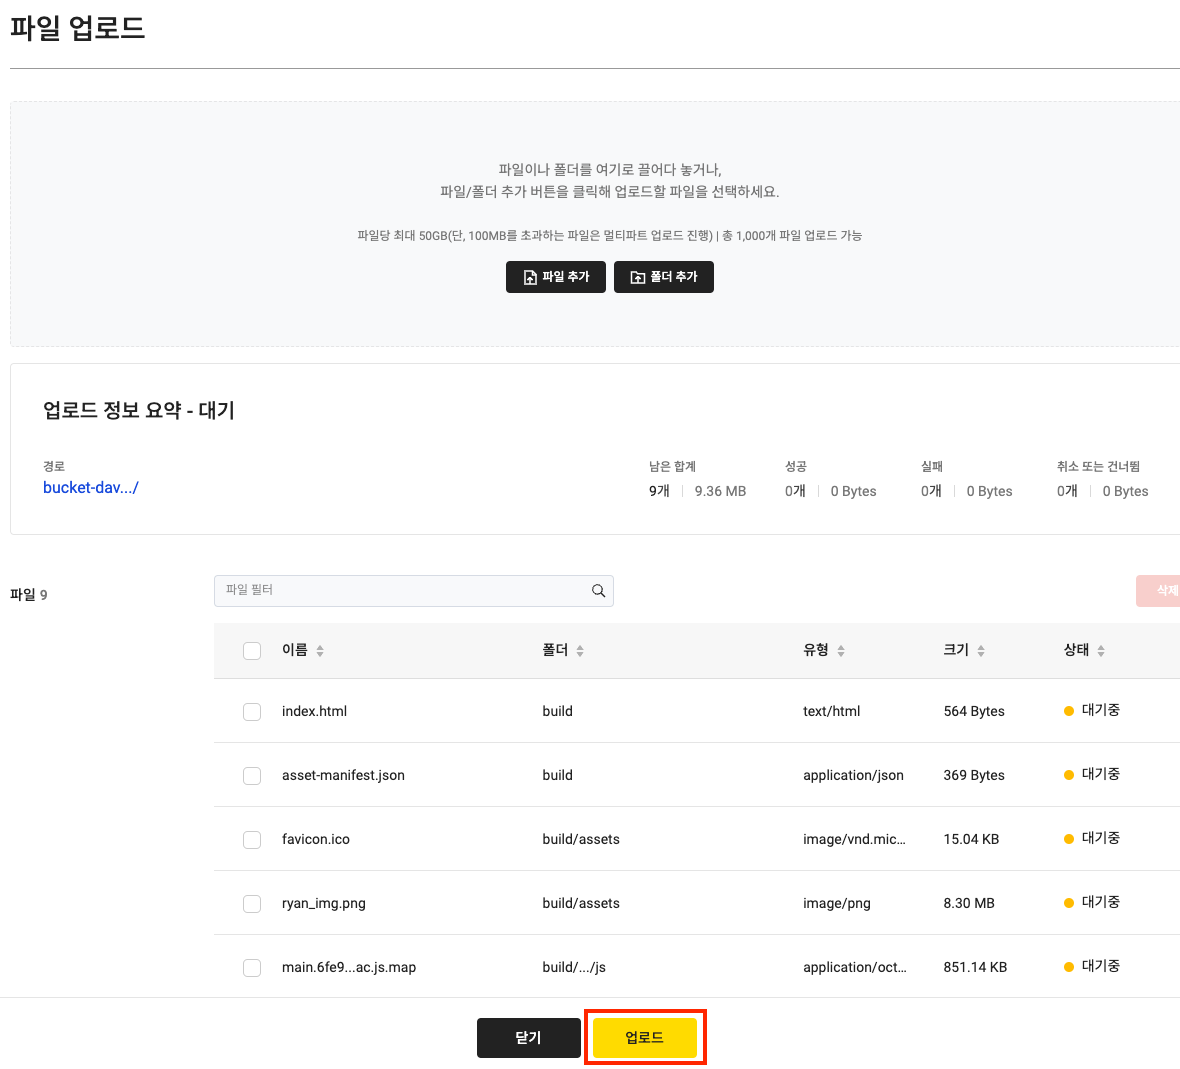
-
Verify that the files have been added to the
builddirectory in thehands-onbucket.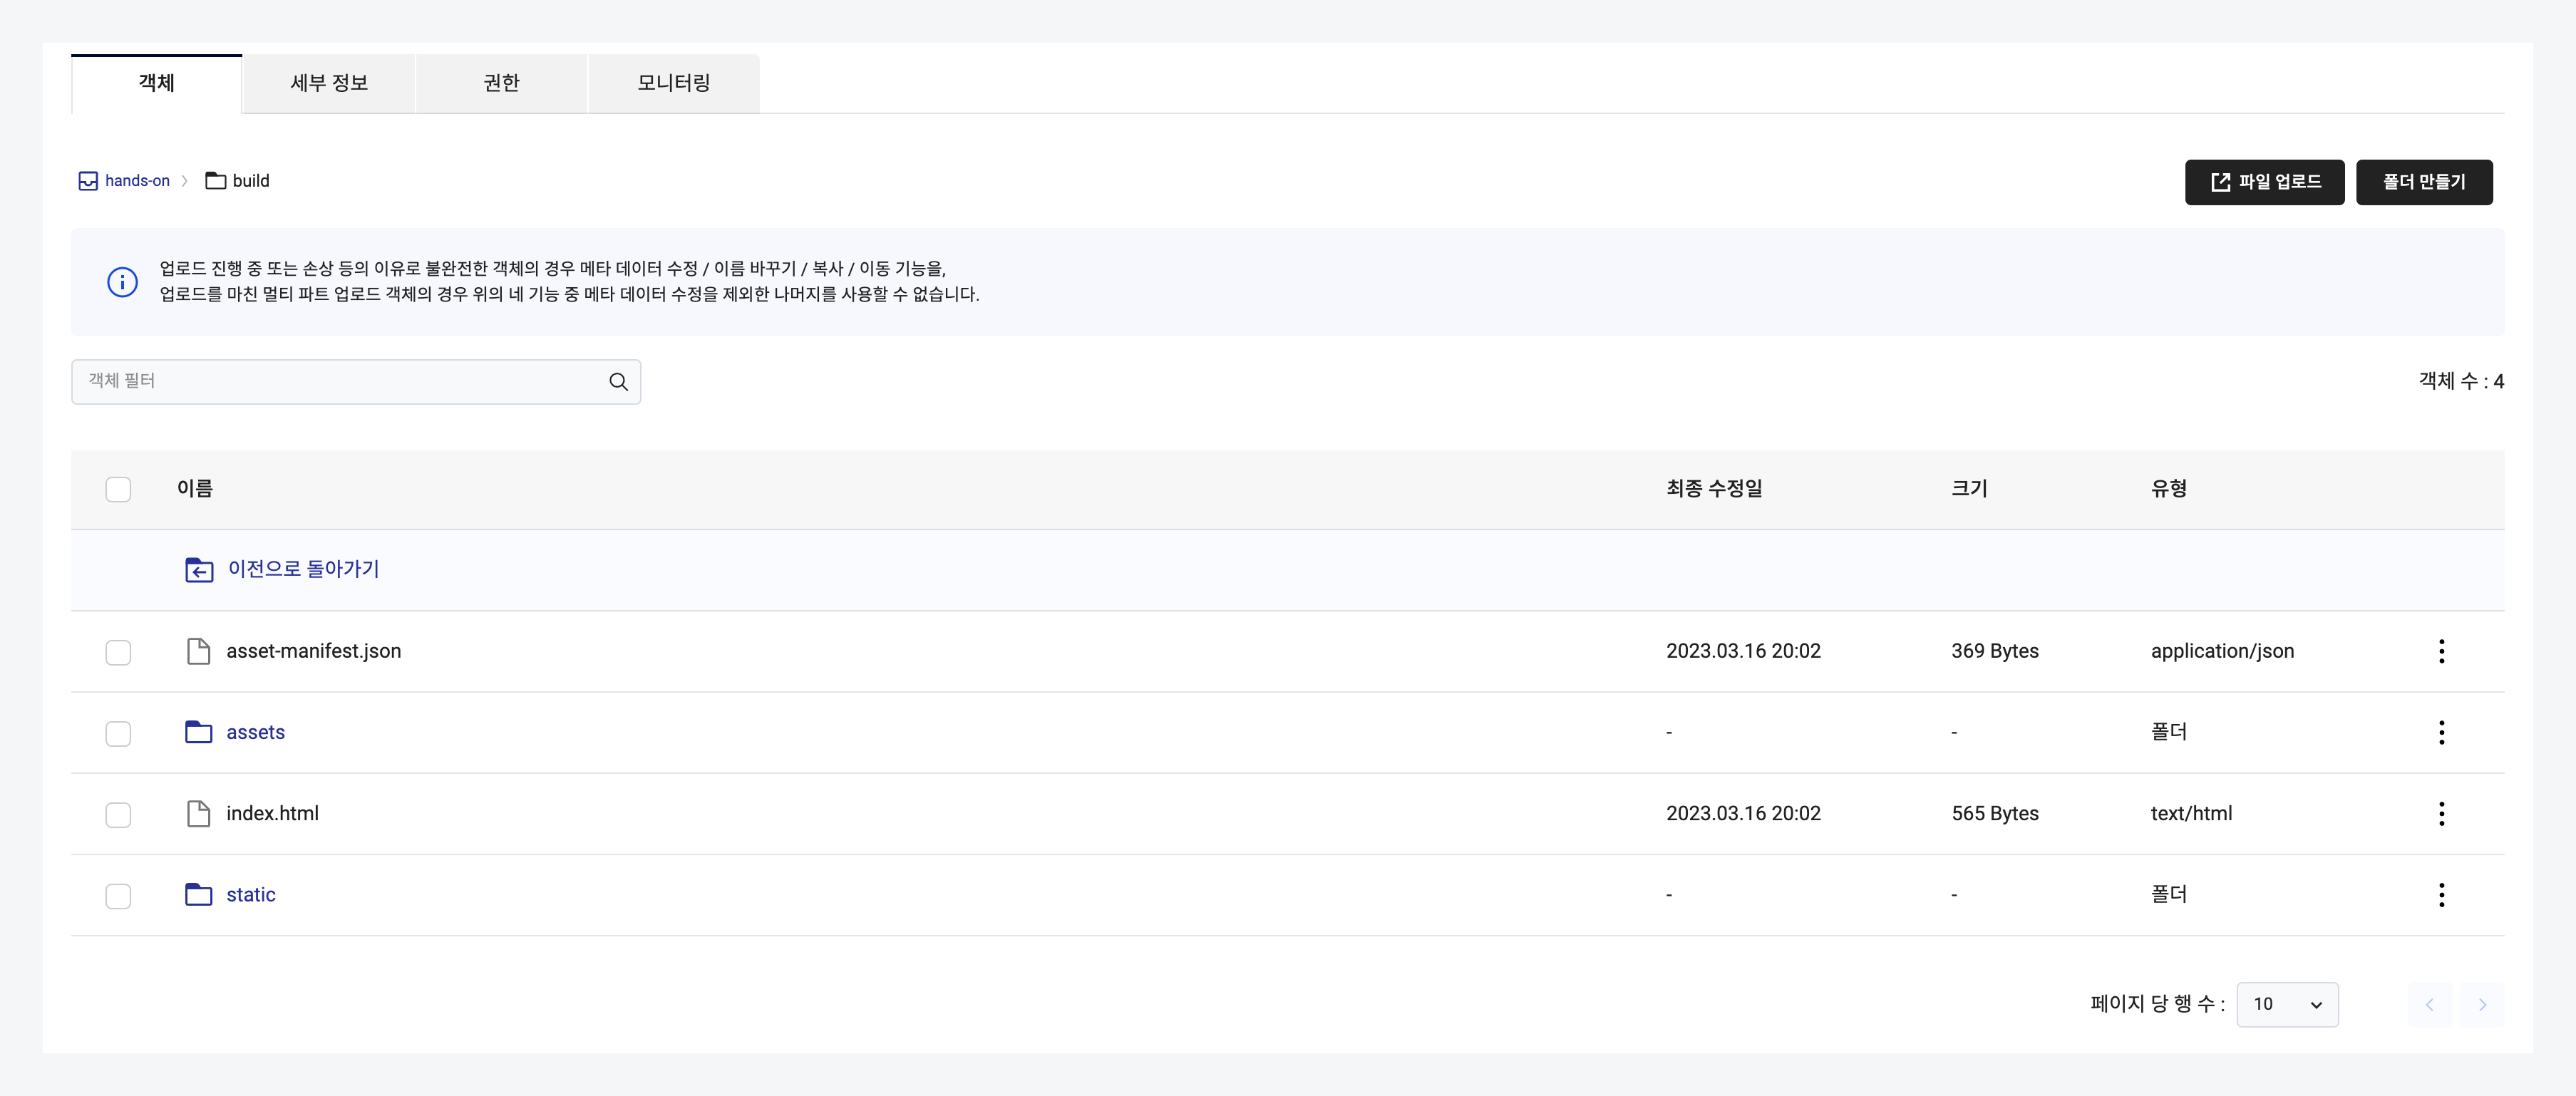
Step 7. Configure and deploy CDN
CDN (Content Delivery Network) is a service that accelerates the delivery of static data, ensuring fast and reliable delivery of web content to a large number of users.
-
Go to KakaoCloud console > CDN, select the [Create service] button, and use the following information to create a new CDN:
1. Service and origin server
Service name hands-on Host server KakaoCloud CDN Origin server KakaoCloud Object Storage Bucket hands-on Origin server protocol https Origin server port number 443 Origin server path /build Gzip Compression Enabled 2. Cache
Expiration policy Refer to origin server Retention period 1 hour URL Query String Include Image file optimization Disabled 3. Access control
Viewer protocol policy Not set Referer header Not set Root path Set Access control method Redirect Redirect path /index.html -
Access the service domain of the created CDN in your browser.
-
Verify the deployed service.