Connect domain to your web service via DNS
This guide demonstrates how to create a DNS zone and set records within that DNS zone to connect your domain to a web application.
- Estimated time: 20 minutes
- Recommended OS: MacOS, Ubuntu
- Prerequisites:
- A domain
- VM-based web service
- SSL/TLS Certificate
Prerequisite
This document does not cover the configuration of a web service accessible via a domain. To proceed with this tutorial, you need the IP address of the web service to which the domain will be connected. Refer to the VM-based web service document to set up a web service accessible via a domain, or prepare the IP address of a pre-configured web server.
KakaoCloud does not provide domain registration services. Please prepare a domain through an accredited domain registrar (e.g., Gabia, HOSTING.KR) in advance.
Step 1. Configure domain using DNS
The Domain Name System (DNS) translates machine-readable IP addresses into human-readable domain names and vice versa. DNS allows users to access websites using simple and easy-to-remember domain names instead of complex IP addresses. This step guides you through setting up a domain using KakaoCloud's DNS service and an external domain registrar.
-
Go to KakaoCloud console > Networking > DNS.
-
In the DNS zone menu, select the [Create DNS zone] button and create a DNS zone with the following settings. For this tutorial, assume the domain to be registered is
example.com. Replaceexample.comwith your prepared domain.Item Input DNS zone name example.comDNS zone description (optional) tutorial -
In the DNS zone list, select
example.com, then check the KakaoCloud nameserver addresses at the top of the page. -
Navigate to the domain registrar where you purchased the domain, and set the nameserver to the KakaoCloud nameserver in the domain management page.
-
Once you have verified the configuration, return to the KakaoCloud console.
Step 2. Configure records for the domain name
DNS records provide information on how DNS servers should handle incoming requests. Each record type offers specific information or assists in directing web browsers to the correct server via DNS. This tutorial covers adding the most common types: A and CNAME records. For more detailed information on record types, see DNS Records.
To communicate with KakaoCloud's load balancer, you must associate a public IP with the load balancer and access it via this IP address. In this case, add an A record to map the load balancer's public IP address to the root domain, allowing access to the service via the mapped domain. You can add one or multiple public IP addresses.
Additionally, you can map the root domain to another domain using a CNAME record. Using a CNAME record helps avoid redundancy and manage subdomains more effectively. For example, if several subdomains point to the same IP address, you can update a single CNAME record instead of changing the IP address for each subdomain. If you wish to connect your domain using a CNAME record, follow the instructions in STEP 2-2. Add CNAME record.
DNS propagation can take time, and errors may occur when accessing the domain while the newly added records are being applied.
STEP 2-1. Add A Record
Follow these steps to add an A record that maps the domain to an IPv4 address.
-
In the DNS > DNS zone tab, select
example.comto navigate to the details page, then select the [Add Record] button at the bottom. -
Configure the following settings. To create a record for the root domain, leave the record name blank. Select the [Add] button to add the record.
Item Setting/Input Record Type A Record Name (Blank) TTL 60 Value Public IP of the web server load balancer
- Load Balancing > Load Balancer Tab > Public IP of tutorial-web-lb -
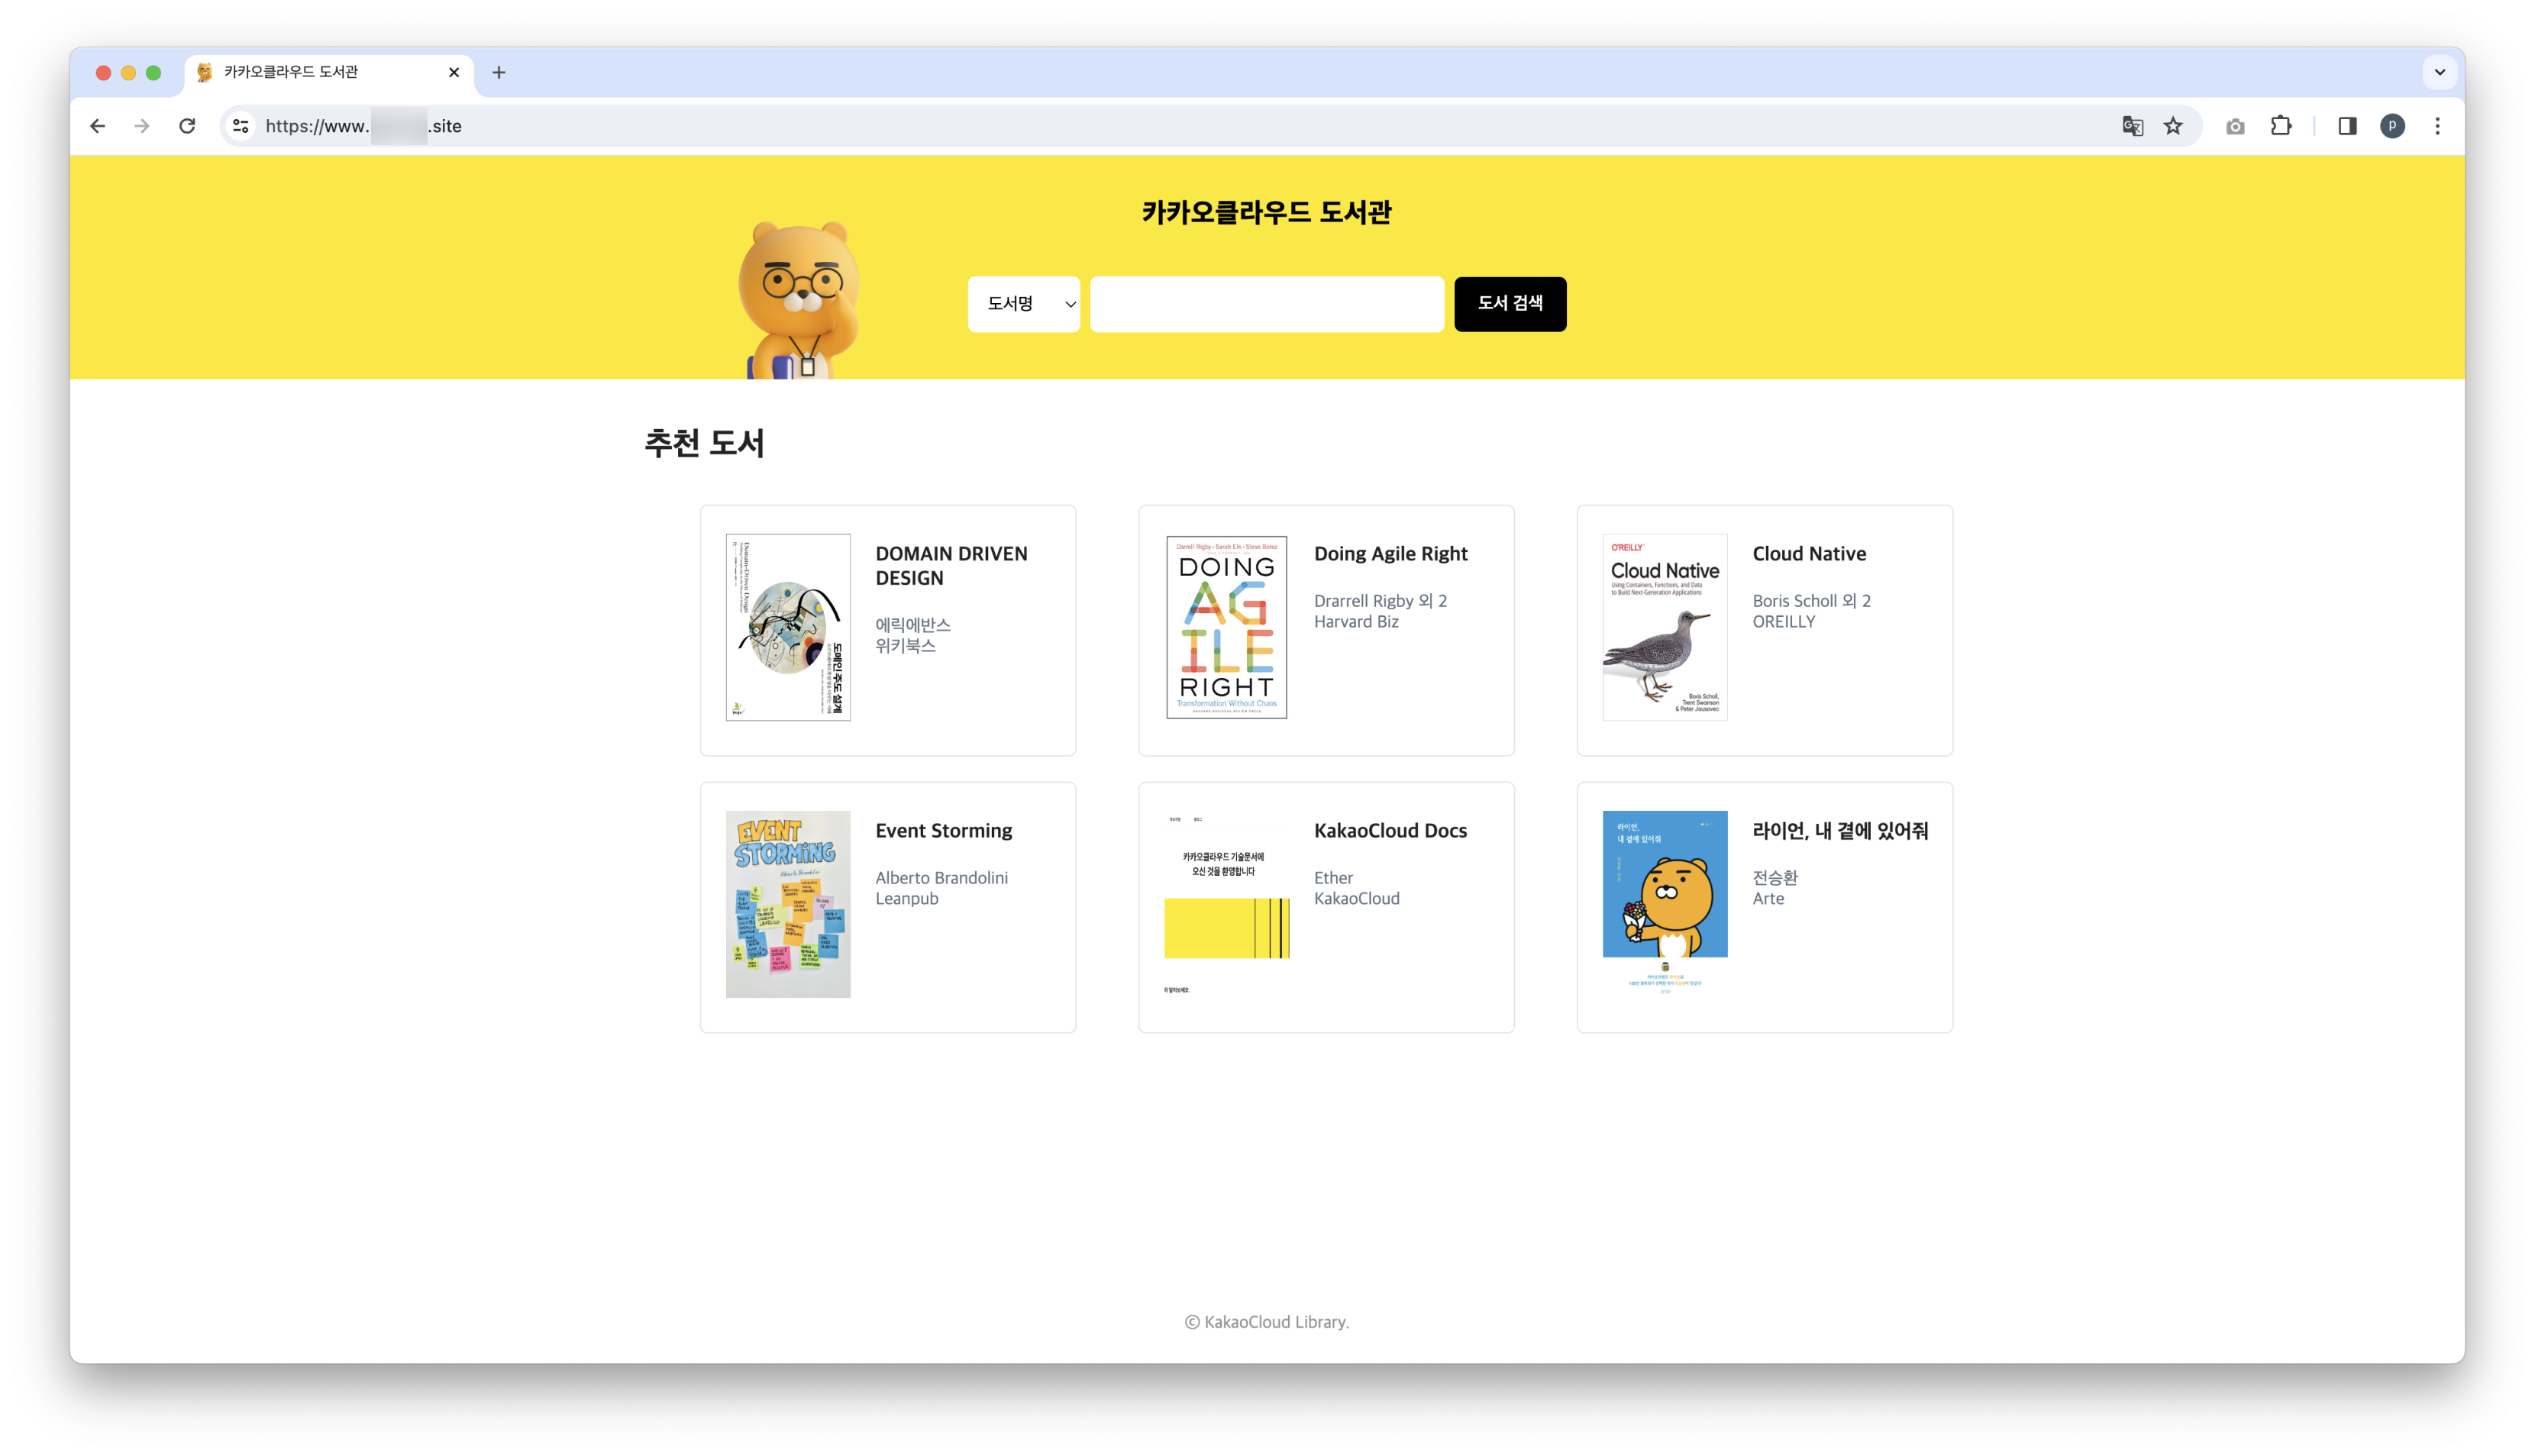
Enter
example.comin a web browser. If connected successfully, you will see the 'KakaoCloud Library' service screen as shown below.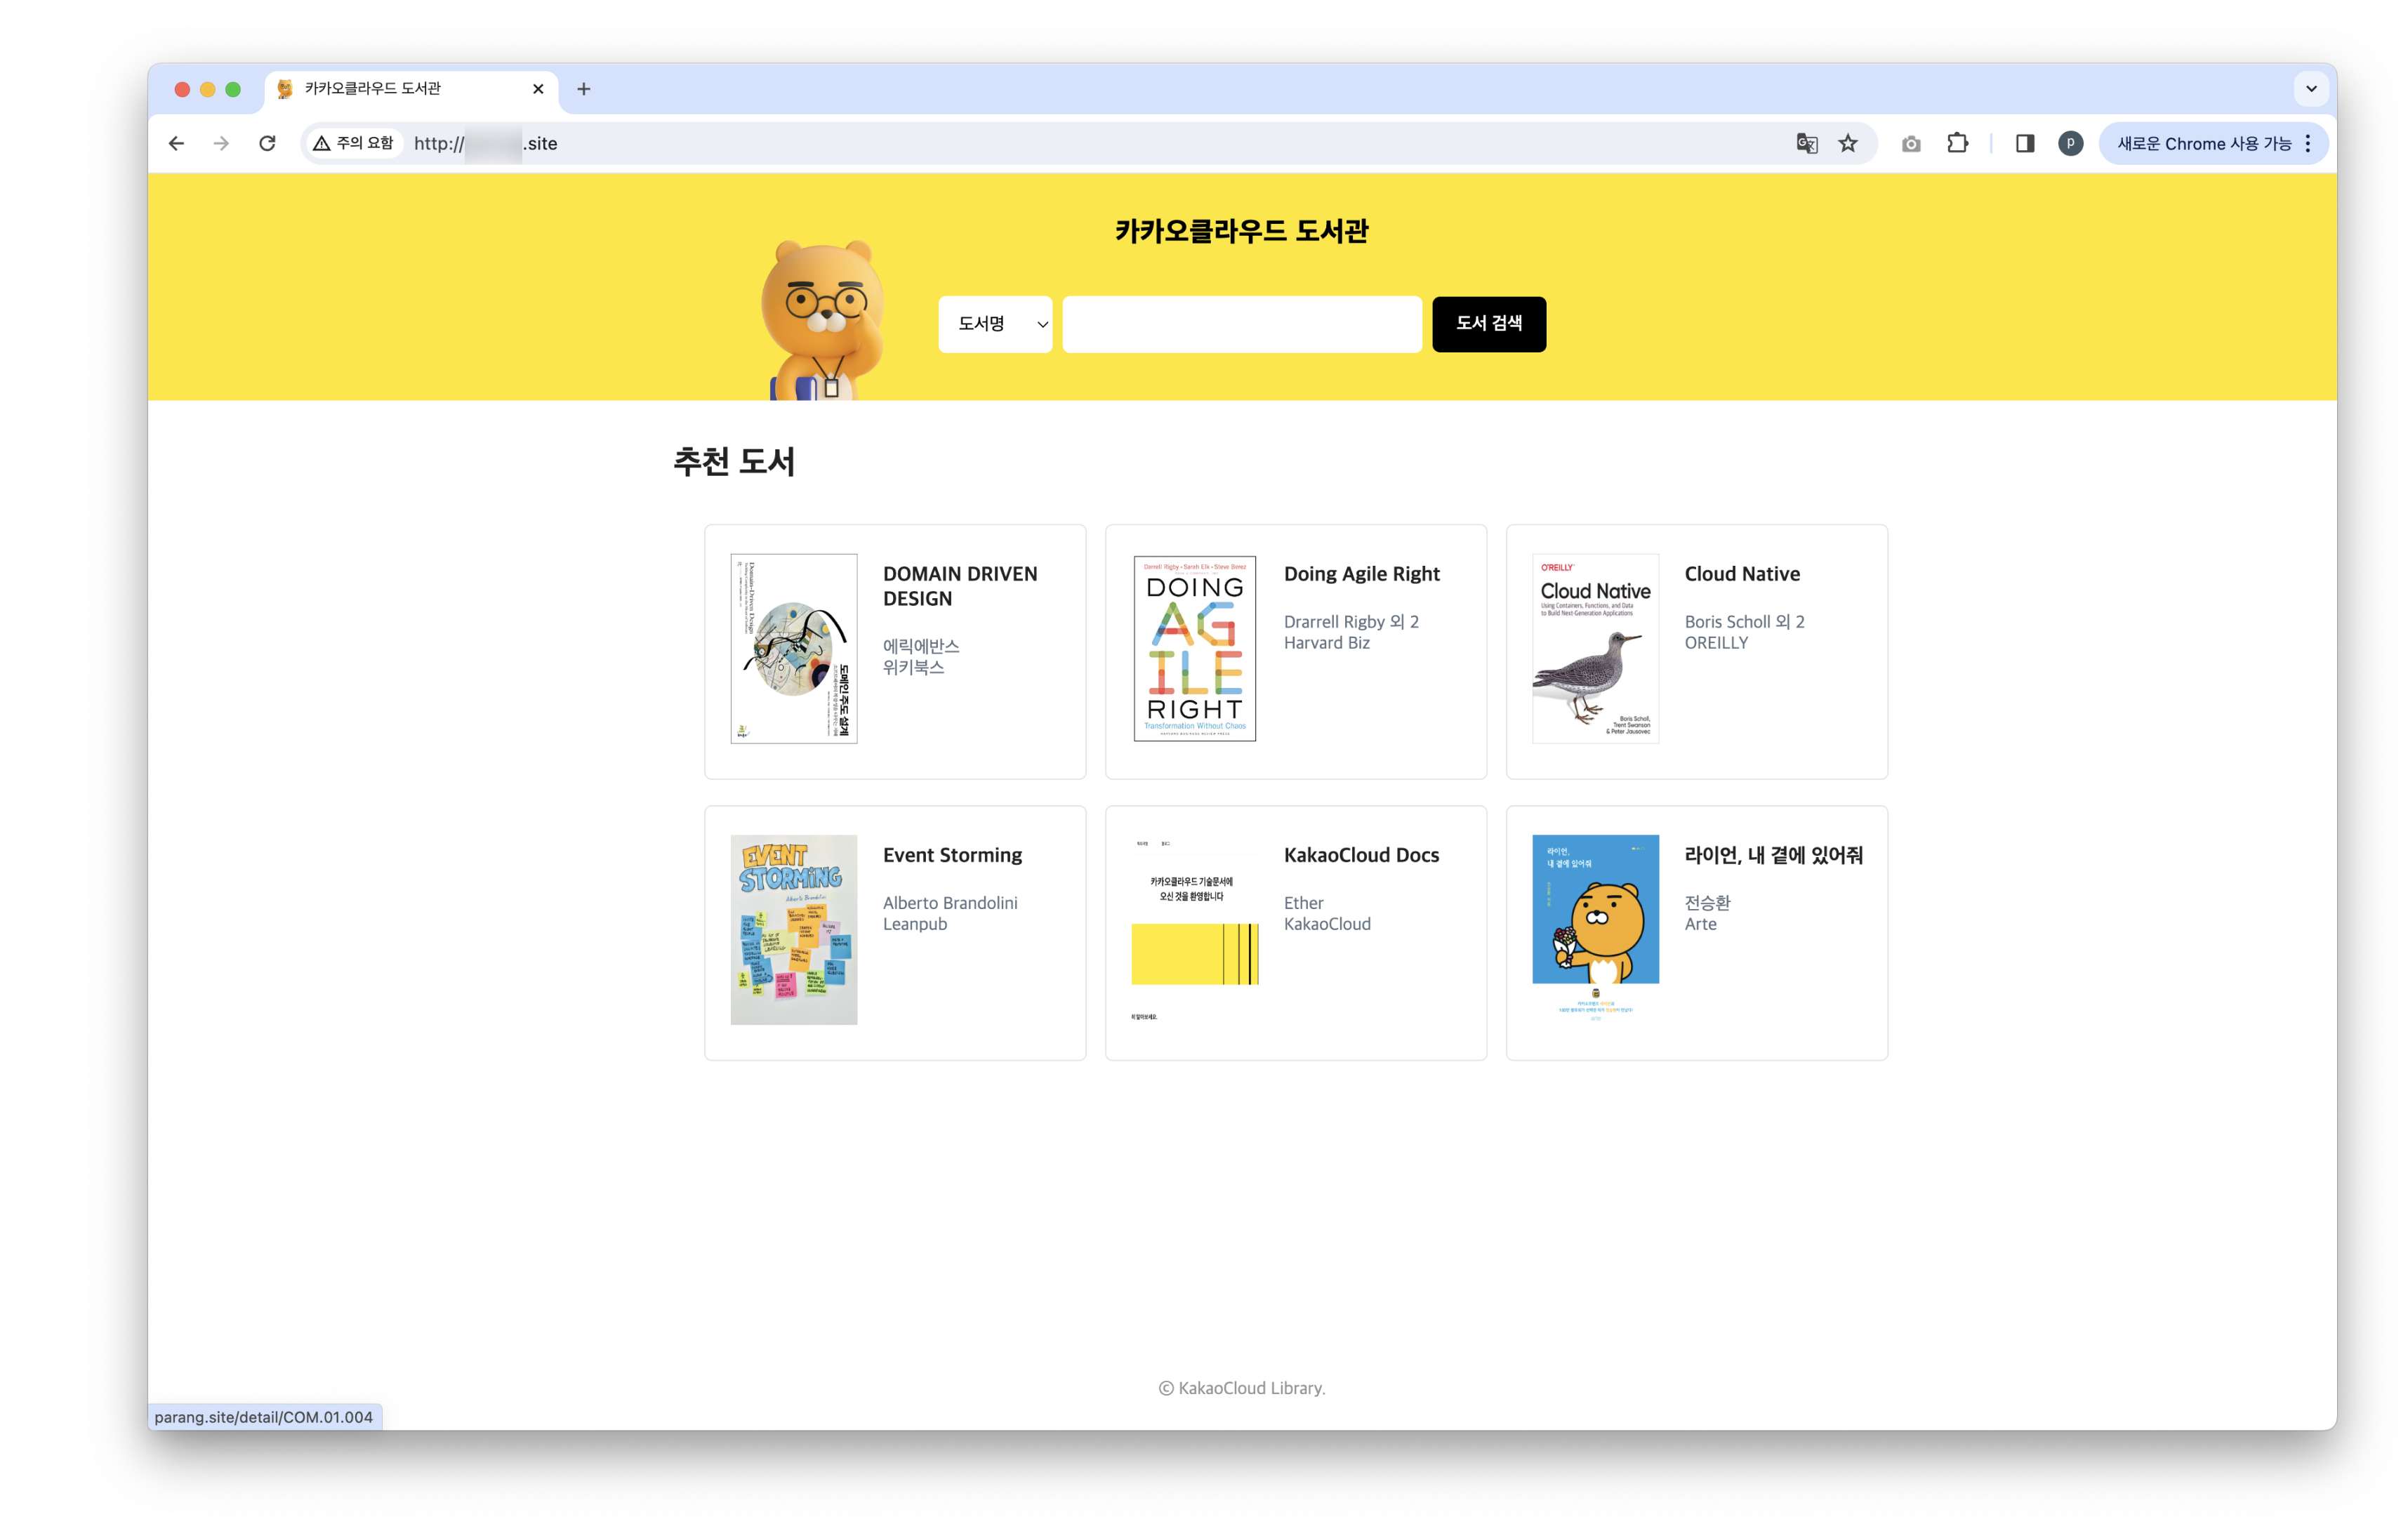
STEP 2-2. Add CNAME record
Follow these steps to add a CNAME record that maps one domain name to another.
-
In the
example.comDNS zone details page, select the [Add Record] button. -
Configure the following settings to map the root domain using a CNAME record.
Item Setting/Input Record Type CNAME Record Name www TTL 60 Value example.com. -
Enter
www.example.comin a web browser. If connected successfully, you will see the 'KakaoCloud Library' service screen as shown below.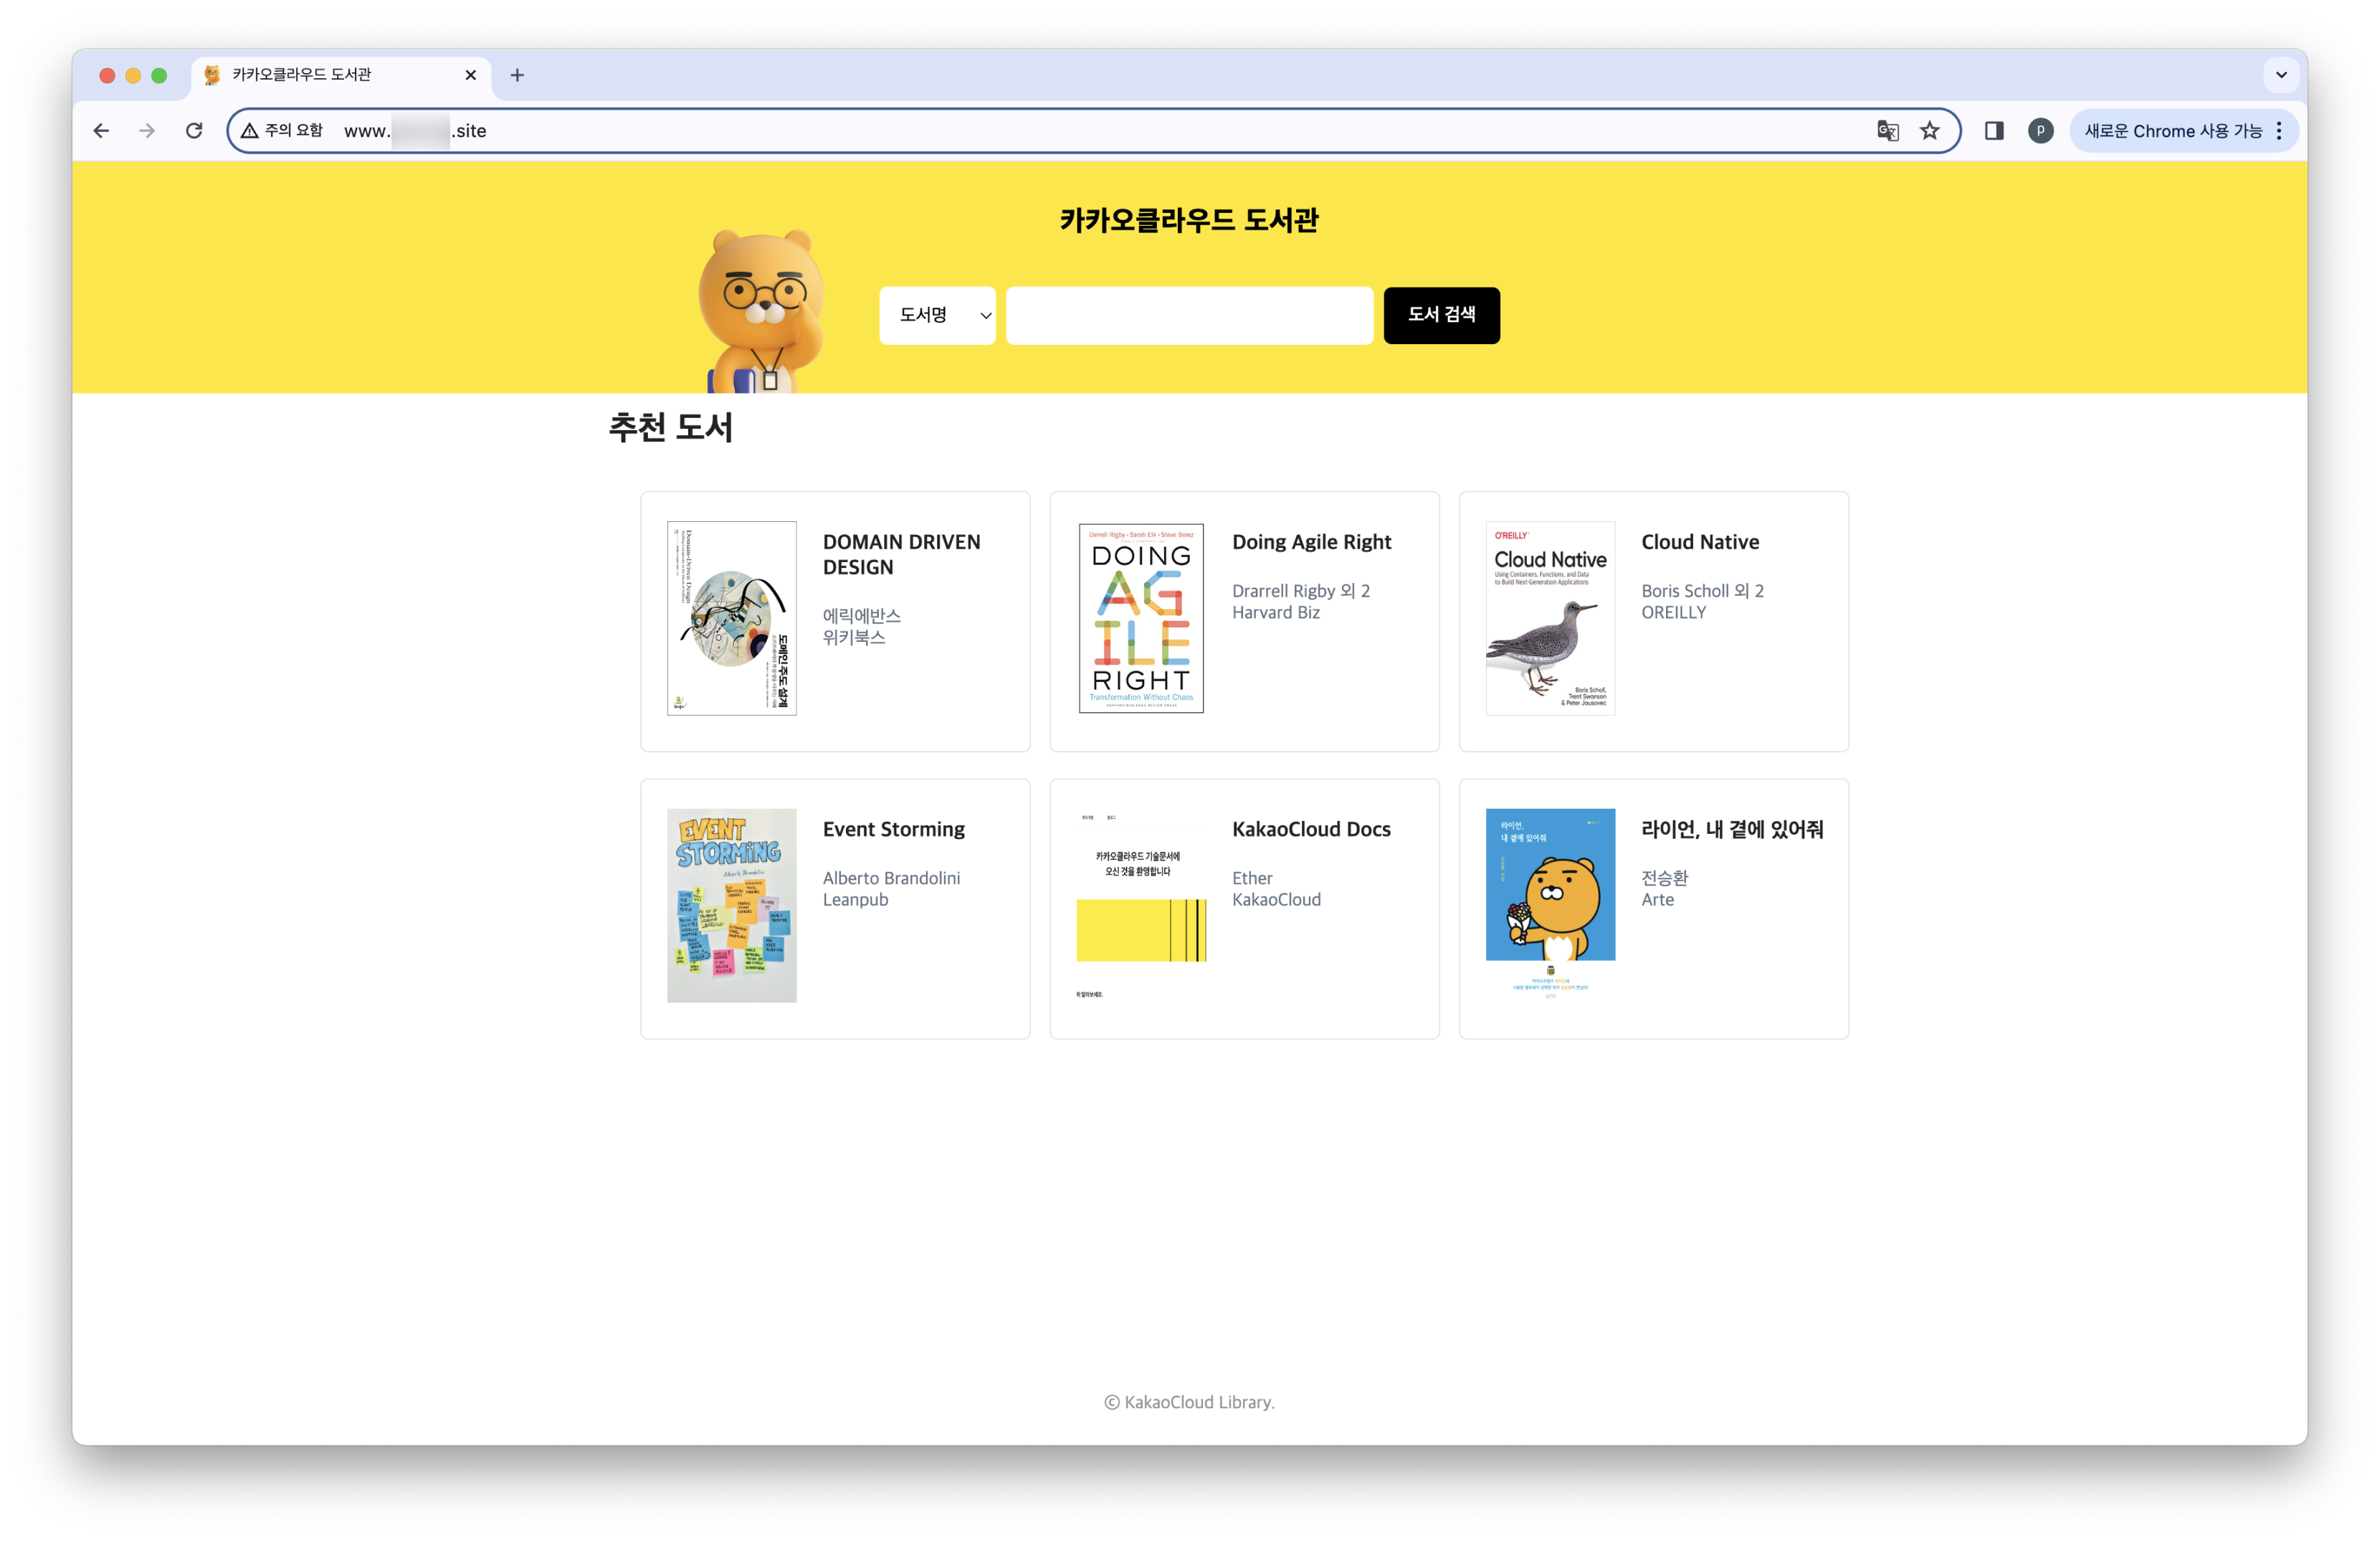
Step 3. Verify results
You can also verify the results using the nslookup command. Enter the nslookup command on your local machine to check DNS information.
nslookup example.com

Server:		xxx.xxx.xxx.xxx
Address:	xxx.xxx.xxx.xxx#53

Non-authoritative answer:
Name:	example.com
Address: #.#.#.#
nslookup www.example.com

Server:		xxx.xxx.xxx.xxx
Address:	xxx.xxx.xxx.xxx#53

Non-authoritative answer:
www.example.com	canonical name = example.com.
Name:	example.com
Address: #.#.#.#
Appendix. Connect SSL/TLS certificate to the Application Load Balancer
An SSL/TLS certificate encrypts all data passing through the Load Balancer. This encryption prevents data from being read or altered during transmission, enhancing the security of web traffic. Additionally, most search engines prefer websites that use SSL/TLS, so implementing SSL/TLS can improve your website's search engine ranking.
You can connect an SSL/TLS certificate to the 7-layer Application Load Balancer by adding an HTTPS listener or to the 4-layer Network Load Balancer by adding a TLS listener. This example guides you through connecting an SSL/TLS certificate to the listener of an Application Load Balancer and enabling HTTPS communication between the web server and browser via the listener. The certificate used in this example is valid for both example.com and www.example.com.
KakaoCloud does not issue certificates. It is recommended to obtain certificates from a CA for your registered domain.
STEP 1. Add listener
-
In the Load Balancing > Load Balancer tab, select on the previously created tutorial-web-lb.
-
Select the Listener tab at the bottom, then select the [Add listener] button on the right.
-
Enter the following information to create a new listener.
Category Item Setting/Input Protocol:Port settings Protocol HTTPS Port 443 Default Forwarding Target Target Group tutorial-web-target-group Min TLS version TLSv1.2 Default SSL Certificate Certificate for the above domains -
If you haven't registered a certificate yet, select the dropdown button, then select the [Add new certificate] button.
-
Enter the following details, then select the [Add] button to add the certificate.
Category Item Setting/Input SSL Certificate Private Key -----BEGIN RSA PRIVATE KEY-----
Private Key
-----END RSA PRIVATE KEY-----Certificate Body -----BEGIN CERTIFICATE-----
Certificate
-----END CERTIFICATE-----Certificate Chain -----BEGIN CERTIFICATE-----
Certificate Chain
-----END CERTIFICATE-----TipCurrently, KakaoCloud only supports PEM format certificates. If your downloaded certificates have
.keyor.crtextensions, you can easily change the file format by right-clicking the file and selecting Rename > Change the extension to.pem. -
Once all fields are filled, select the [Add] button to add the listener. It may take 3-5 minutes to complete the listener creation.
STEP 2. Redirect HTTP to HTTPS
-
Select the listener with Protocol:Port set to HTTP:80, then select the [+ Add Rule] button at the bottom.
-
Enter the following information, then select the [Add] button to add the rule. It may take 3-5 minutes for the rule to apply.
Category Item Setting/Input Order settings 1 Condition settings Type Path Value /Comparison method Exact Action settings Action type Redirect to URL Protocol HTTPS URL www.example.com
STEP 3. Verify result
If connected successfully, you will see that entering http://www.example.com or http://example.com redirects to https://www.example.com as shown below.