Automate web server log analysis using Hadoop Eco scheduling
This document introduces how to automate periodic log analysis tasks uploaded to Object Storage using Hadoop Eco's scheduling feature.
- Estimated time: 60 minutes
- Operating system: MacOS, Ubuntu
- Prerequisites
- Reference documents
About this scenario
In this scenario, you will learn how to use Hadoop Eco's distributed processing and scheduling capabilities to analyze web server logs periodically stored in Object Storage. This automated process will help efficiently manage and process log data, allowing users to handle recurring analysis tasks seamlessly.
Getting started
This tutorial covers the entire process, including checking uploaded log files in Object Storage, processing data with Hadoop Eco, and automating tasks using scheduling. By the end, you'll understand how to store, manage, process, and automate periodic log analysis tasks.
Step 1. Check the log file uploaded to Object Storage
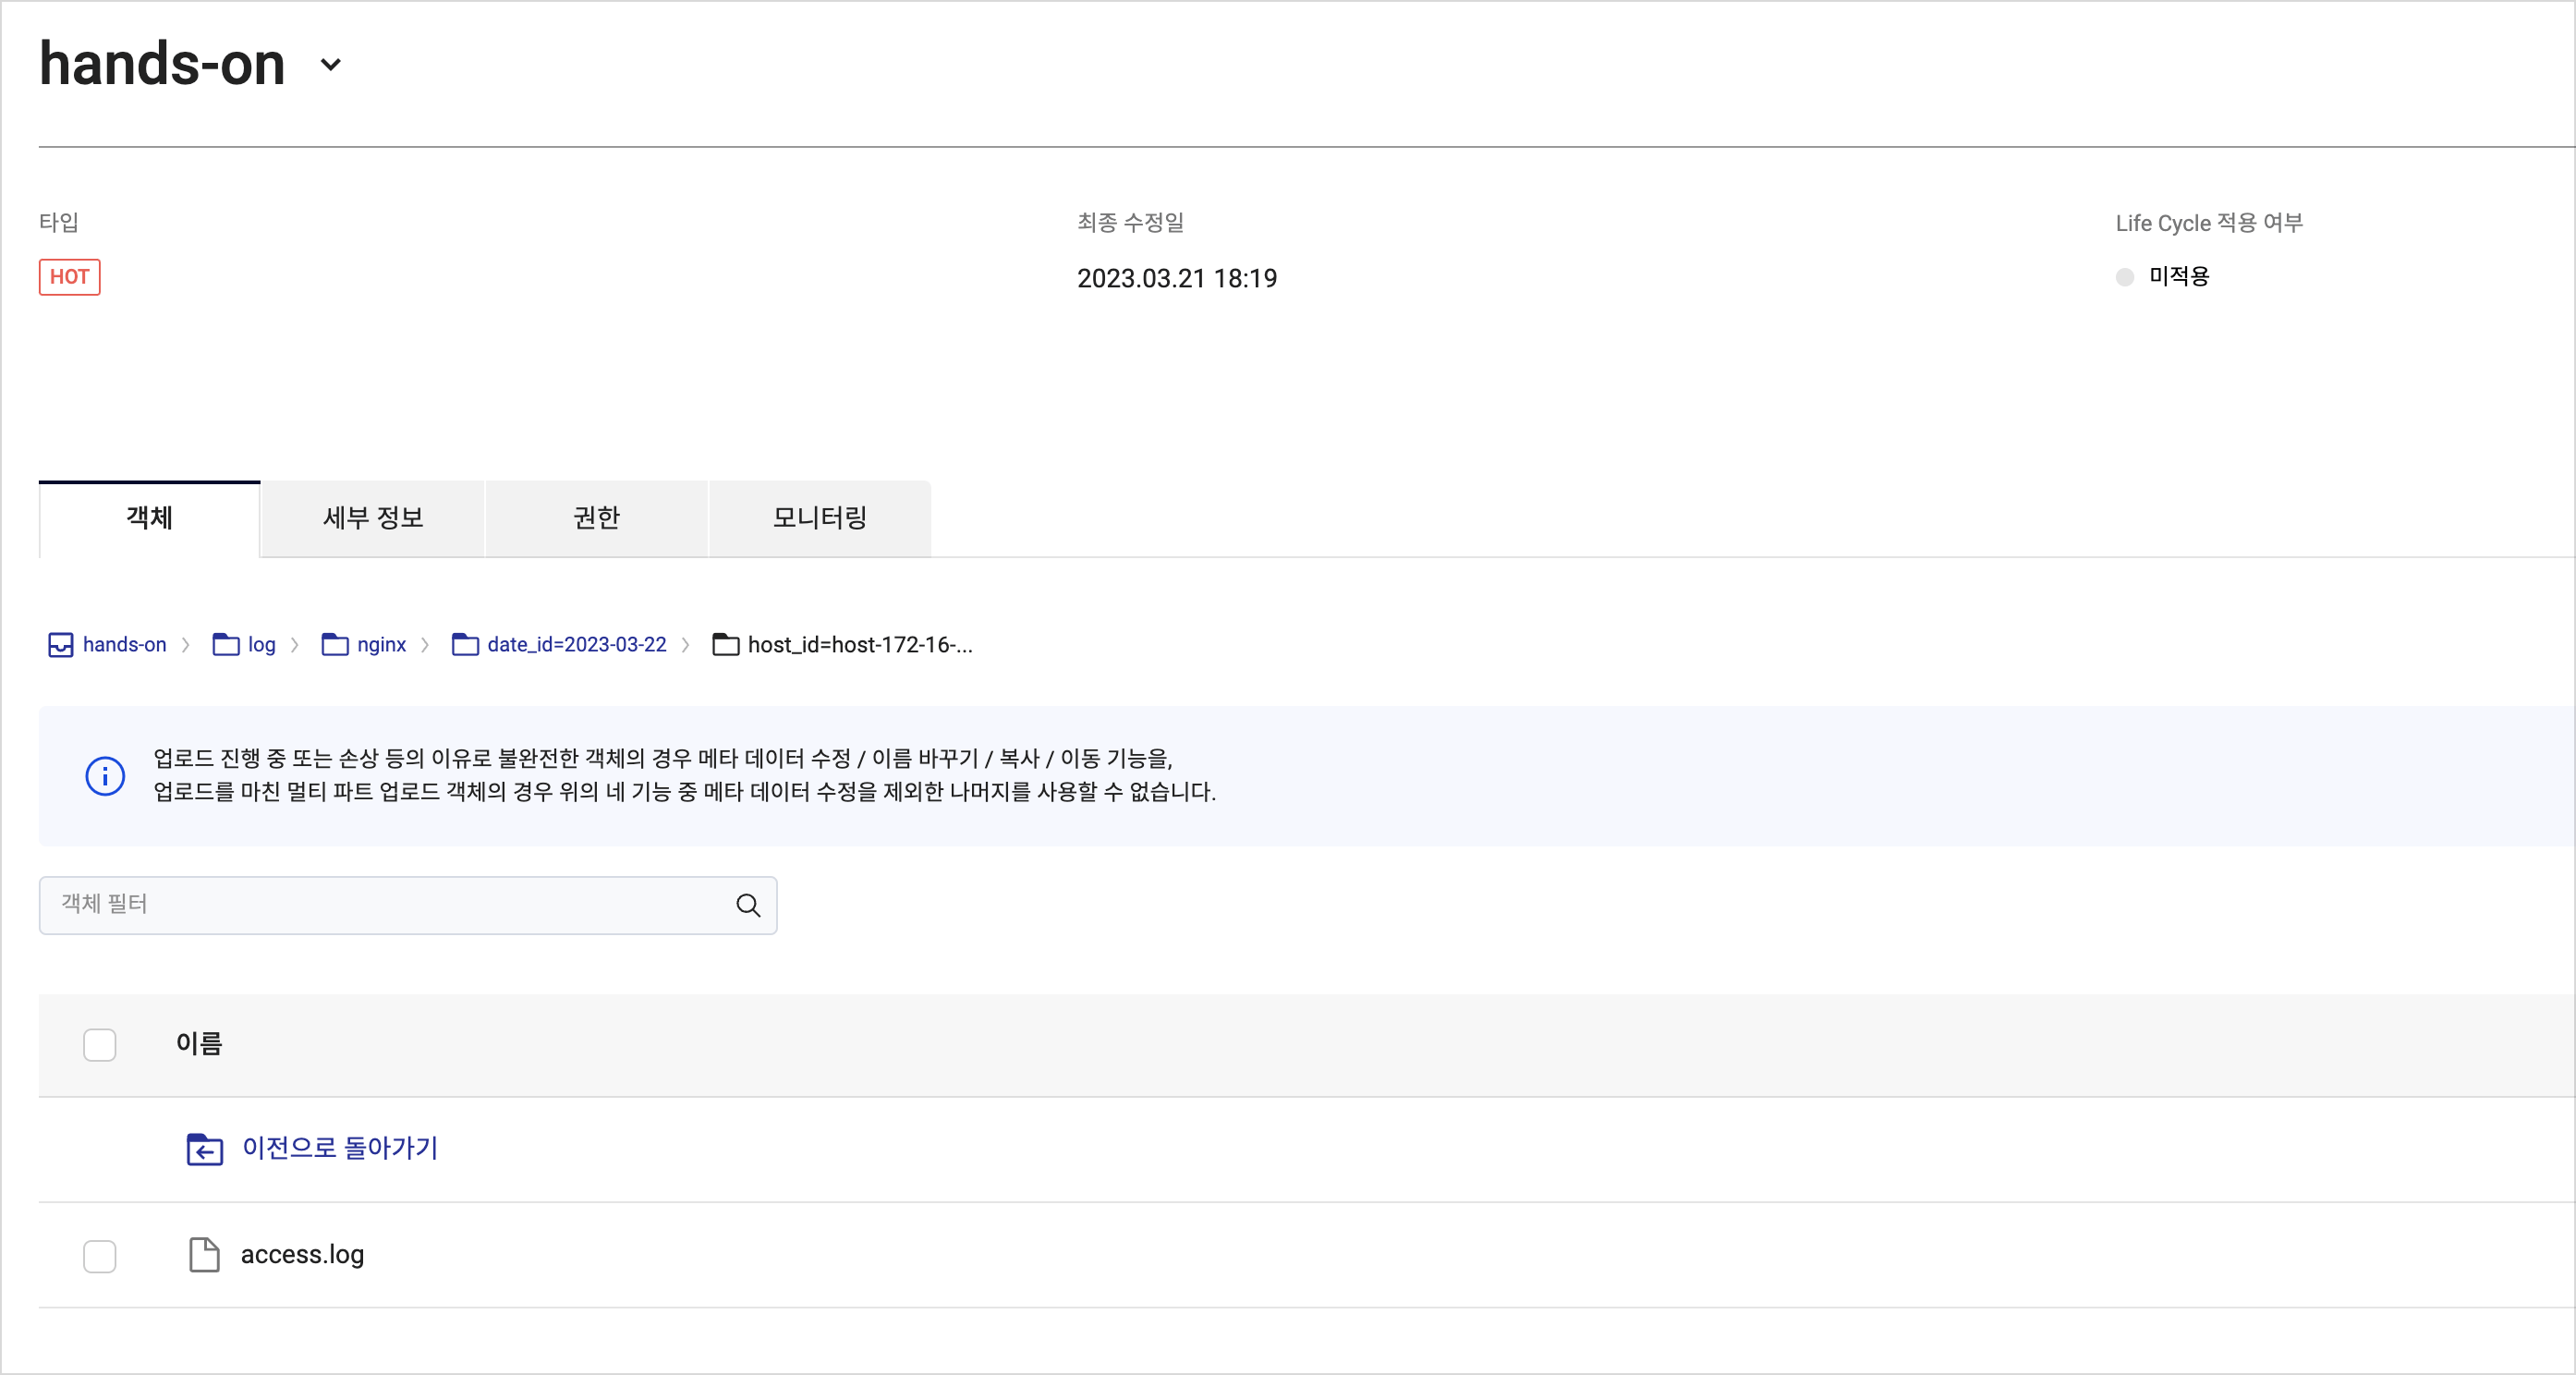
Follow the hands-on document to create sample log files needed for this tutorial. After completing the previous tutorial, verify that the example log files are successfully uploaded to Object Storage.

Step 2. Create Data Catalog resource
Data Catalog is a fully managed service in KakaoCloud that helps you understand and efficiently manage your data assets. In this step, you'll create Catalog, Database, and Table.
-
Create a Catalog, which acts as a fully managed central repository within your VPC.
Item Value Name hands_on VPC ${any}Subnet ${public} -
Once the Catalog status changes to
Running, create a Database. A database acts as a container for tables.Item Value Catalog hands_on Name hands_on_db Path: Bucket hands-on Path: Directory nginx -
Create metadata tables.
- Original data table
- Schema
Item Value Database hands_on_db Table name handson_log_original Path: Bucket hands-on Path: Directory log/nginx Data type CSV Partition key Column number Field name Data type off 1 log string on - date_id string on - hour_id string
Step 3. Create Hadoop Eco resource
Hadoop Eco is a KakaoCloud service for executing distributed processing tasks using an open-source framework.
-
Go to KakaoCloud console > Analytics > Hadoop Eco, select [Create cluster], and configure the cluster with the following details:
Item Value Cluster name hands-on Cluster version Hadoop Eco 2.0.0 Cluster type Core Hadoop Cluster availability Standard Admin ID ${ADMIN_ID}Admin password ${ADMIN_PASSWORD} -
Configure Master node and Worker nodes.
Configuration Master node Worker node Number of instances 1 2 Instance type m2a.xlarge m2a.xlarge Volume size 50GB 100GB -
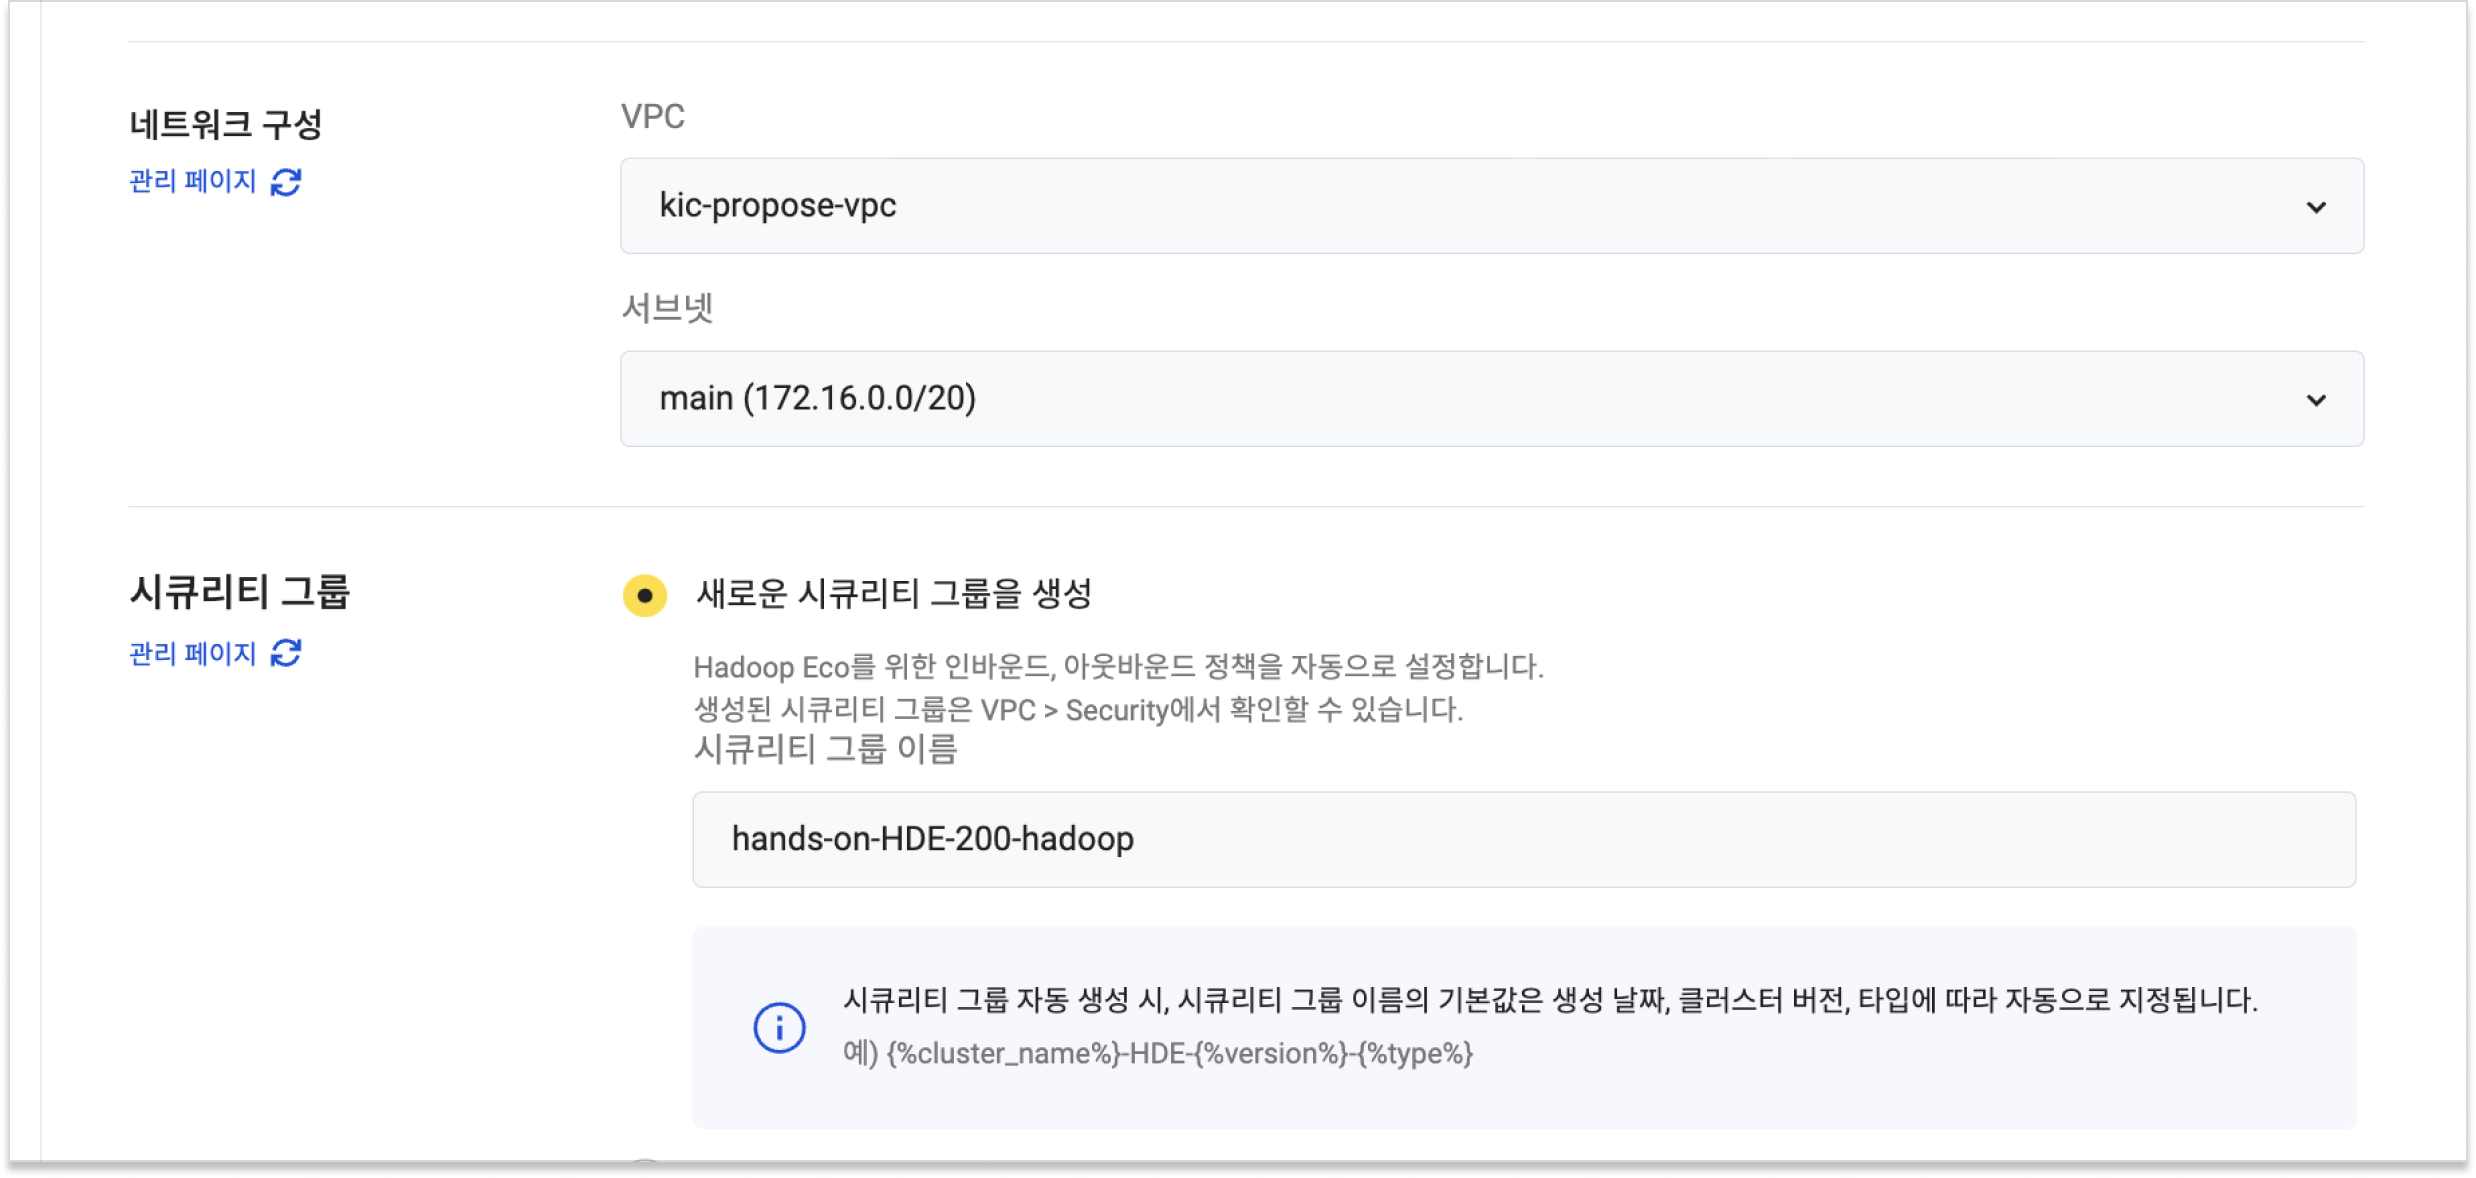
Set up key pairs and network configurations for SSH access. Select Create new security group.

-
Open the scheduling settings, select Hive, and enter the following query:
Refine and aggregate log data-- Set the database
USE hands_on_db;
-- Repair the table
MSCK REPAIR TABLE handson_table_original;
-- Create refined JSON table
CREATE EXTERNAL TABLE IF NOT EXISTS refined_json (
remote_addr STRING,
request_method STRING,
request_url STRING,
status STRING,
request_time STRING,
day_time STRING)
PARTITIONED BY (date_id STRING)
ROW FORMAT SERDE 'org.apache.hadoop.hive.serde2.JsonSerDe'
STORED AS TEXTFILE;
-- Populate refined_json table
INSERT INTO refined_json PARTITION (date_id)
SELECT
split(log, ' ')[0] AS remote_addr,
split(log, ' ')[5] AS request_method,
split(log, ' ')[6] AS request_url,
split(log, ' ')[8] AS status,
split(log, ' ')[9] AS request_time,
regexp_extract(split(log, ' ')[3], '\\d{2}:\\d{2}:\\d{2}', 0) AS day_time,
date_id
FROM handson_table_original;
-- Create urlcount table
CREATE EXTERNAL TABLE IF NOT EXISTS urlcount (
request_url STRING,
status STRING,
count BIGINT)
PARTITIONED BY (date_id STRING)
ROW FORMAT SERDE 'org.apache.hadoop.hive.serde2.JsonSerDe'
STORED AS TEXTFILE;
-- Populate urlcount table
INSERT INTO urlcount PARTITION (date_id)
SELECT request_url, status, count(*) AS count, date_id
FROM refined_json
GROUP BY request_url, status, date_id; -
Configure Cluster settings:
Item Value HDFS block size 128 HDFS replication 2 -
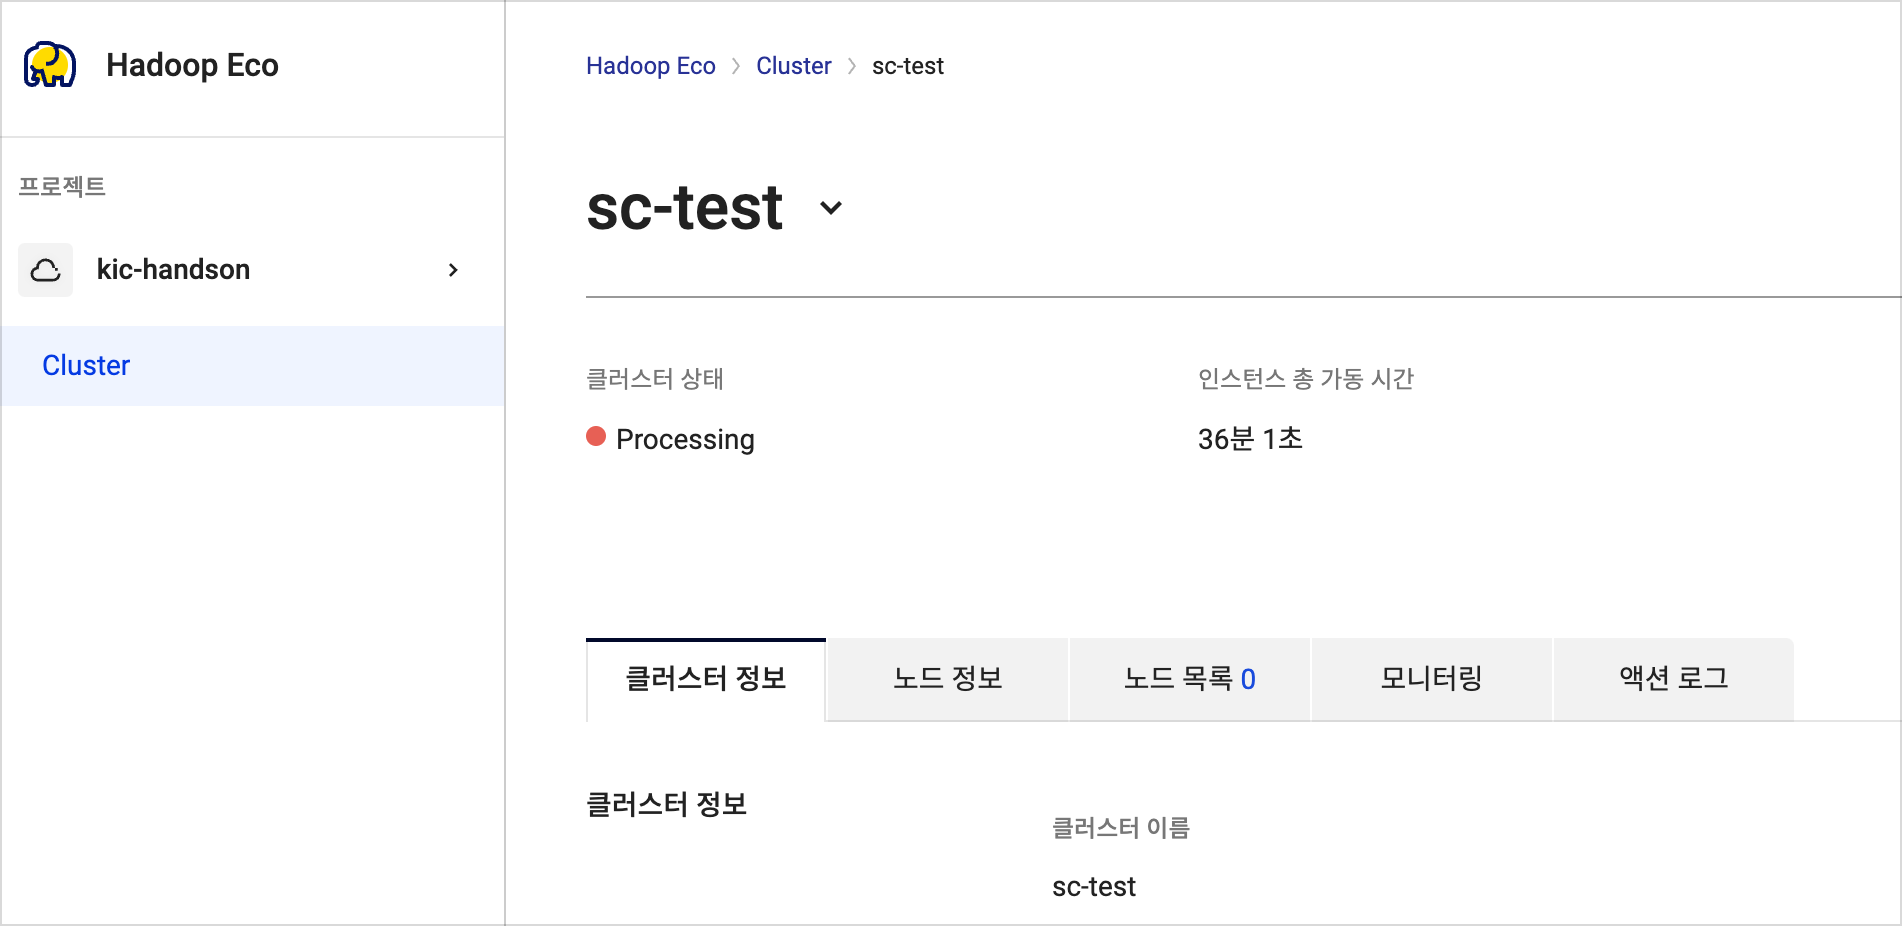
Verify all settings and create the cluster.
Step 4. Configure Hadoop Eco scheduling cron job
-
Create a virtual machine for running the cron job.
Type Virtual Machine Quantity 1 Name cron-vm Image Ubuntu 20.04 Flavor m2a.large Volume 20GB infoThe virtual machine executing the cron job must communicate with external networks. Ensure the security group and network configuration allow outbound requests.
-
SSH into the virtual machine. Use a public IP or Bastion host to establish a connection.
Connect via SSHssh -i ${PRIVATE_KEY_FILE} ubuntu@${CRON_VM_ENDPOINT} -
Install
jqfor easy JSON data processing.Install jqsudo apt-get update -y
sudo apt-get install -y jq -
Create an environment variable file to store cluster-related configurations. Replace placeholder values with your specific settings.
Create environment variable filecat << \EOF | sudo tee /tmp/env.sh
#!/bin/bash
export CLUSTER_ID="${CLUSTER_ID}"
export HADOOP_API_KEY="${HADOOP_API_KEY}"
export ACCESS_KEY="${ACCESS_KEY}"
export ACCESS_SECRET_KEY="${ACCESS_SECRET_KEY}"
EOFEnvironment variable key Value ${CLUSTER_ID}Cluster ID ${HADOOP_API_KEY}Hadoop API key ${ACCESS_KEY}Access key ${ACCESS_SECRET_KEY}Access secret key -
Create a script to request cluster creation using the environment variables.
Create Hadoop API scriptcat << \EOF | sudo tee /tmp/exec_hadoop.sh
#!/bin/bash
. /tmp/env.sh
curl -X POST "https://hadoop-eco.kr-central-2.kakaocloud.com/v2/hadoop-eco/clusters/${CLUSTER_ID}" \
-H "Hadoop-Eco-Api-Key:${HADOOP_API_KEY}" \
-H "Credential-ID:${ACCESS_KEY}" \
-H "Credential-Secret:${ACCESS_SECRET_KEY}" \
-H "Content-Type: application/json"
EOF -
Install
cronto enable periodic script execution.Install cronsudo apt update -y
sudo apt install -y cron -
Configure a cron job to run the Hadoop script daily at midnight.
Set cron jobcat << EOF > tmp_crontab
0 0 * * * /bin/bash /tmp/exec_hadoop.sh
EOF
sudo crontab tmp_crontab
rm tmp_crontab -
Verify the cron job registration.
List cron jobssudo crontab -l -
Manually execute the Hadoop script to ensure it works as expected.
Test Hadoop scriptbash /tmp/exec_hadoop.sh
-
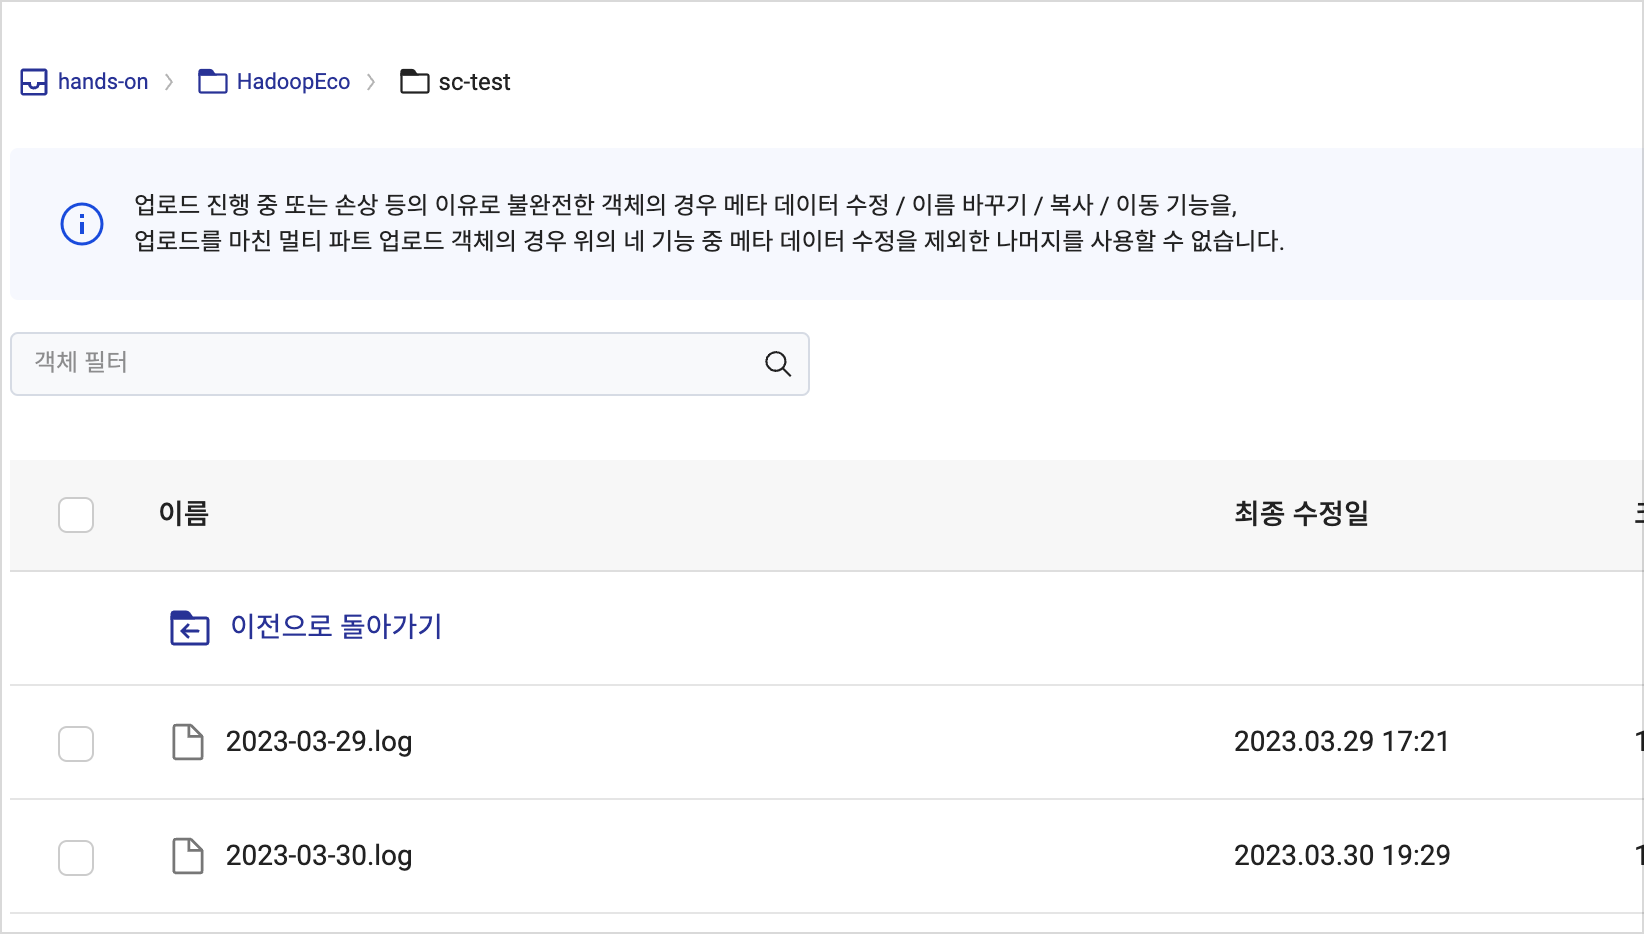
Check the results of the cluster tasks. Logs are stored in the Object Storage bucket specified during cluster creation.

-
Verify stored results in the selected bucket and
logdirectory in Object Storage.